
Before you begin:
– Check to make sure that there are no missing or broken parts.
-The model should be carefully cleaned with warm soapy water and a soft toothbrush.
– Part seams or mold lines should be sanded and filled as necessary.
– All parts should be test fitted before gluing.
– A Cyanoacrylate glue, (super glue) should be used in attaching parts.
– Read through the instructions completely before gluing or painting.
– Remove primer and paint to expose raw plastic to allow proper adhesion of glued parts.
There are 28 parts in total;
** be aware that the clear parts are flexible, so use caution when handling & cleaning them**
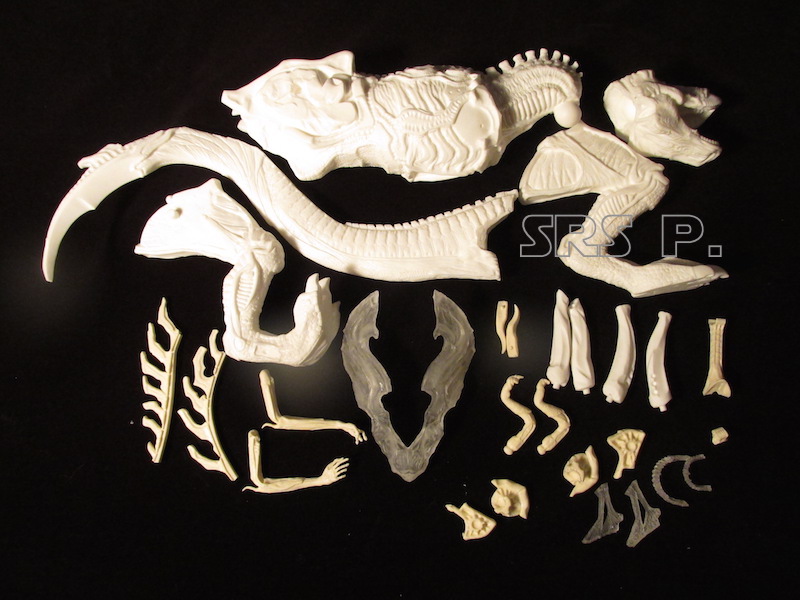
REX-X
The most important aspect to assembling the REX, besides have fun doing so, is to consider your paint work first. You may want to test fit all parts first to see how they will allow or not allow for priming and detailing. There are lots of places where some pieces partially cover other sections of the figure, so plan accordingly.
To start test fitting, I began with the legs. You may have to cut down the pin to fit into the hole. The legs will naturally key against the body. I recommend that you paint the area behind the legs broke permanently attaching them.

REX-X
Once you have test-fit the legs, the tail should be next. There is a post on there body that fits into a corresponding hole in the tail.
REX-X
REX-X
These parts can permanently joined before painting. small amount of epoxy putty was uses to blend the tail to the body.
REX-X
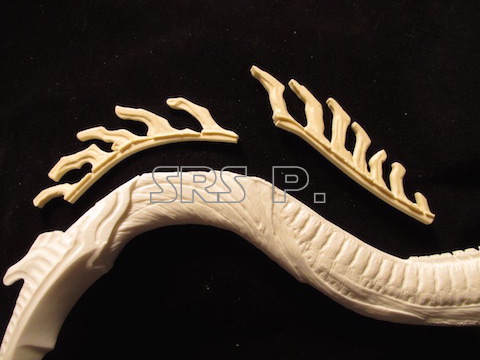
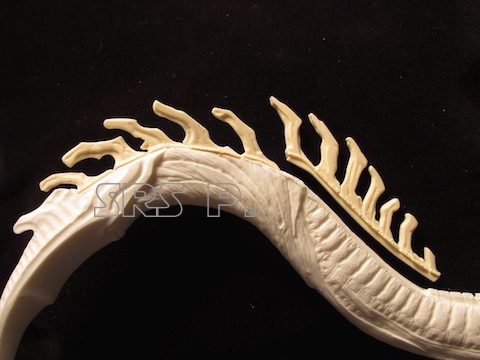
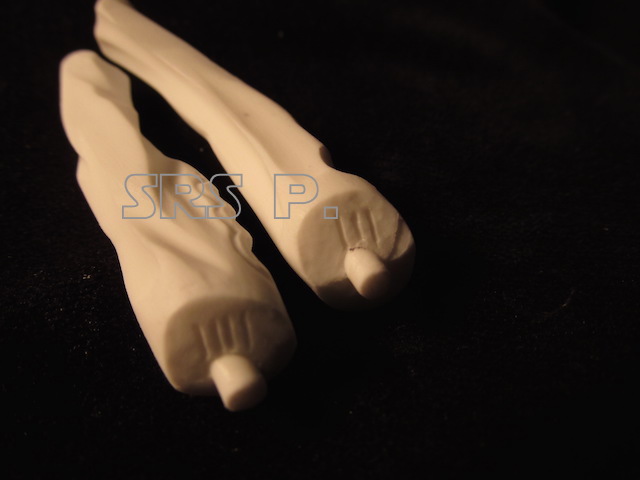
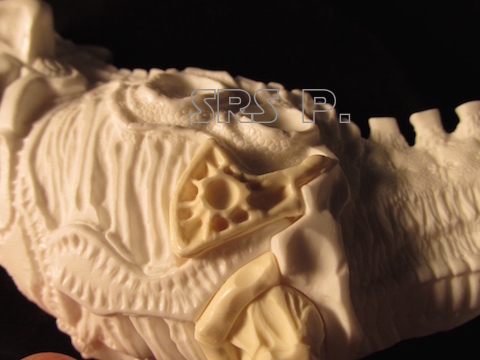
There are two sections of tail spikes that locate on top of the tail. Theses could also be glued in place before painting, you may need to fill around them for a clean fit.
REX-X
REX-X
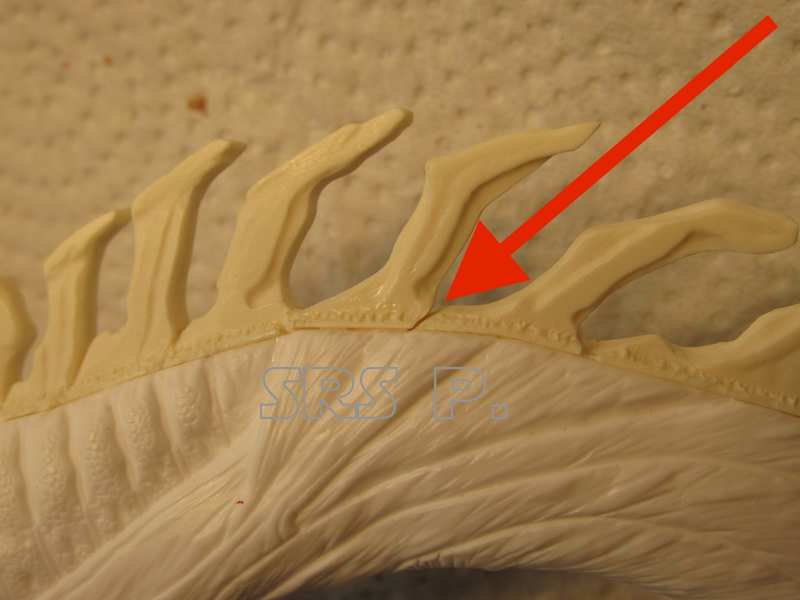
It is important to glue the last section in place first as it locates under the first section, as pictured above & below.

REX-X
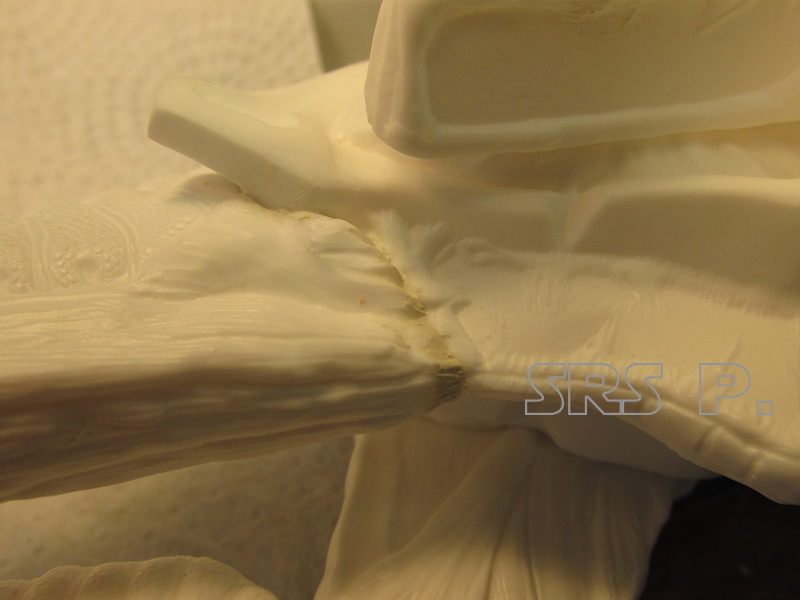
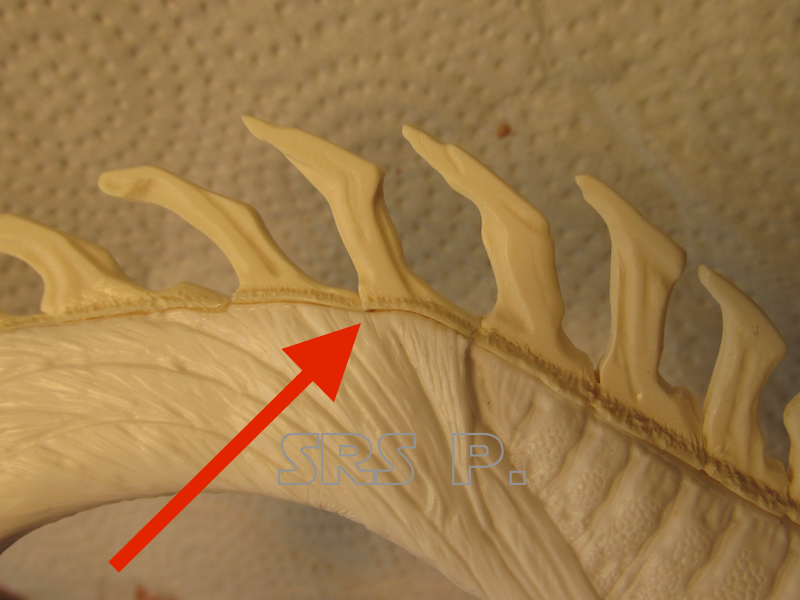
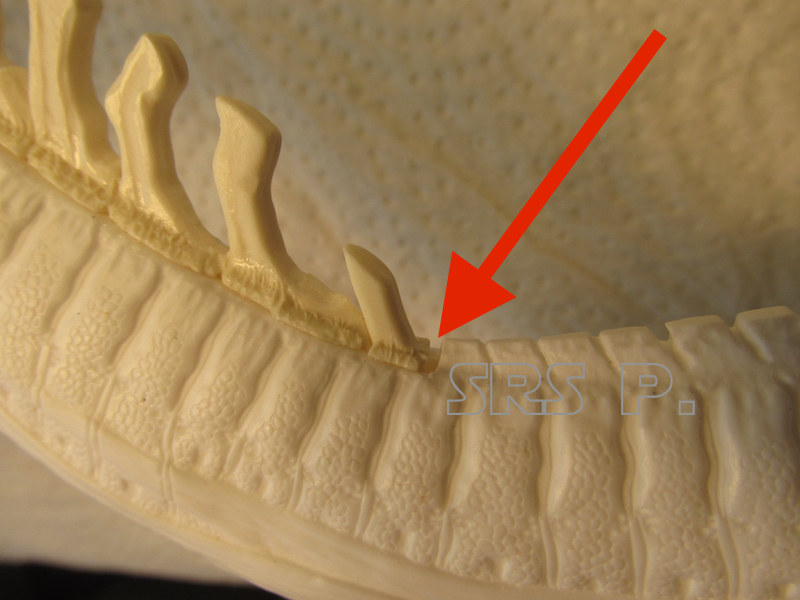
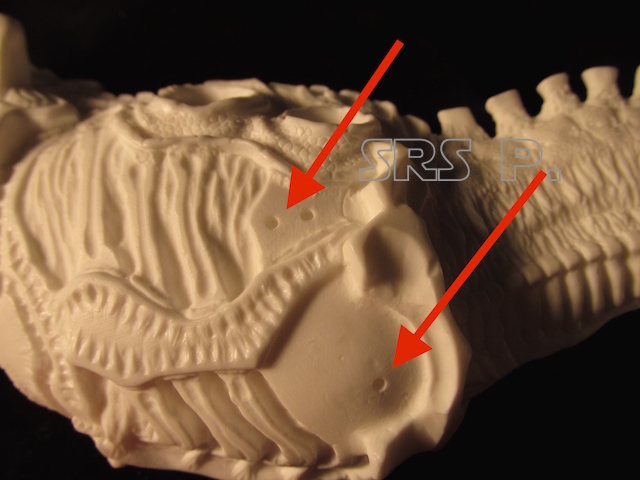
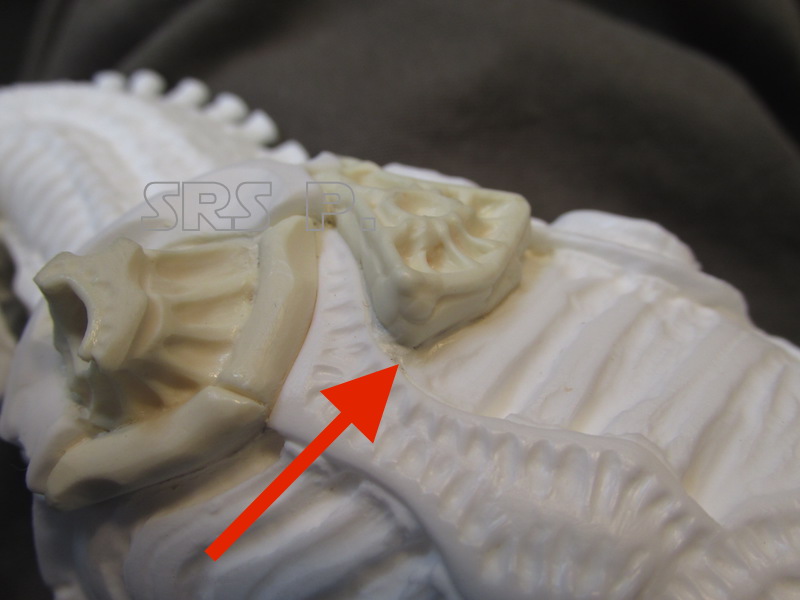
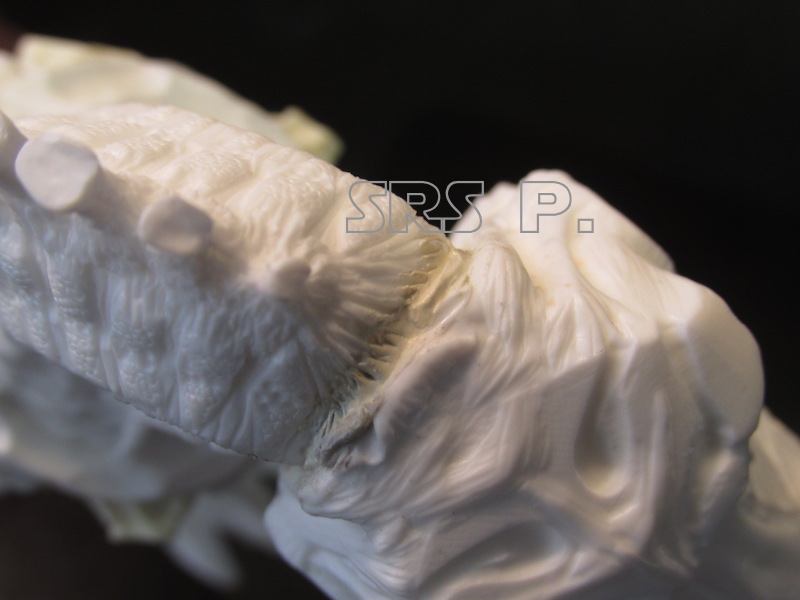
There are some minor gaps here & there around the tail spikes, pictured below.
REX-X
REX-X
REX-X
I used Epoxy putty to fill the gaps and do a small amount of sculpting.
REX-X
REX-X
REX-X
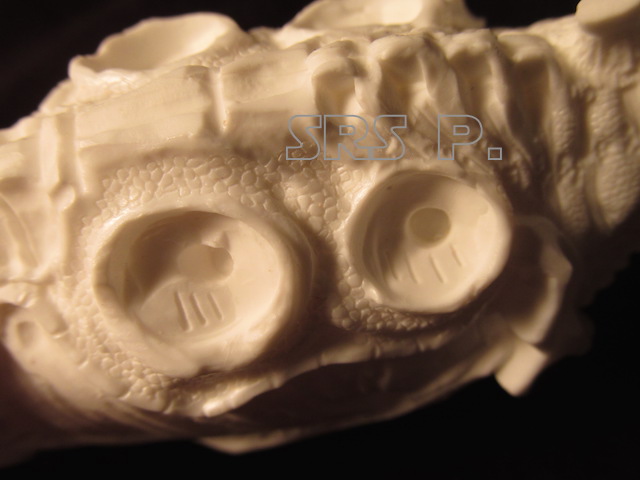
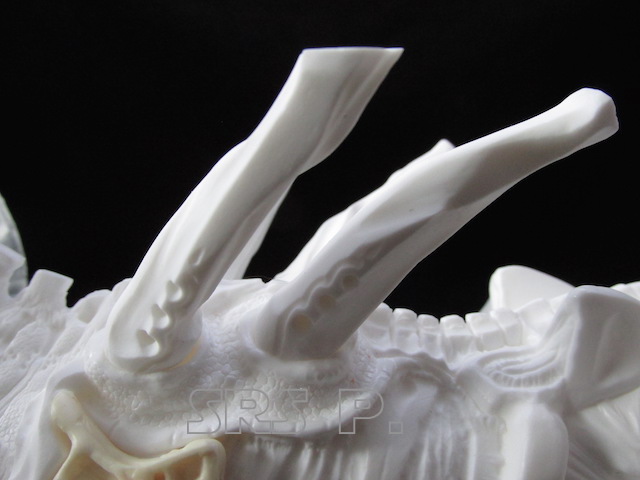
The next parts to fit should be the breathing tubes that mount on top of the body. Each tube is marked on the bottom l, ll, lll, llll. Each location on the body has a corresponding mark. It will be necessary to twist each tube side-to-side to be sure it is seated properly.
REX-X
REX-X
The right side in place;
REX-X
The left side;
REX-X
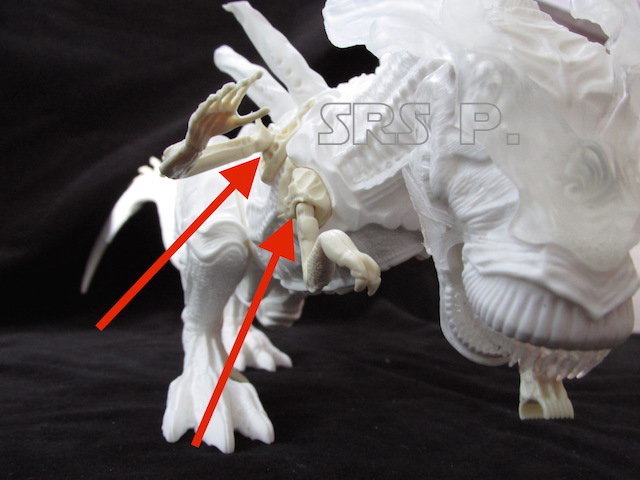
The REX-X comes with options for how many arms he can have. As the Alien King, four arms is a must, however, you may choose any arrangement you desire. The kit was designed to have , at minimum, the two small rex-like arms. Just fill in the other holes to leave off the larger arms and make yours unique!
Each arm has a socket that is separate from the body. There are small holes to accommodate the locator pins on the back of each part. Both L & R sides fit the same way.
REX-X
Once in place, there will be some filling required to blend the sockets too the body.
REX-X
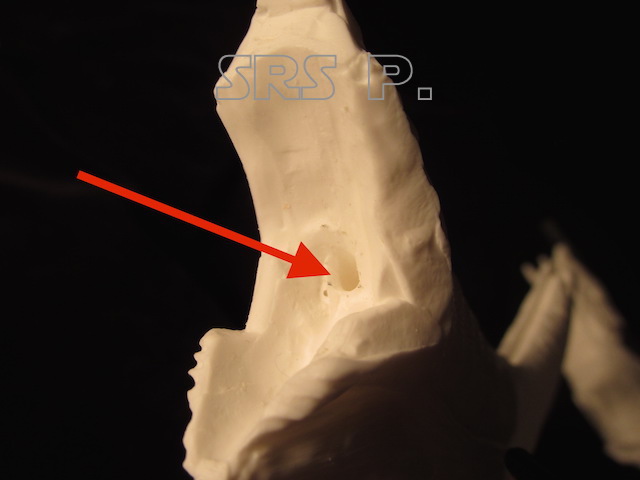
There are gaps around the arm sockets to allow for shrinkage. Again, I used epoxy putty to fill those areas in the images below.
REX-X
REX-X
REX-X
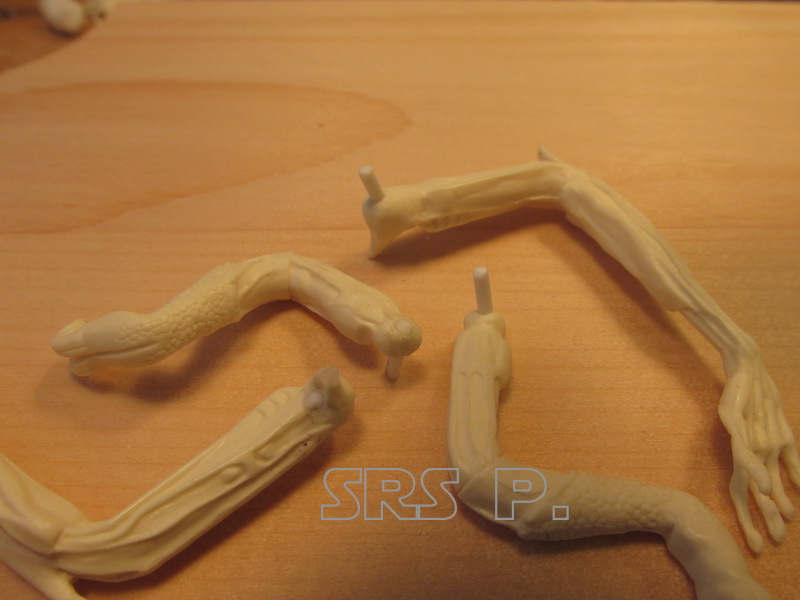
Each arm has a small ball-end on it to allow it to be placed in any position.
REX-X
I added pins to the kit arms to help locate them once painting is completed.
REX-X
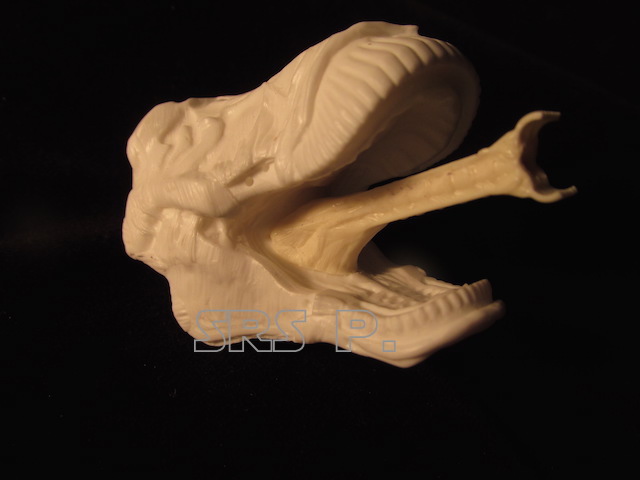
The most complicated part of the kit will be the head. Because of it many parts, some of them clear, you need to consider the order of assembly. I recommend choosing and glueing the small jaws in place. This will allow the head and mouth to be primed and painted with out masking off the teeth and crest.
The jaw tendons & crest are clear to give that translucent look of the on-screen Queen Alien. These parts could be tinted/painted and then glued in place, after the rest of the head is painted. The teeth are also made to give that Queen-Alien look. They could be tinted and added last.
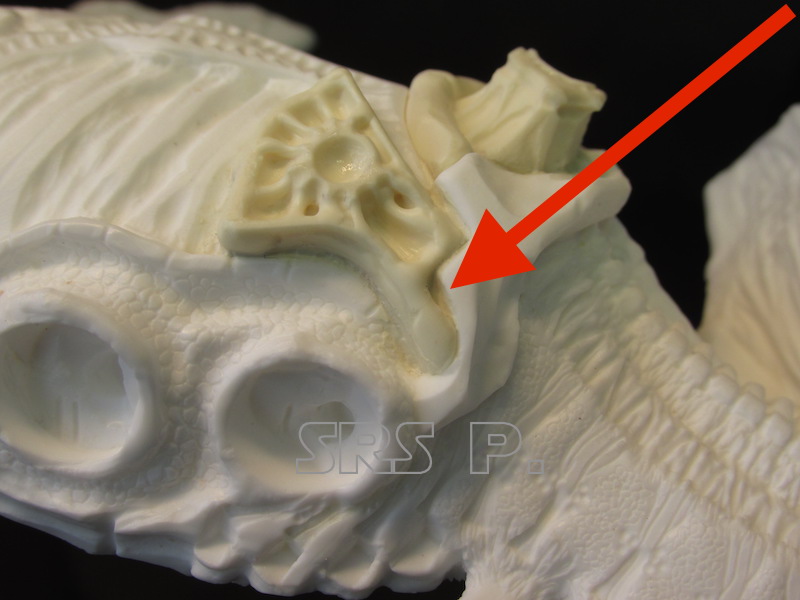
One thing to consider before adding the crest permanently in place, is the attachment point of the head & neck. There will be filling and shaping required there to allow for the positioning of the head. It will be difficult to paint that area with the crest in place.
Here are the basic steps to assemble the head;
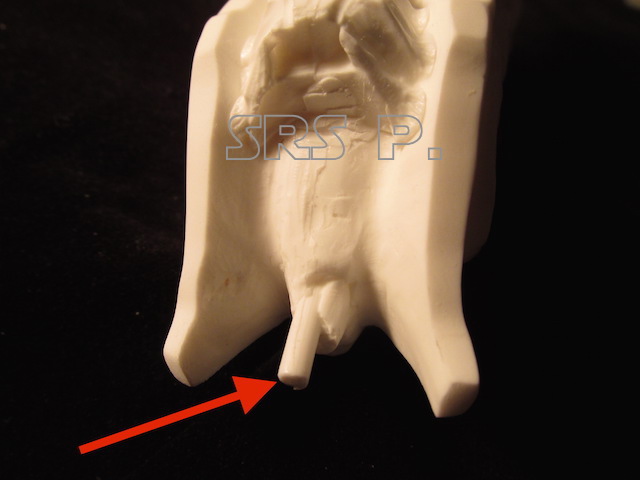
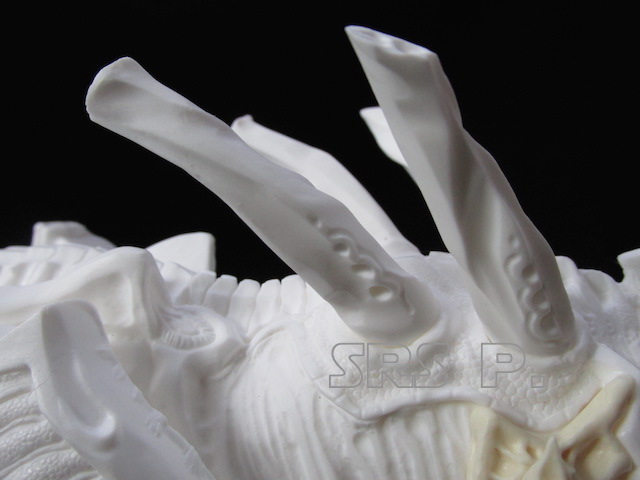
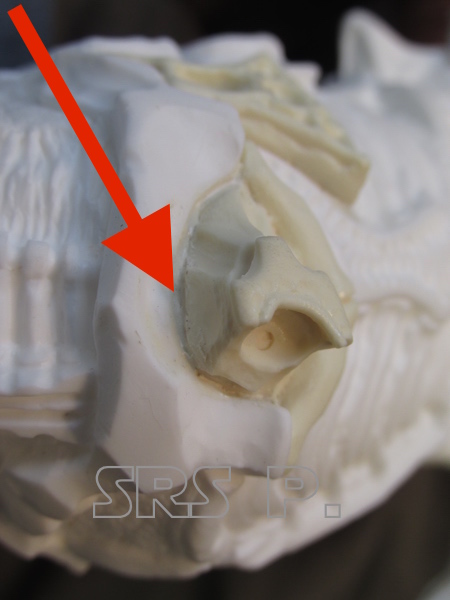
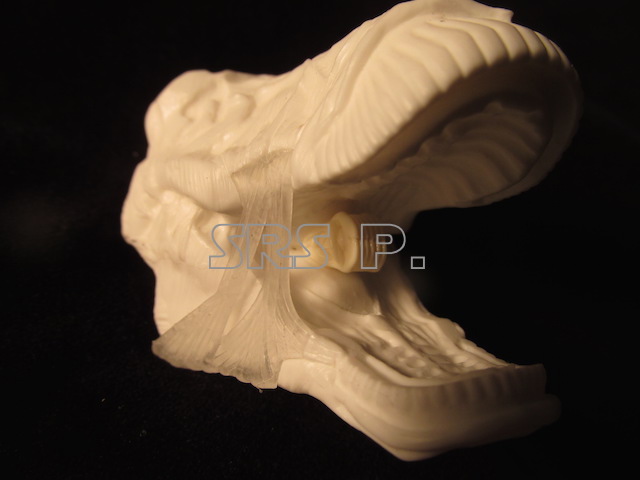
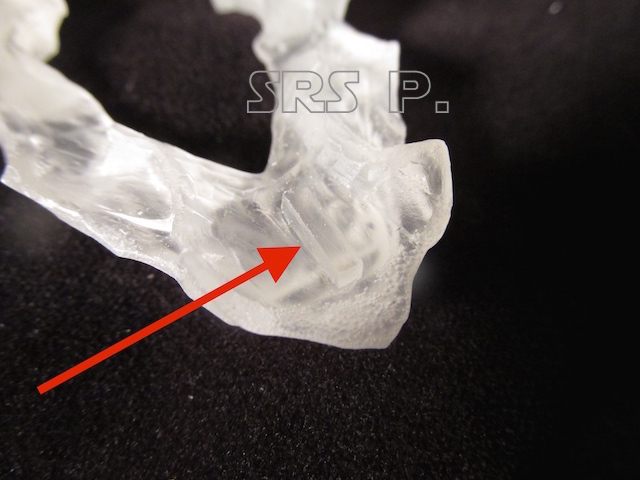
Choose the jaws you like, retracted or extended. If you choose retracted, there will be some filling inside the mouth to blend where the extended jaws located.
Retracted jaws. The arrow indicates where to fill.

REX-X
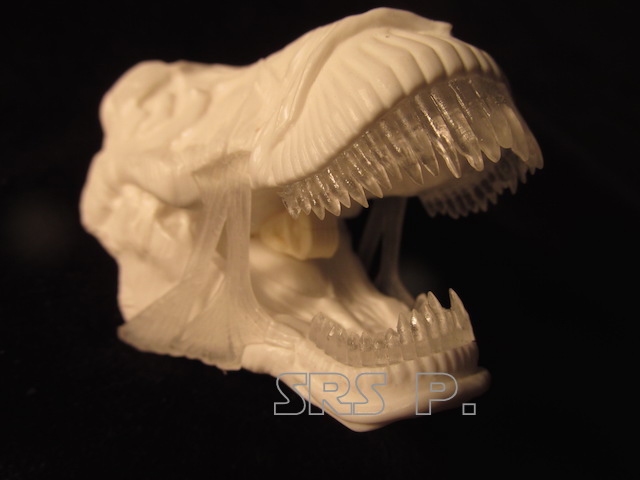
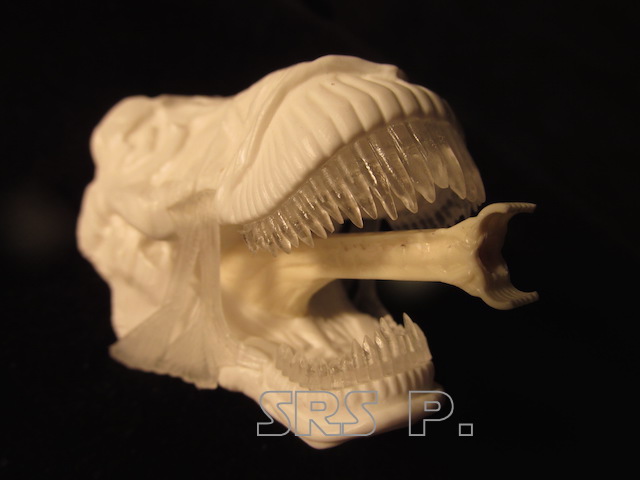
Extended jaws.
REX-X
Jaw tendons in place. L & R side fit the same.
REX-X
Teeth in position.
REX-X
REX-X
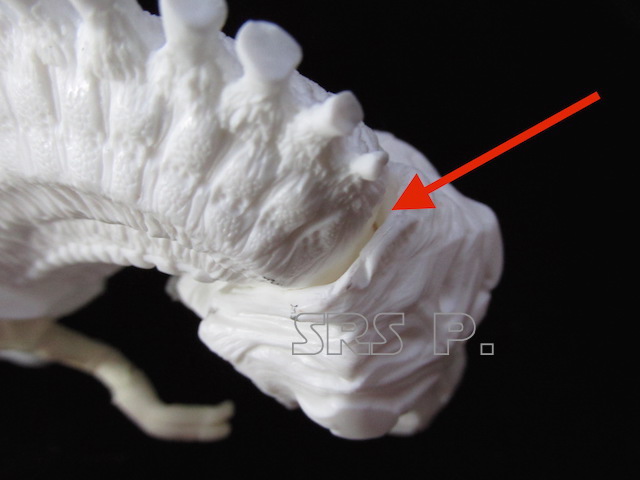
Locating the crest is a simple affair. There is a slot on top of the head to accommodate the tab on the underside of the crest.

REX-X
REX-X
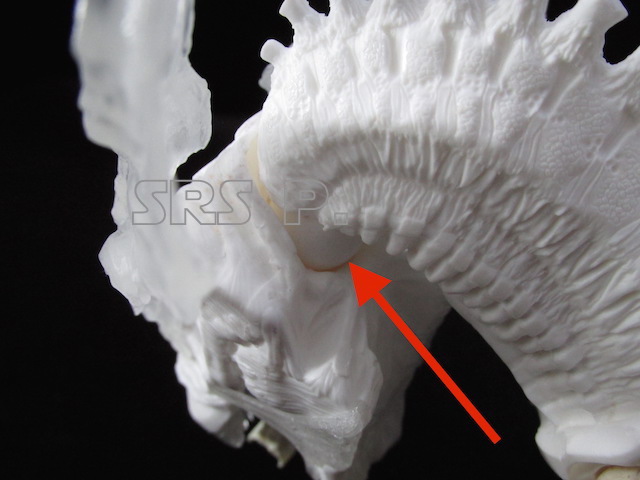
These images show where you will need to fill in around the neck area.
REX-X
REX-X
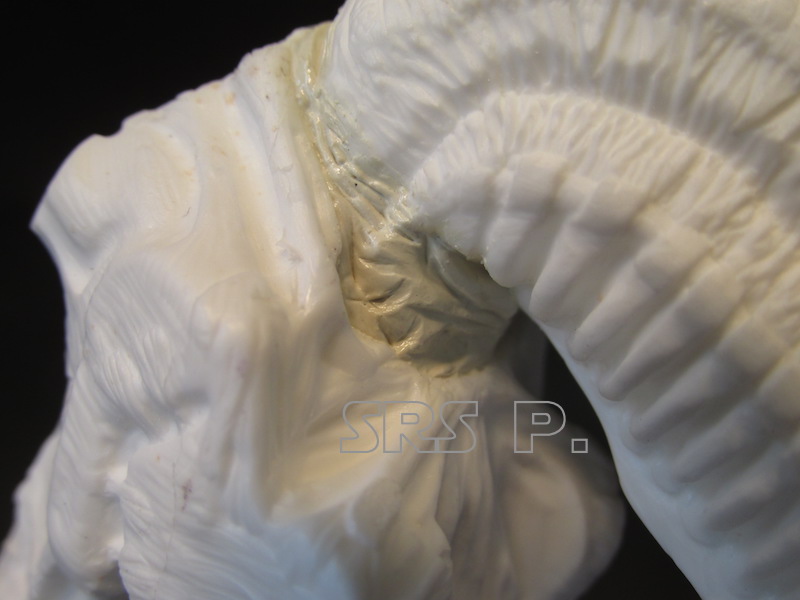
Those gaps were filled and sculpted with epoxy putty, shown below.
REX-X
REX-X
More soon as the kit is completed with a paint!
Don’t forget to send me images of your completed build so I can include them on my customer build-up page!!