
Created for a friend and fellow reenactor, this rifle will represent the Bucks County style of long rifle made during the Revolutionary War period. What I have been asked to do is transfer parts from an existing Pedersoli PA rifle replica to a Track of the Wolf maple stock. This new stock will make a more accurate representation of a Pennsylvania Longrifle.
A stock from Track of the Wolf was ordered, which can be purchased in several variations. The stock I requested was already inletted for the barrel and ramrod. There were no inlets, or openings, for the lock and side plate or the trigger plate & guard or any of the other furniture from the Pedersoli rifle.

Bucks Co. rifle
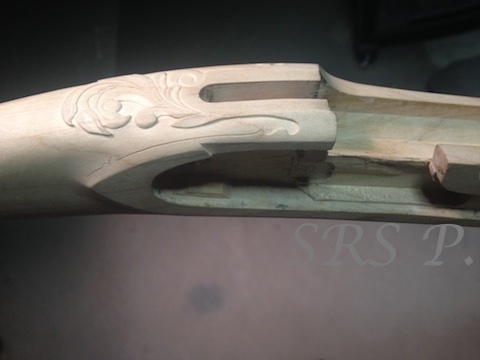
Although the stock was roughly shaped, there is a lot of work to do. The lock, side plate, butt plate, toe plate, ramrod pipes, muzzle cap and trigger has to be fitted to the stock. There is also gong to be some carving on the stock and brass, but not too much as it has to be somewhat plain to represent the bucks Co. style.
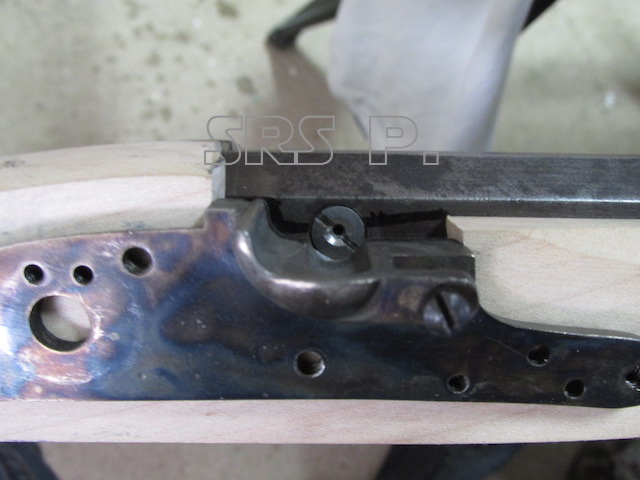
First is the disassembly of the Pedersoli. The Pedersoli is actually a very nice mass-produced Pennsylvania long rifle working replica, (I own one myself.) All of the furniture will be removed and set aside to be fitted to the new stock.
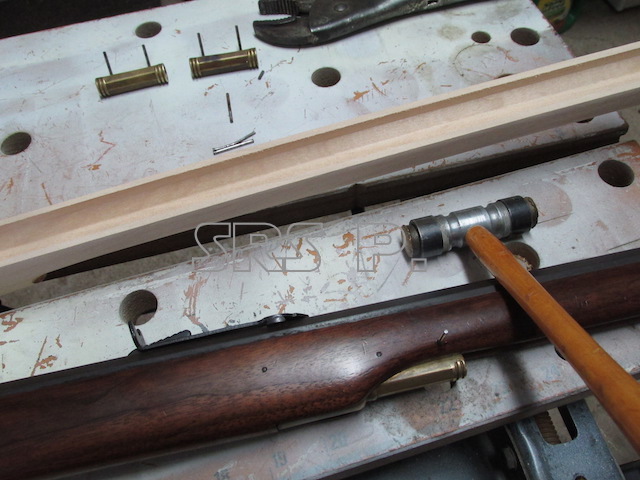
Bucks Co. rifle
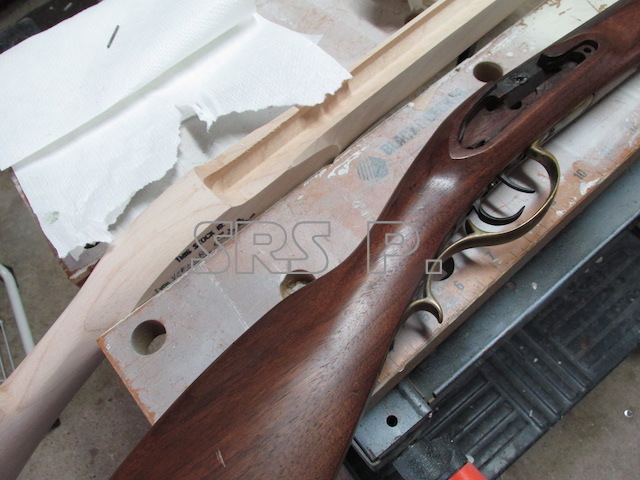
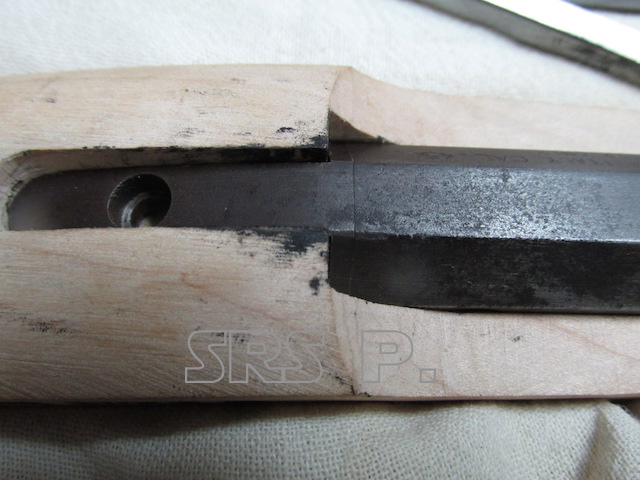
Old next to new. You can see the inlet for the barrel and the rest of the new stock is solid.
Bucks Co. rifle
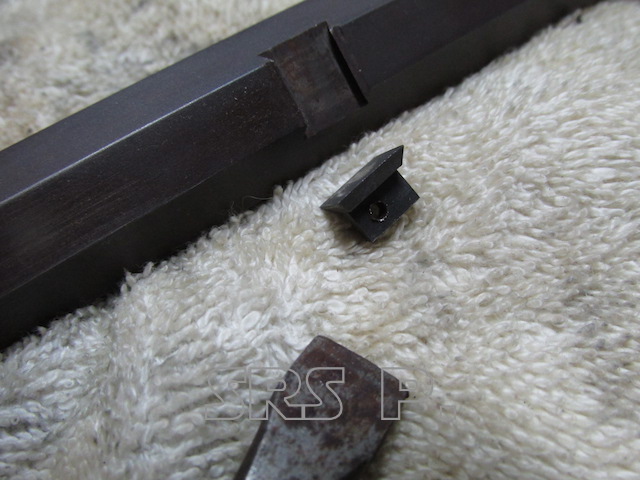
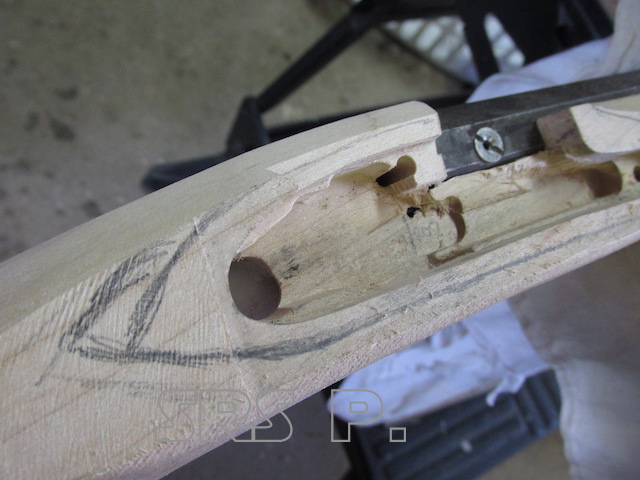
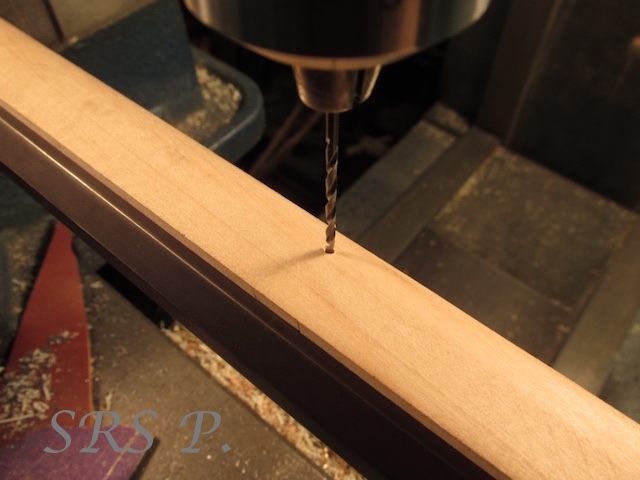
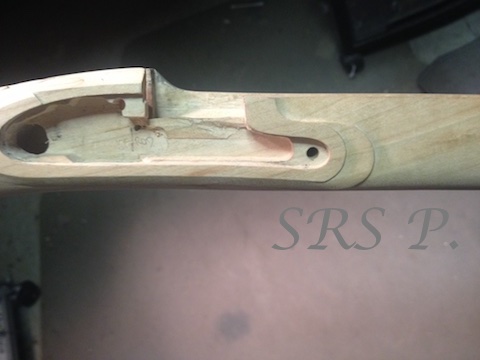
The barrel underlugs are removed to allow the barrel-tang to be in-letted into the stock. They will not be re-used as they have been drilled already. New ones will be fitted to take their place.
Bucks Co. rifle
Bucks Co. rifle
Bucks Co. rifle
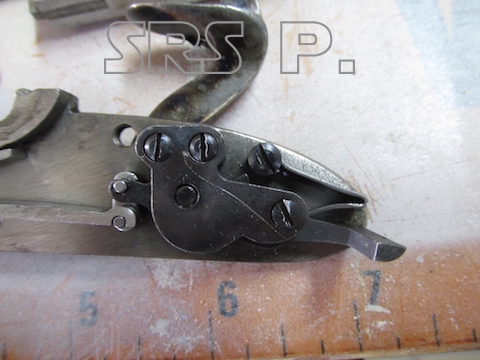
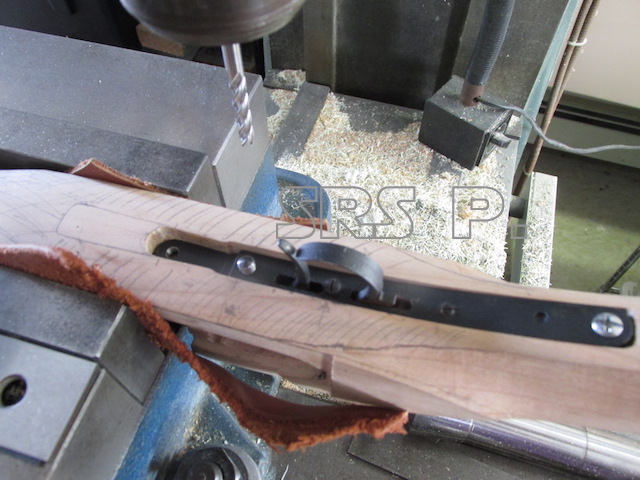
Next the lock is fitted. Once removed from the Pedersoli stock, it is disassembled and fit to the new stock.

Bucks Co. rifle
Bucks Co. rifle
Bucks Co. rifle
Bucks Co. rifle
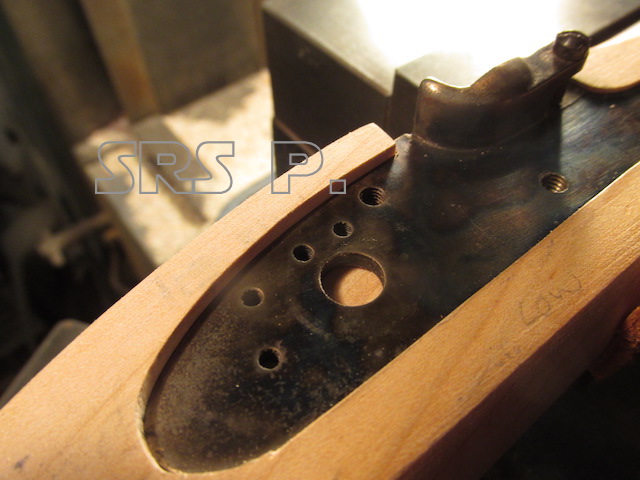
It is important that the touch-hole is properly aligned to the pan for proper ignition of the powder charge inside the barrel. ( not just a ‘flash in the pan’ )
Bucks Co. rifle
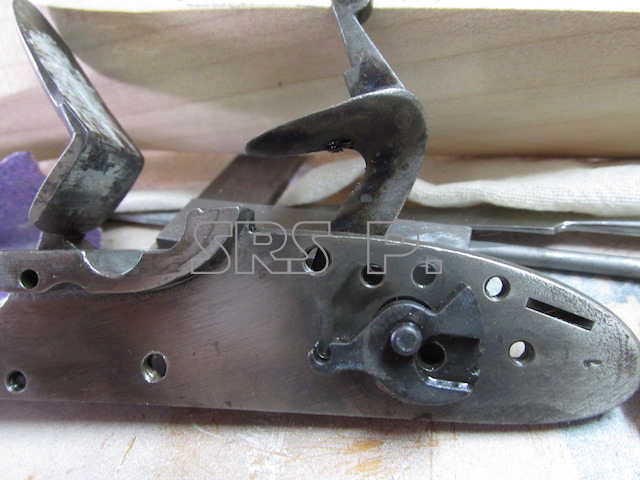
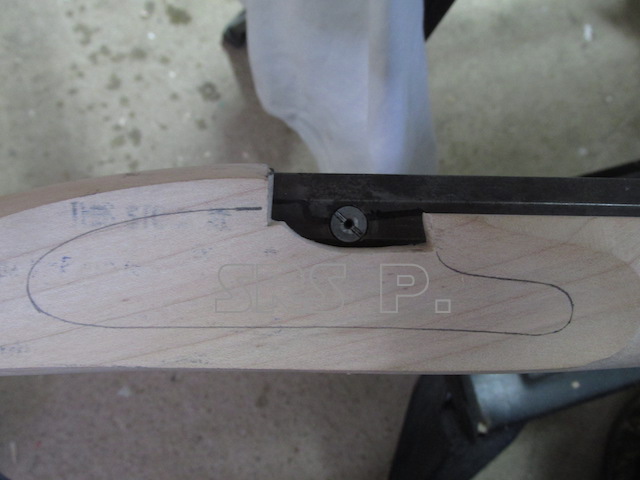
Now the plate is traced and in-letted to the stock. I set it up in my mill to ensure a true and square fit.
Bucks Co. rifle
Bucks Co. rifle
Bucks Co. rifle
Bucks Co. rifle
A nice tight fit against the barrel is the result.
Bucks Co. rifle
Room is made for the rest of the lock mechanism that is behind the plate…
Bucks Co. rifle
Bucks Co. rifle
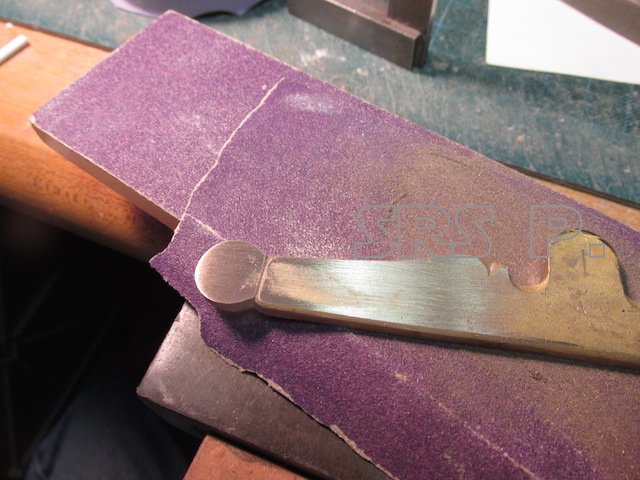
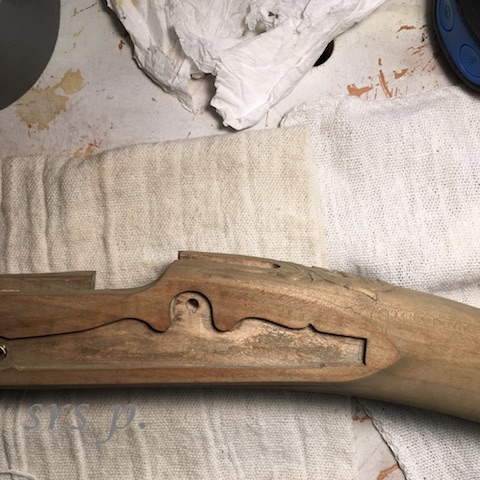
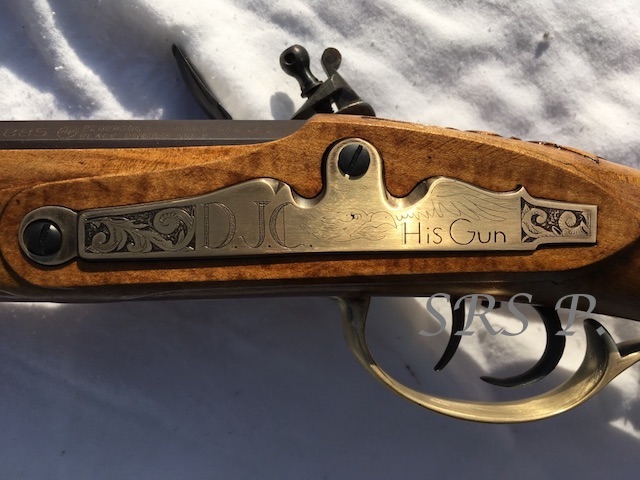
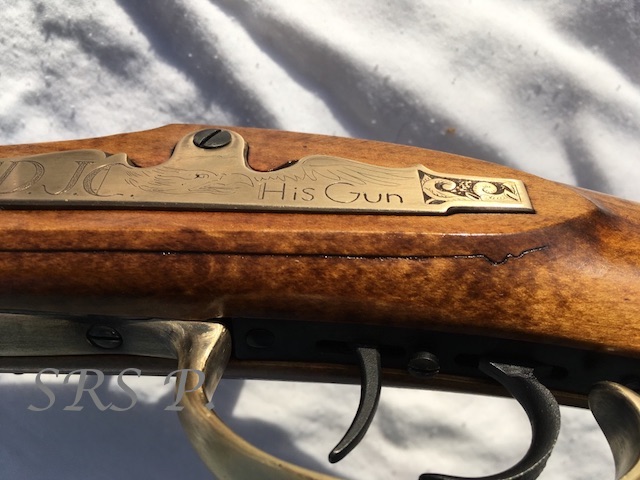
The side plate was fit next. The brass casting let a lot of pitting in the surface, so I will have to add some creative design to help hide some of it.
Bucks Co. rifle
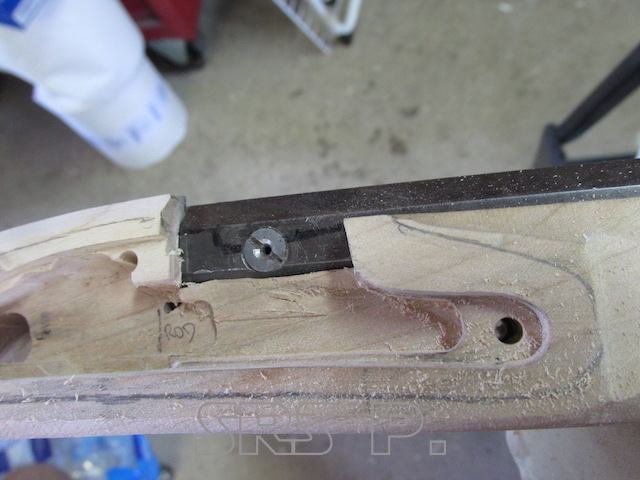
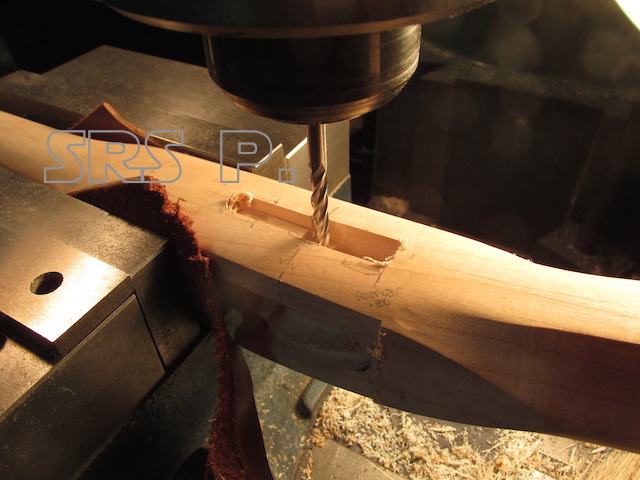
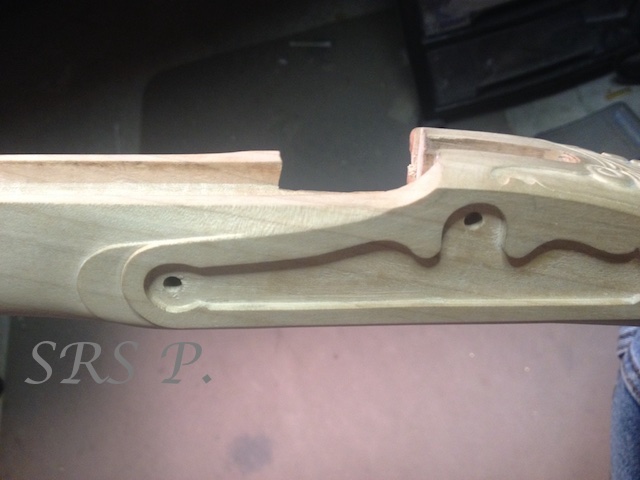
On to the trigger and trigger guard…
Bucks Co. rifle
Bucks Co. rifle
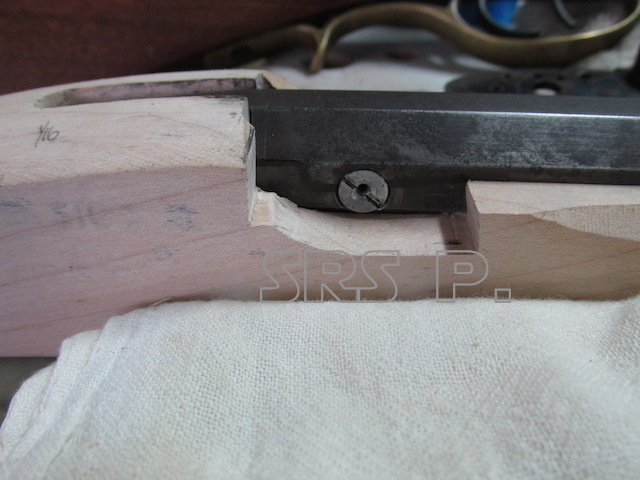
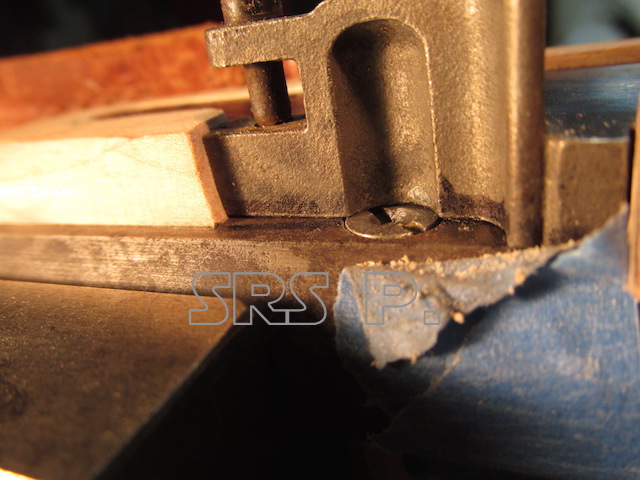
The barrel under-lugs were then drilled to accept their locator pins. The ramrod pipes were also fitted & drilled.
Bucks County Rifle
Bucks County Rifle
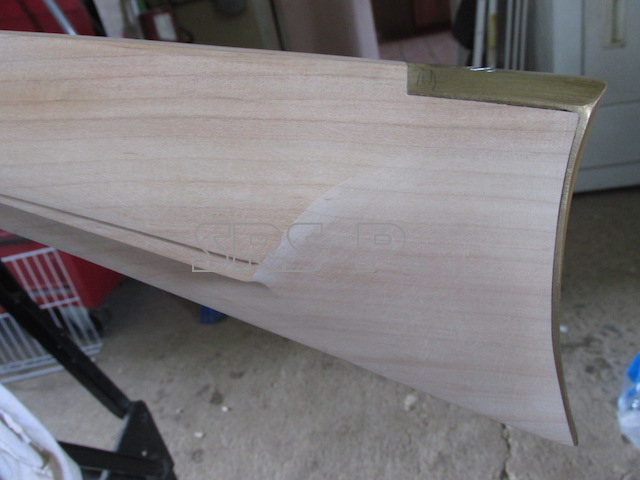
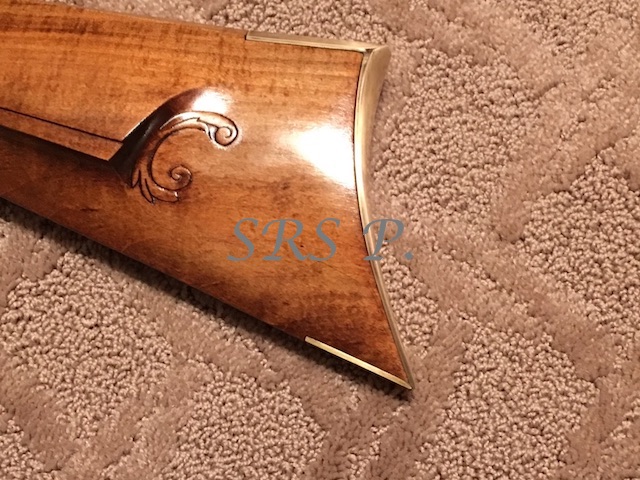
The butt plate is the next big item to fit to the stock.
Bucks Co. rifle
Bucks Co. rifle
Bucks Co. rifle
Final fitting of the stock to the butt plate. It took about two days of work to get the plate to fit this nicely. This is my first build so I had to move slowly so as not to take too much wood away. There is no wood filler option on any of the stock!
Bucks Co. rifle
Bucks Co. rifle
Bucks Co. rifle
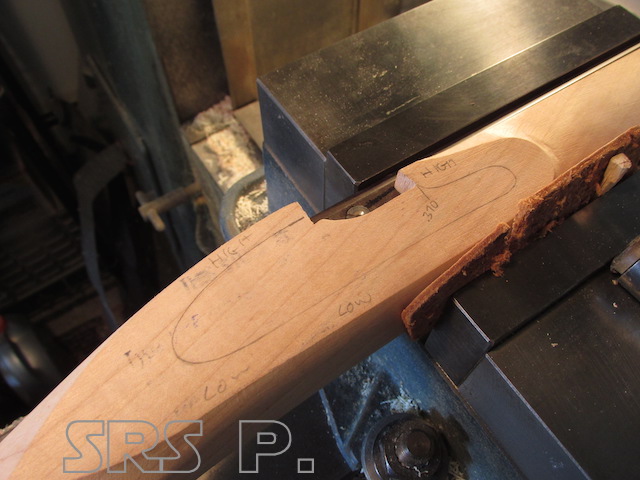
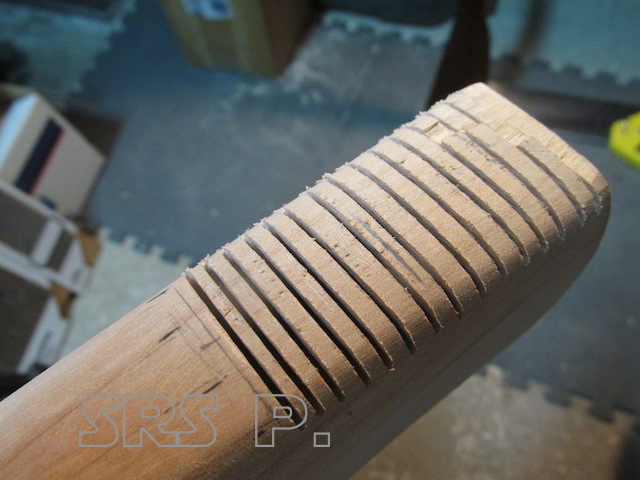
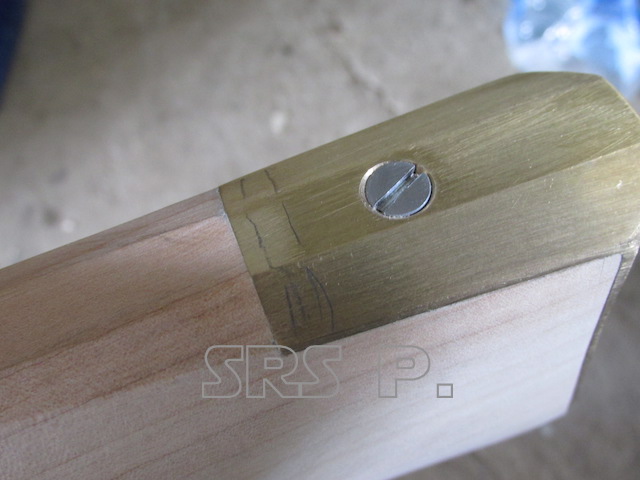
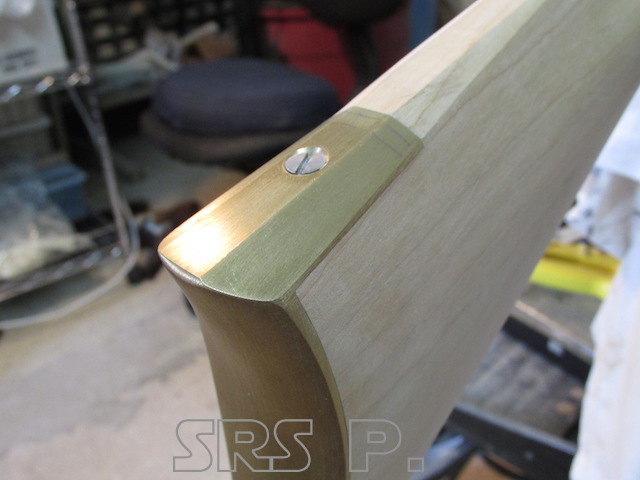
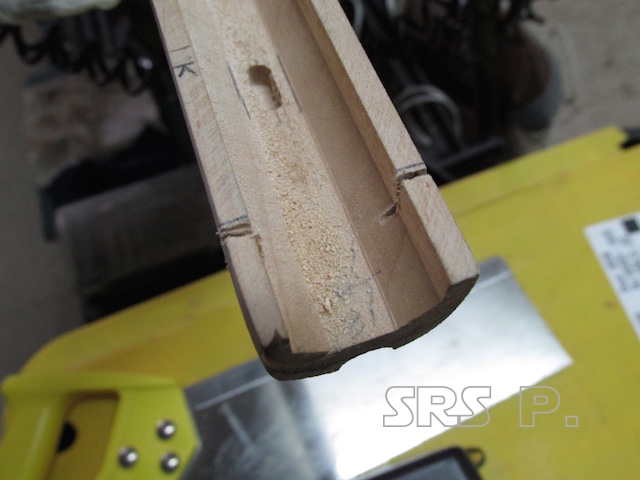
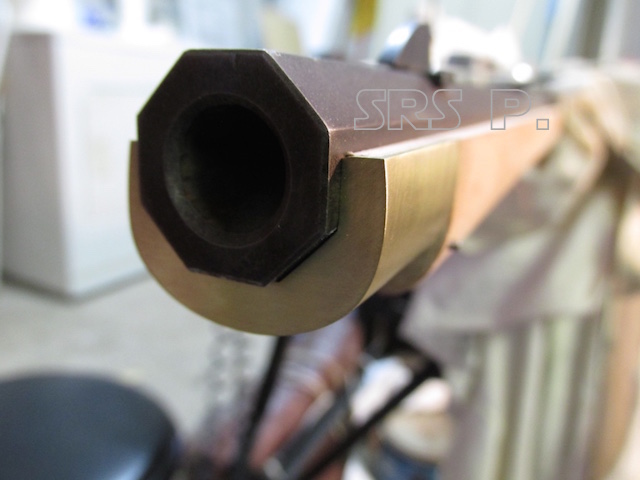
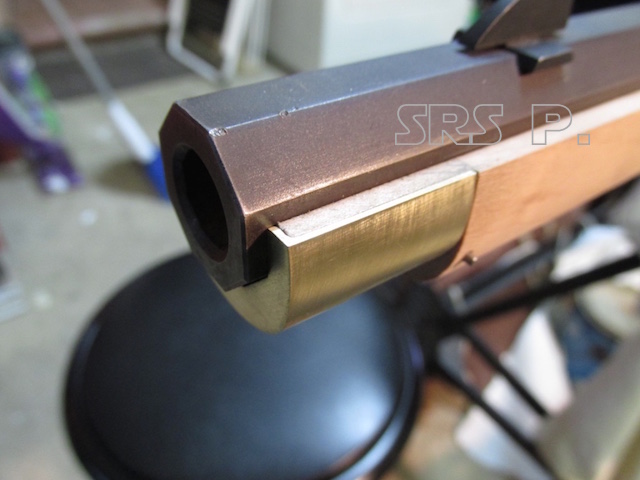
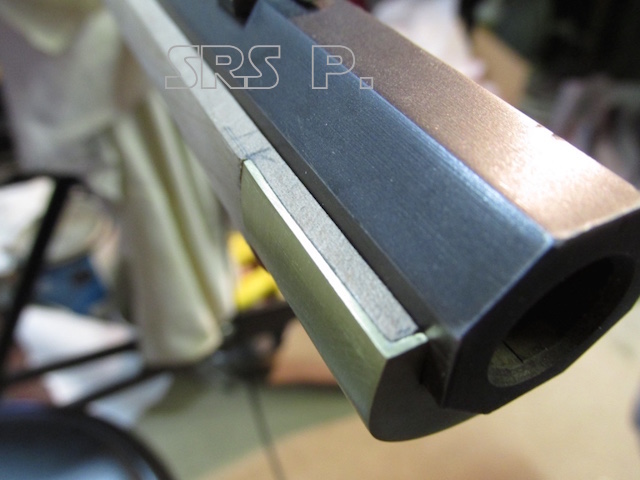
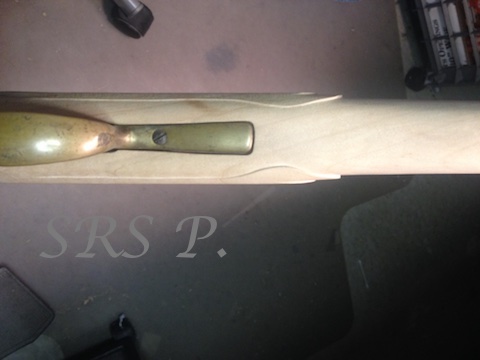
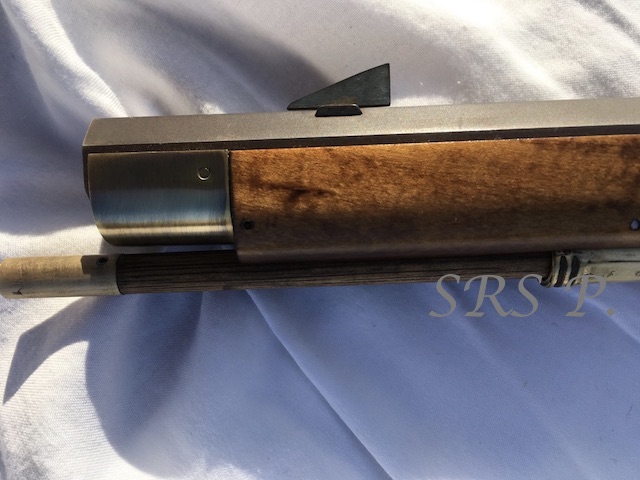
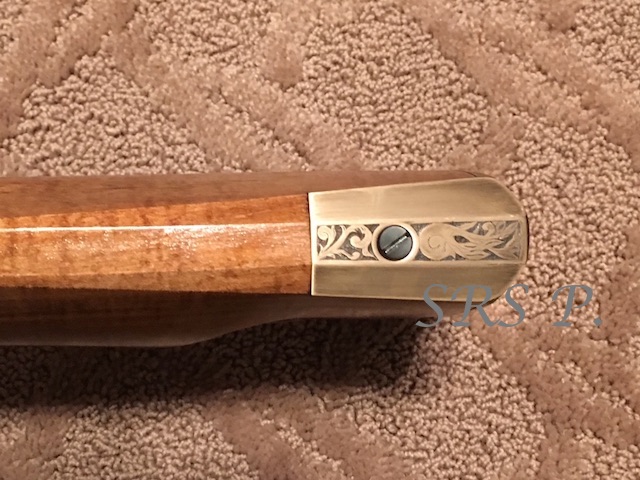
Next is the end cap. First, the stock had to be cut to length for the barrel. Then the wood that created the ram rod channel was removed and the shape drawn on the end.
Bucks Co. rifle
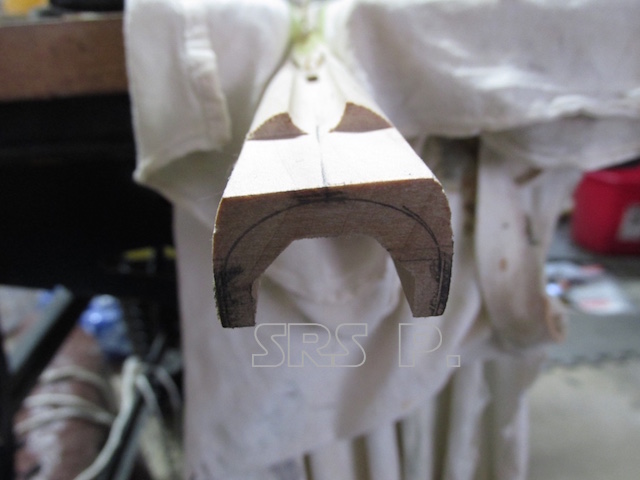
Bucks Co. rifle
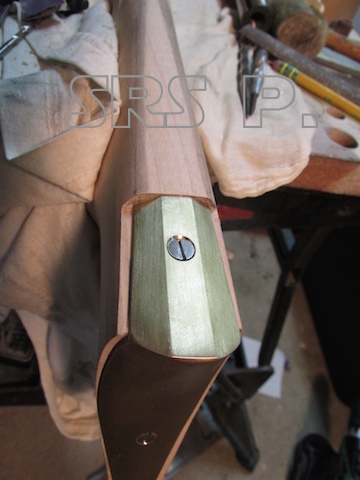
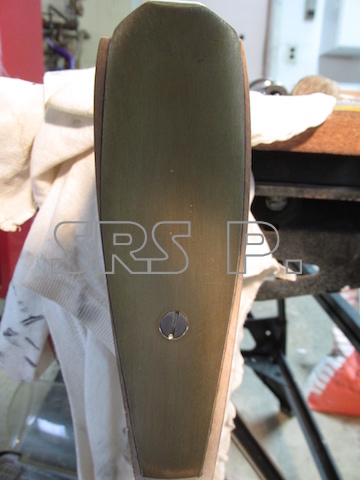
The stock was then carved to shape and brass sheet formed around the stock end. Then a sheet was soldered on one end of the brass form to create the cap and fitted to the barrel.
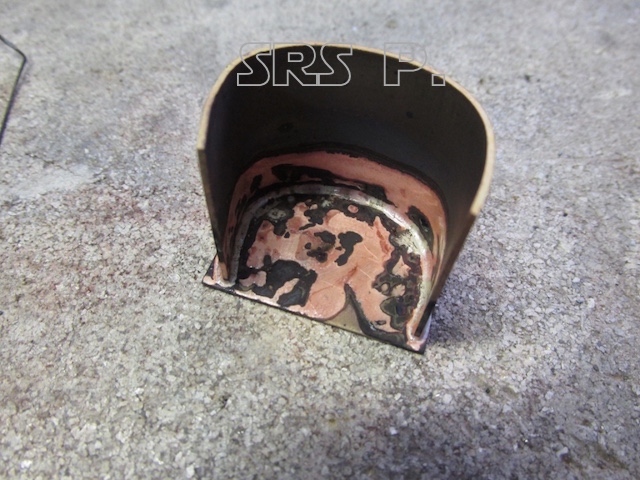
Bucks Co. rifle
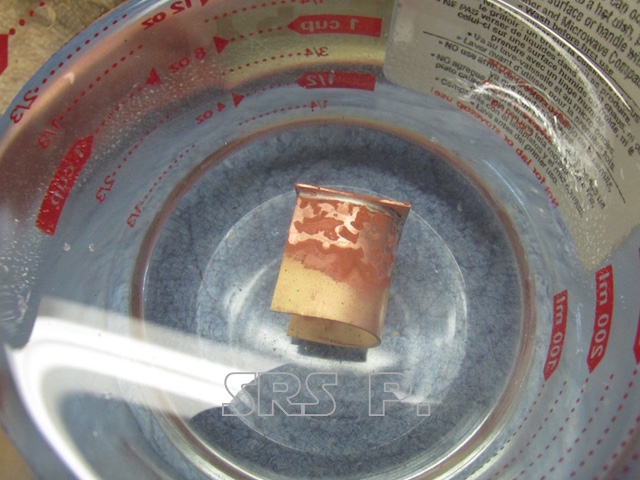
Bucks Co. rifle
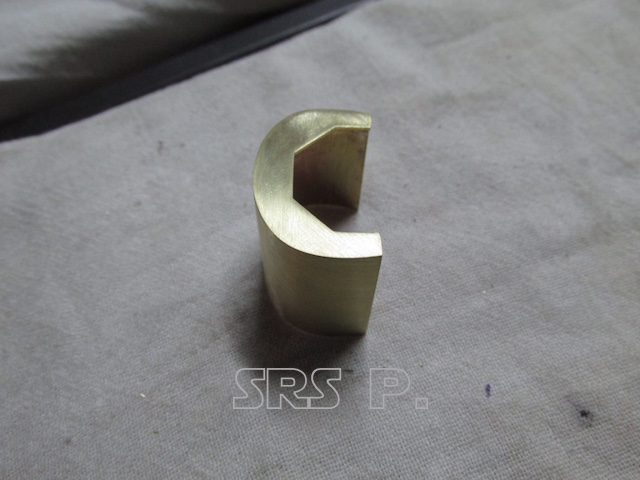
Bucks Co. rifle
Bucks Co. rifle
Bucks Co. rifle
Bucks Co. rifle
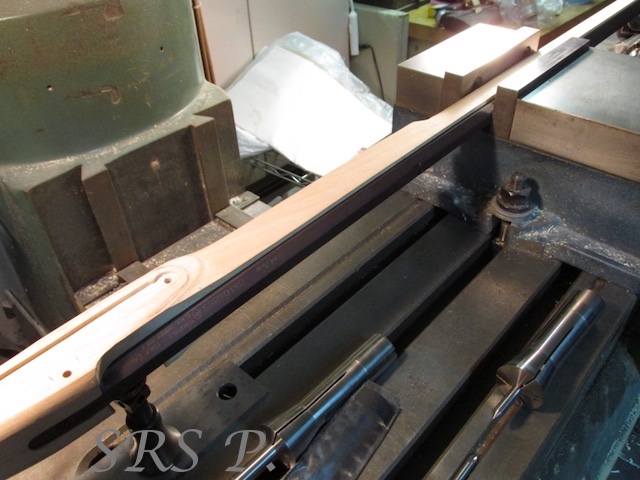
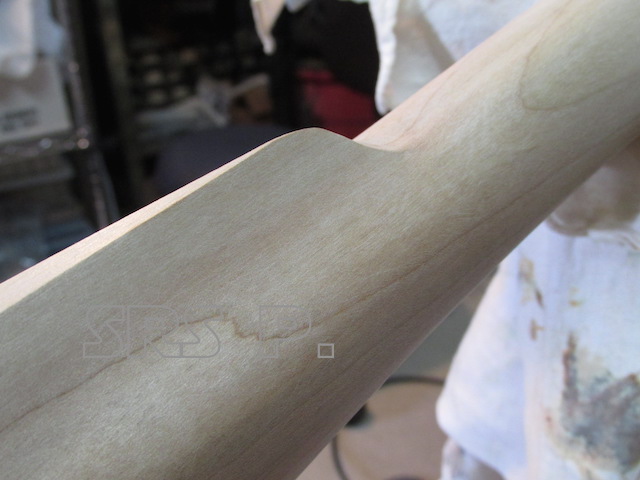
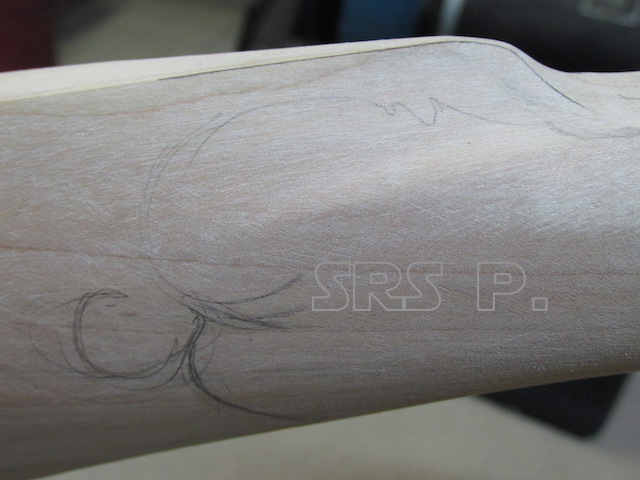
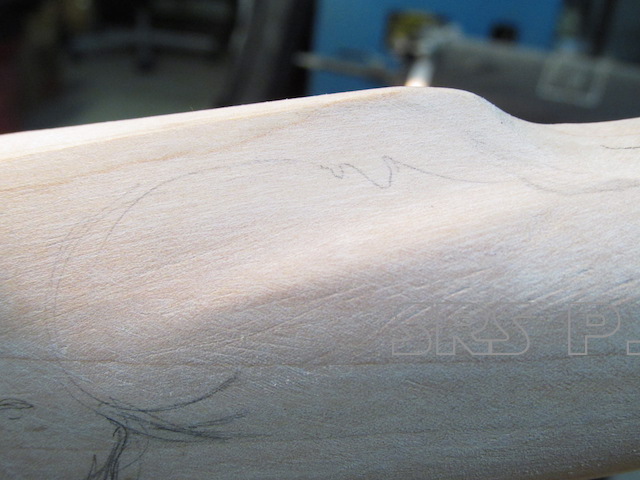
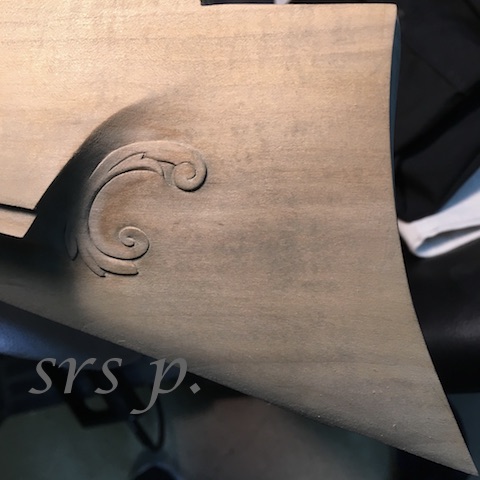
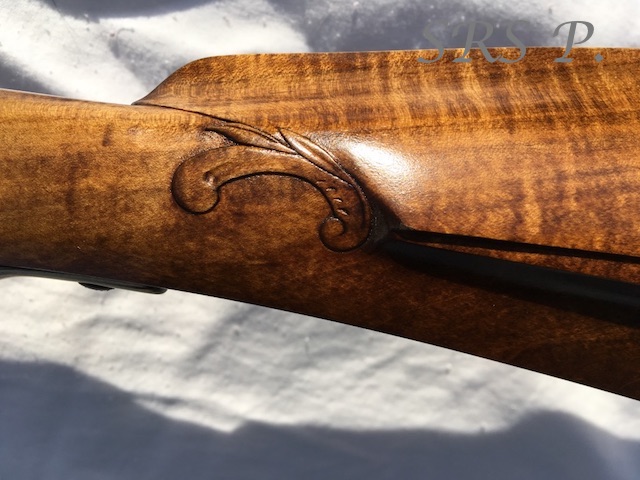
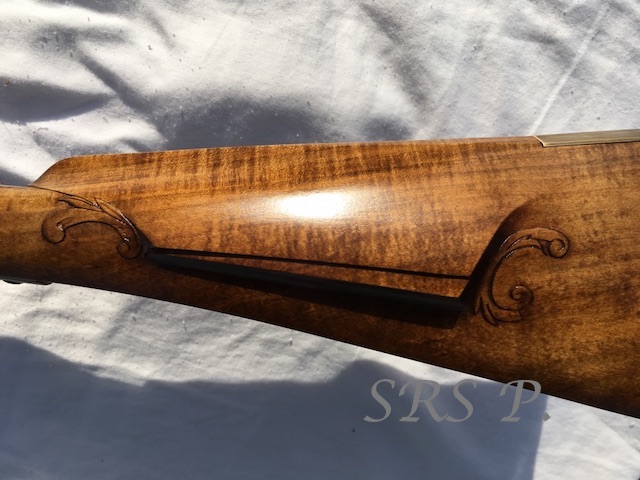
Now that all of the furniture is in place, I continued shaping the stock, completing the butt of the stock and moving forward up to the end cap. I will be adding some simple carving to the butt as well as the ‘wrist’.
Bucks Co. rifle
Bucks Co. rifle
Bucks Co. rifle
Here is the stock completed before staining & finishing..

Bucks County Rifle
Bucks County Rifle
Bucks County Rifle
Bucks County Rifle
Bucks County Rifle
Bucks County Rifle
Bucks County Rifle

Bucks County Rifle
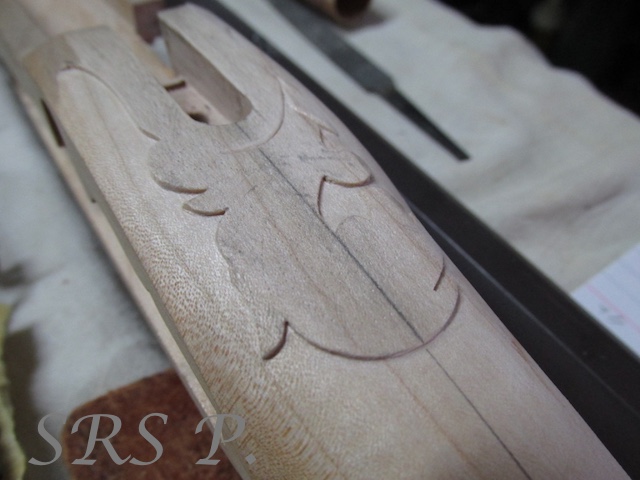
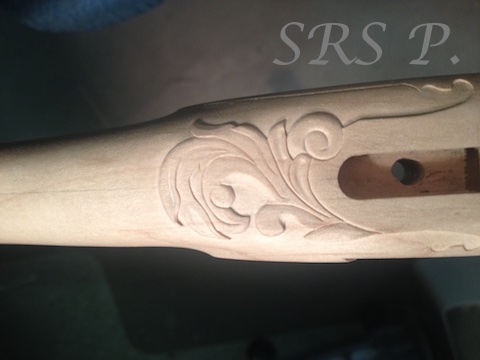
Now that all of the carving is completed, I can stain & finish the stock.
I used Aquafortis to stain the stock. It is an old formula, nitric acid, used to dissolve most metals. The formula I purchased has iron suspended in it. It turns the stock a grayish-green/brown in color. You activate it by applying a modest amount of heat to the stock while it is still wet. It has to be neutralized with ammonia once its dried or it will continue to darken the wood. Next I applied a home made formula that Dave from The Muzzle loading forum suggested which worked perfectly. It is a mix of Boiled linseed oil, mineral spirits and polyurethane finish. I applied this formula after applying four coats of straight boiled linseed oil. It took five days between coats to dry, the custom formula dried in 48hrs. I then applied a coating of the same mixture with less oil and a little more mineral spirits which also dried quickly, almost before I was finished applying it. I was surprised by how nice the stock turned out, being my first gun stock completed. You will see in the images below how the stain brings out the grain showing aspects not noticeable before.
Bucks County Rifle

Bucks County Rifle
Bucks County Rifle
The first application of boiled linseed oil and even more of the grain ‘pops’.

Bucks County Rifle
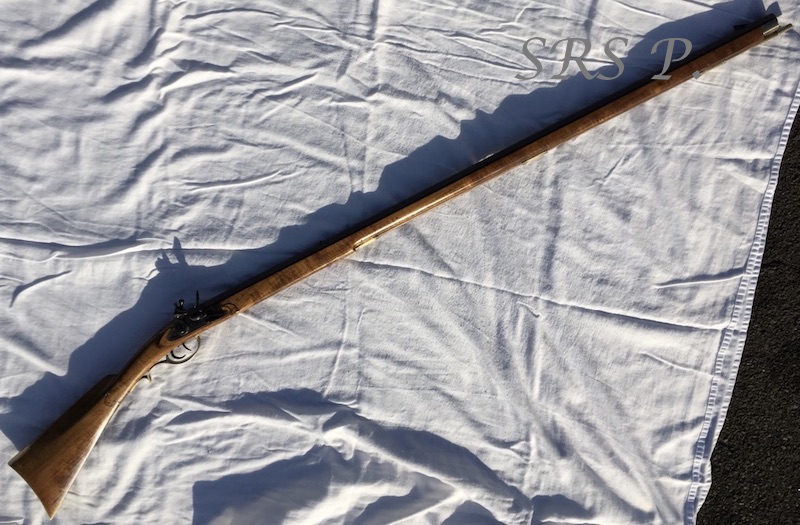
The completed rifle. The butt plate and side plate were engraved and then antiqued so as not to be too shiny & new looking.
Bucks County Rifle
Bucks County Rifle
Bucks County Rifle

Bucks County Rifle
Bucks County Rifle
Please contact me if you wish to have a rifle or musket built for you.
Thanks for looking!