
I have been tasked to create three ships, all from the T.M.P. era.
The models are based on existing designs or variations of them. The designs were created by Bill Krause.
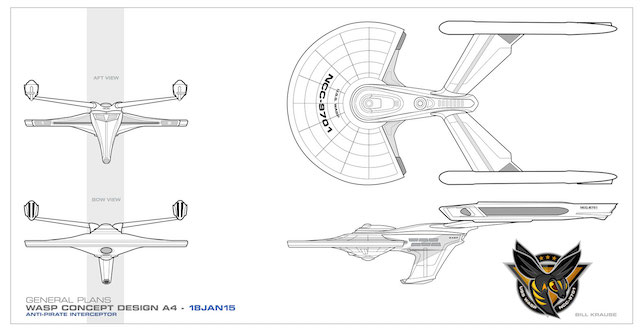
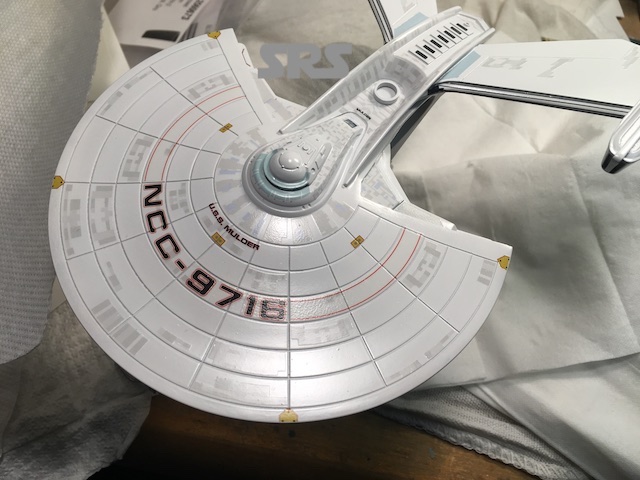
The first ship is the U.S.S. Mulder, based on Bill’s Wasp;
Here is a link to Bill’s build of the Wasp on Resinilluminati.com
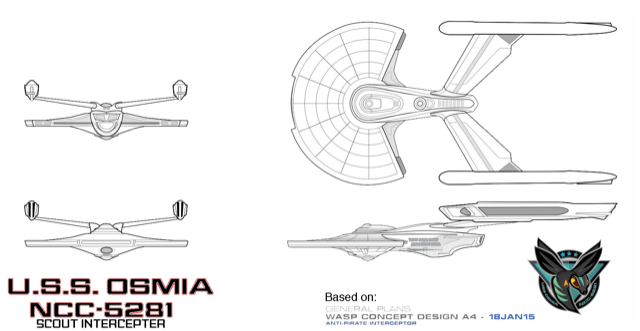
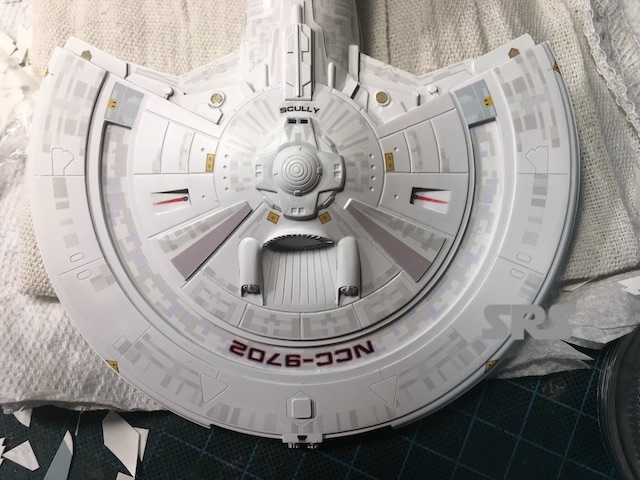
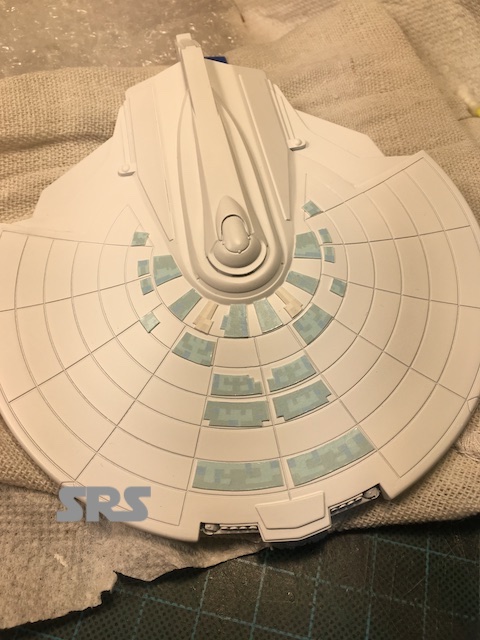
The second is the U.S.S. Scully, a Wasp variant, Osmia;
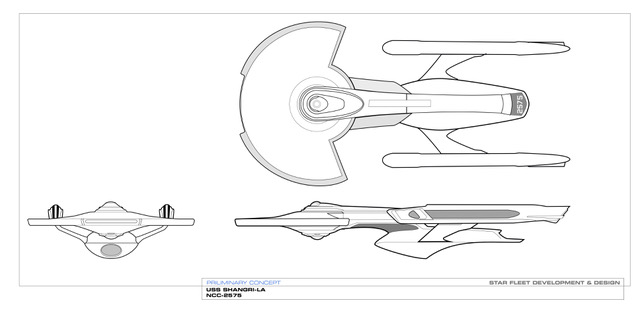
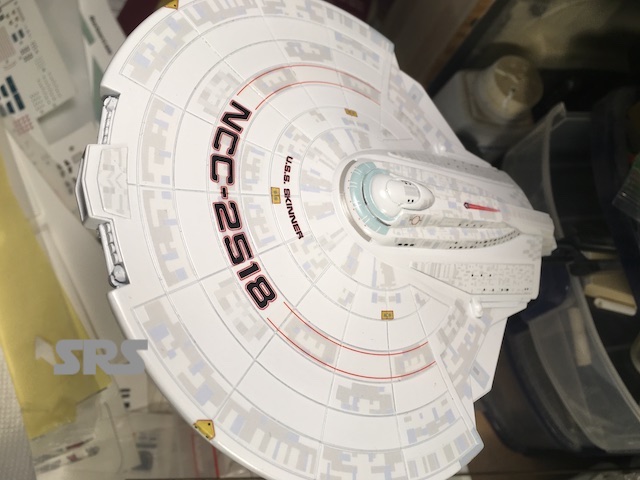
The third will be the U.S.S. Skinner, based on the Shangri- La, here is a link to Bill’s Shangri-La
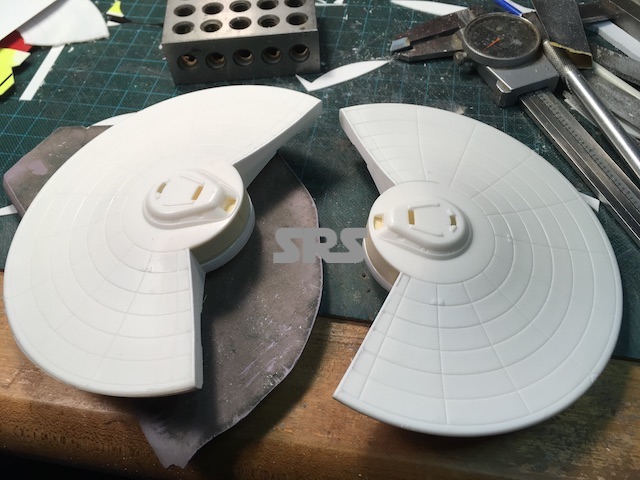
The first of the trio will be the Mulder (Wasp). The Molder and Scully share the same primary hull design, so both will be created at the same time.
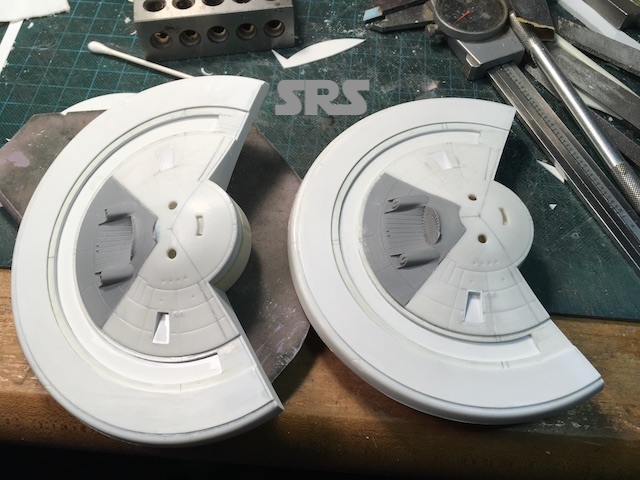
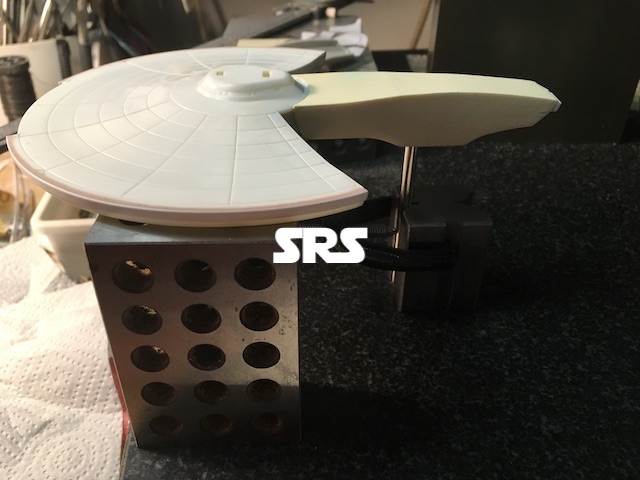
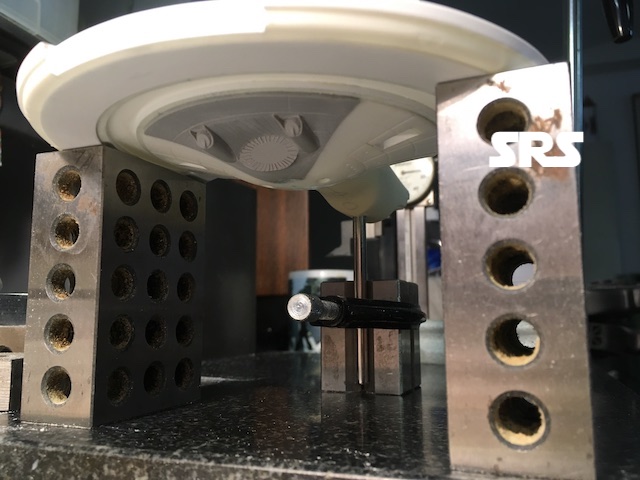
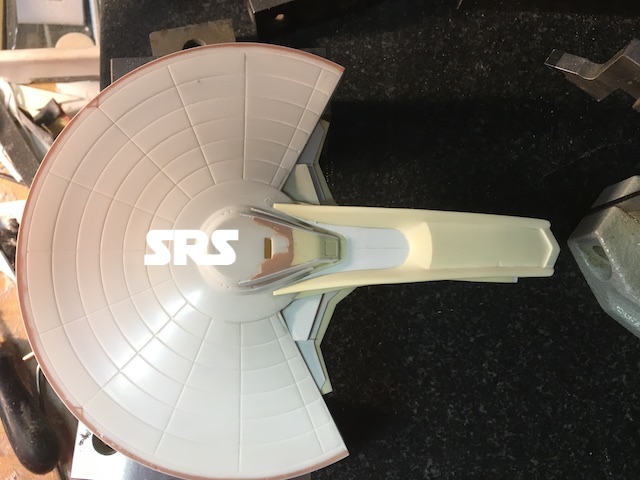
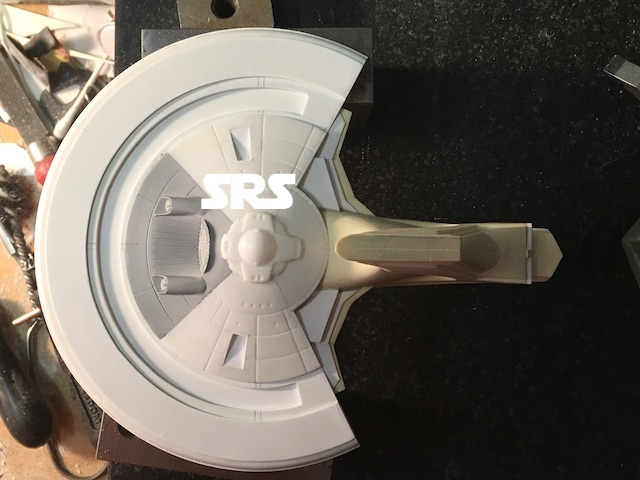
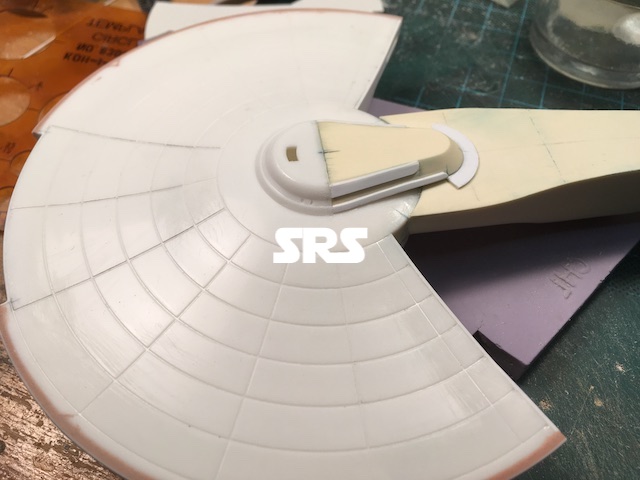
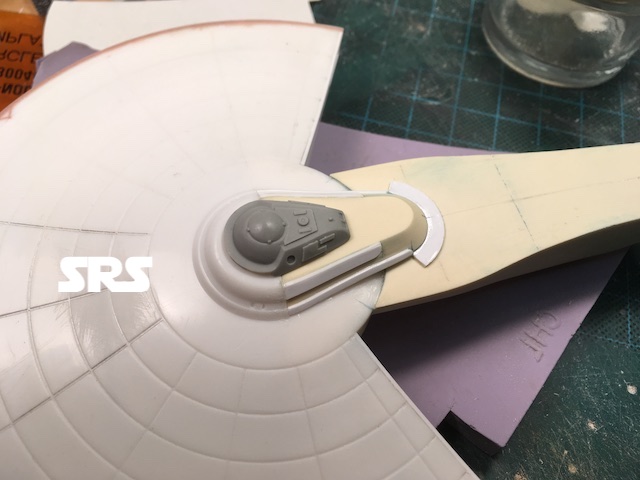
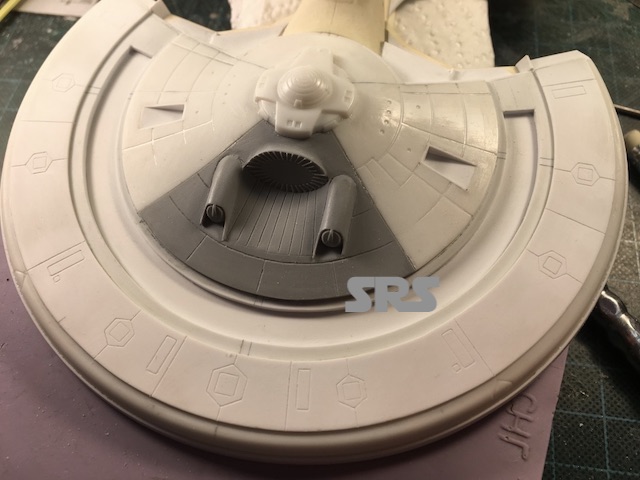
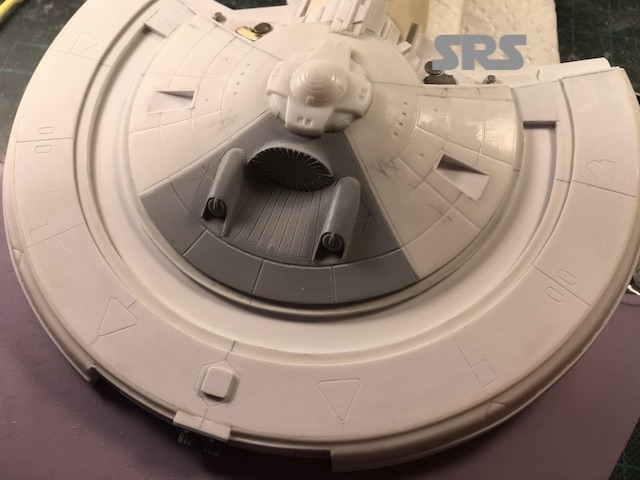
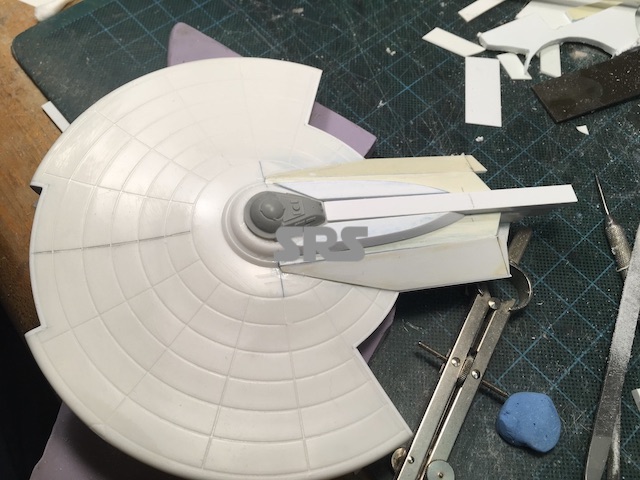
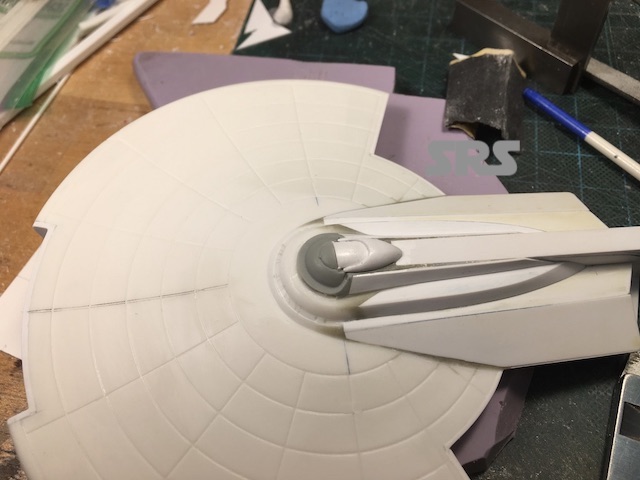
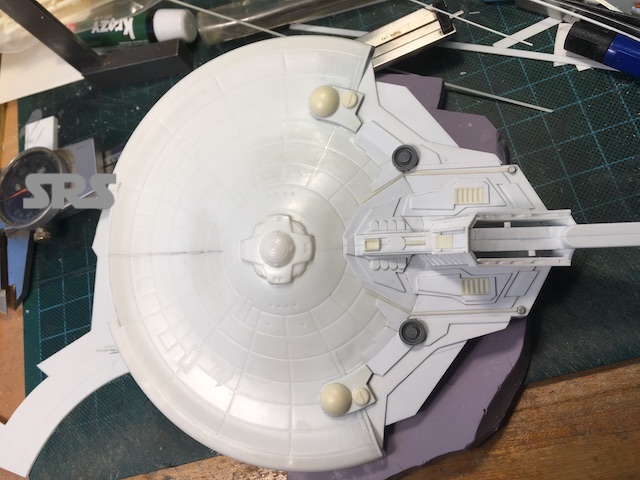
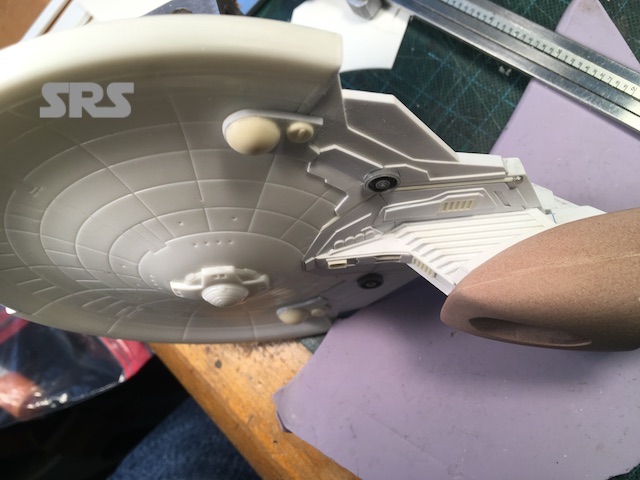
The hulls have been ‘notched’ and the undersides of both hulls have been heavily modified and after-market parts added. The bottom of the saucers no longer have the graceful curves, they are instead flat with a ‘trench’. The center of the saucer retains the dome shape with the deflector dish added.
Mulder/Scully
Mulder/Scully
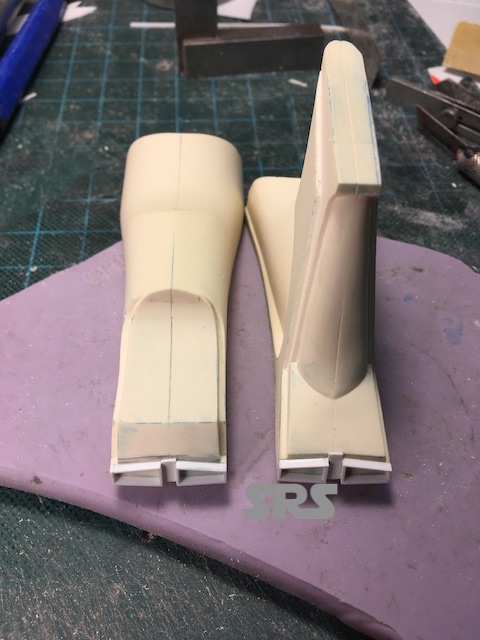
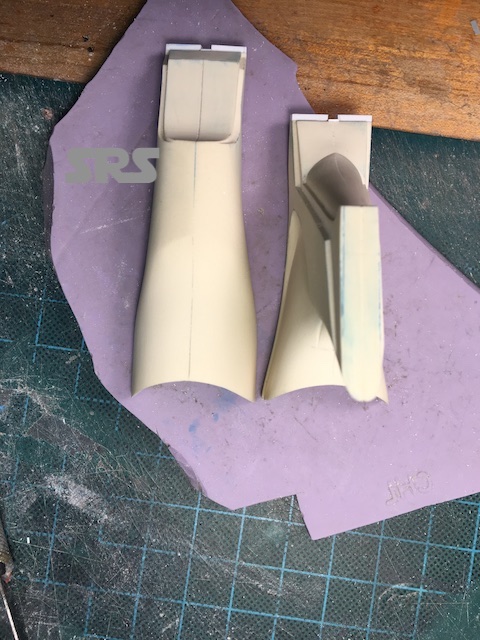
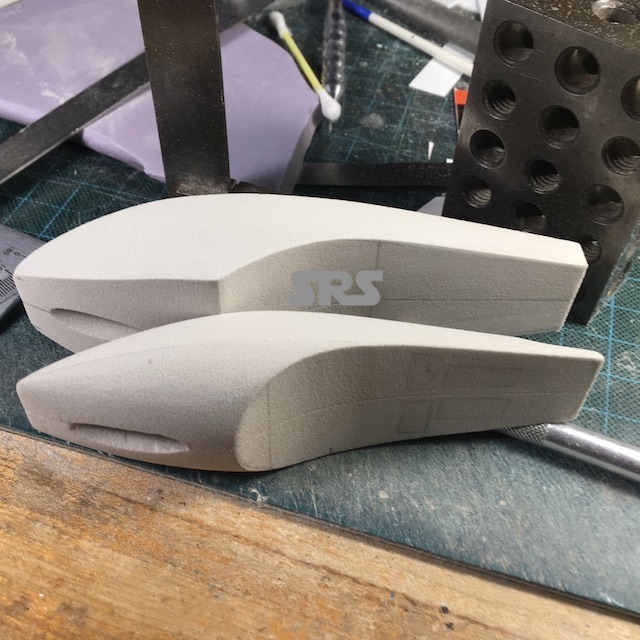
Next is the secondary hull. As with the saucers, both parts were made at the same time since they shared similarities. The material used for the hulls is Ren-Shape.
Mulder/Scully
Mulder/Scully
Mulder/Scully
Mulder/Scully
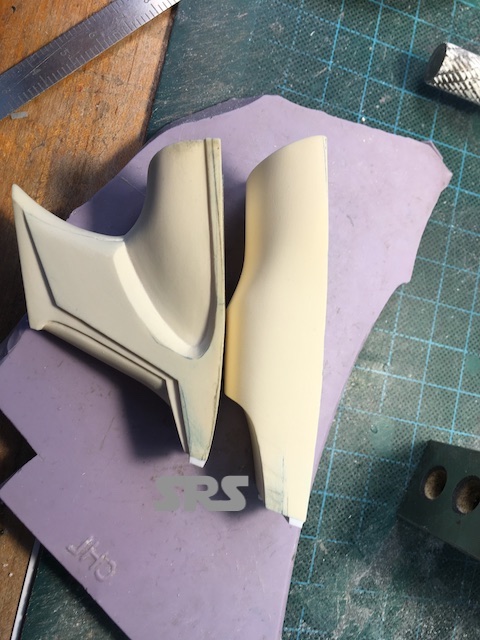
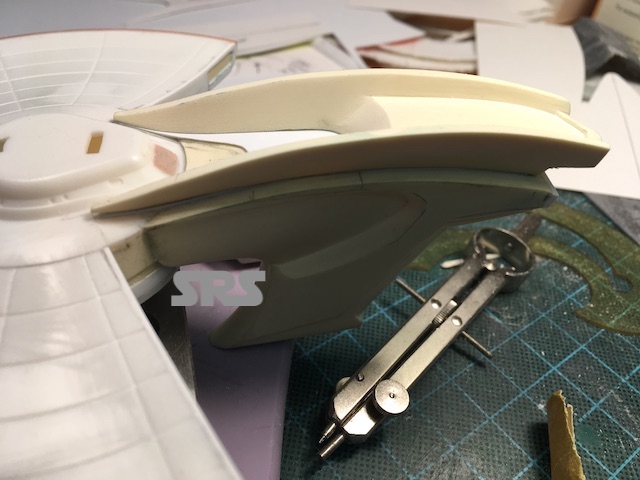
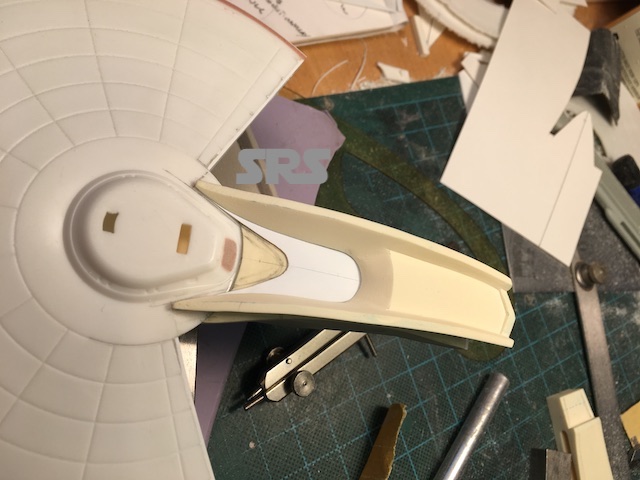
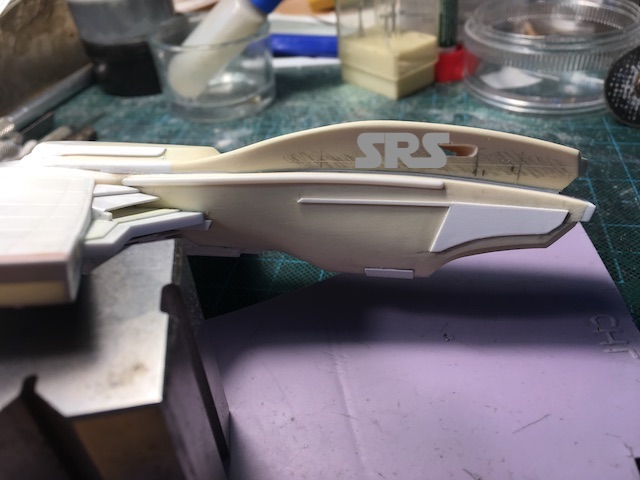
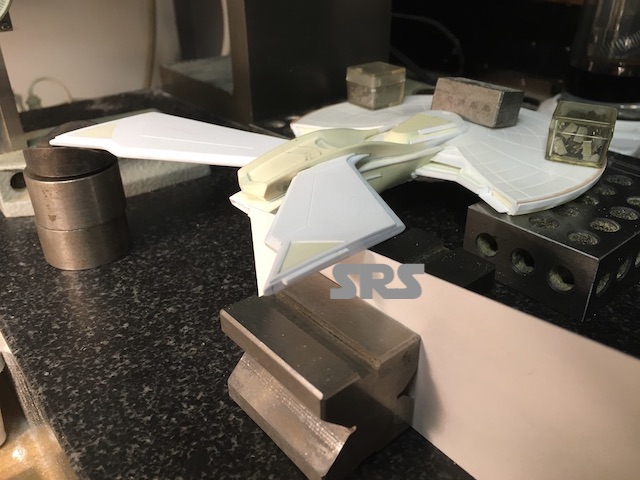
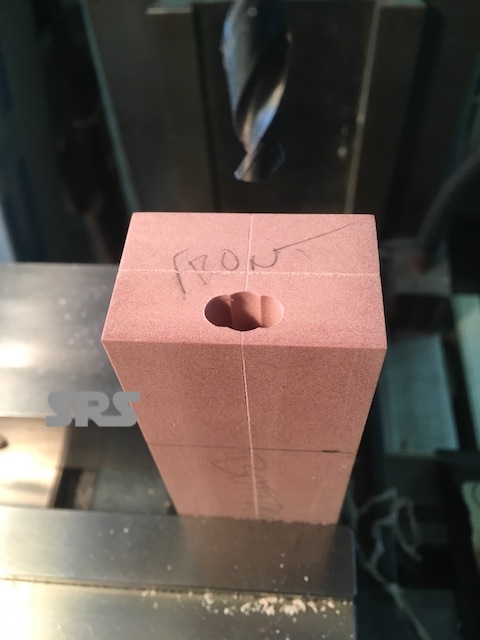
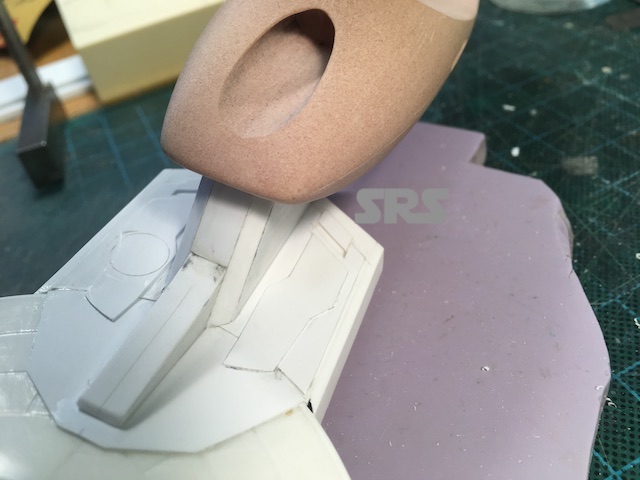
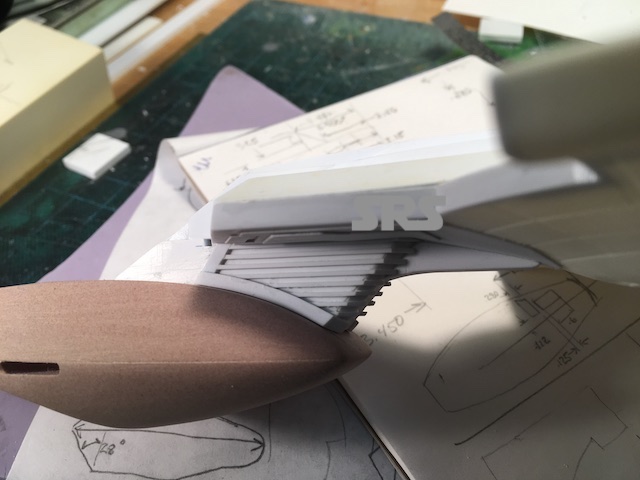
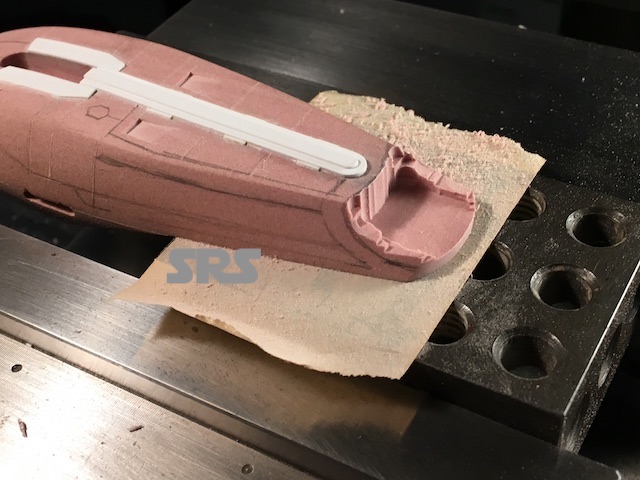
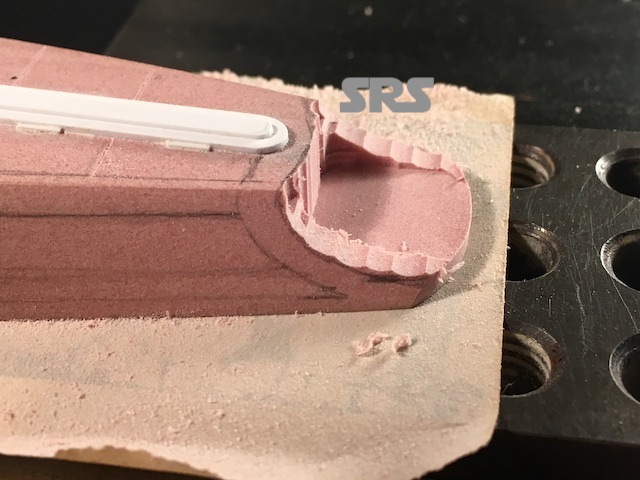
Time to add a ‘stinger’ to this tail..
Before attaching the part, a hole is drilled to accommodate the display stand rod.

Mulder/Scully
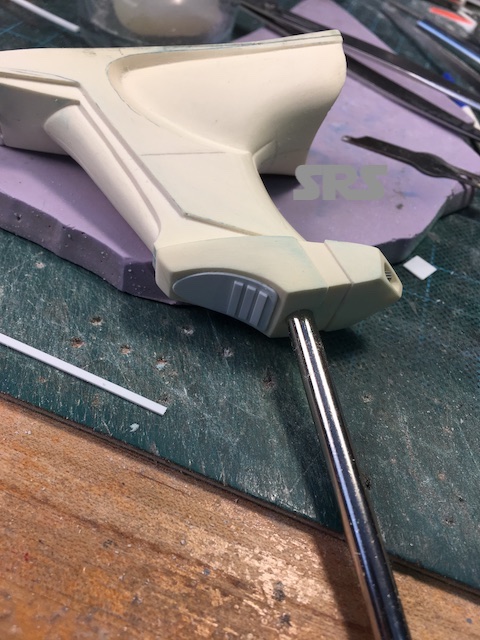
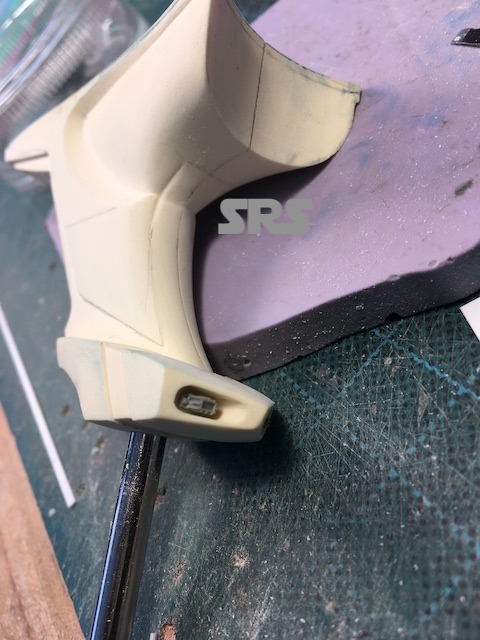
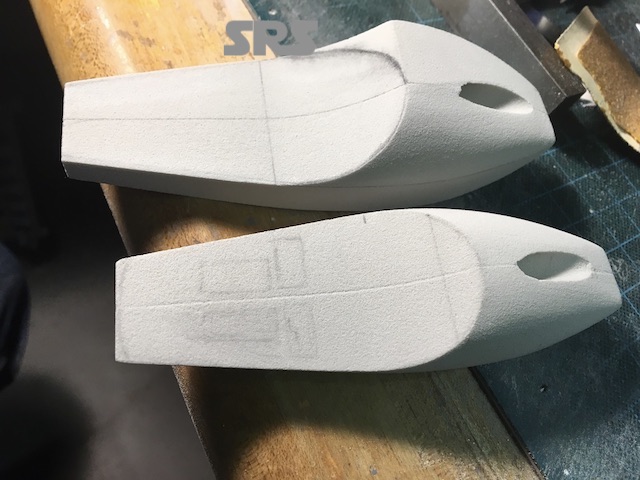
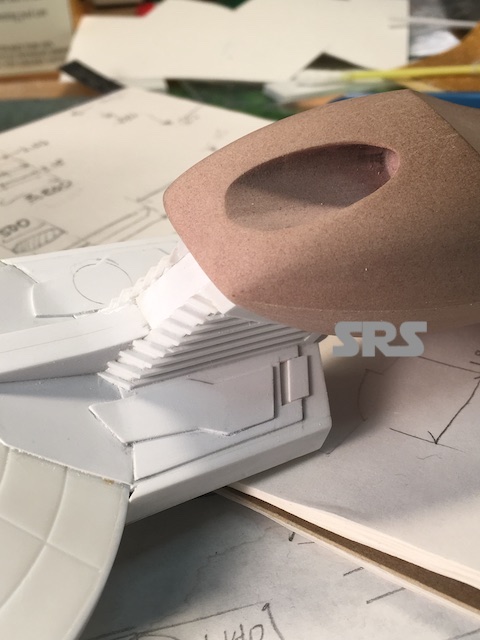
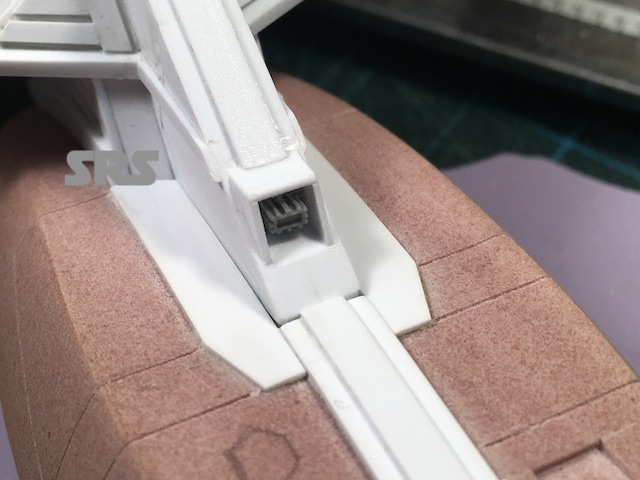
Detailing and two torpedo tubes are added.
Mulder/Scully
Mulder/Scully

Mulder/Scully
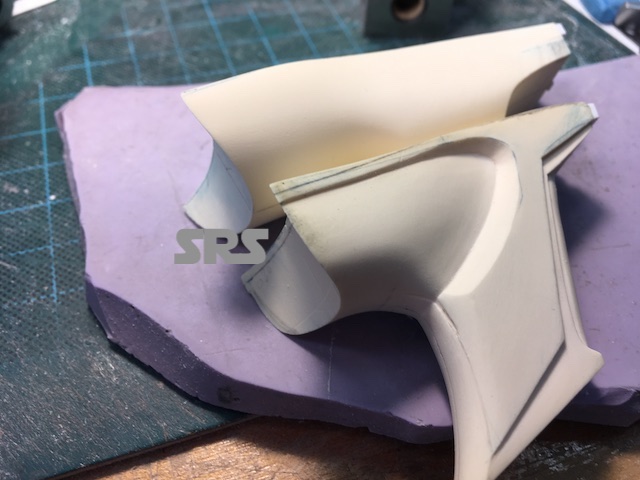
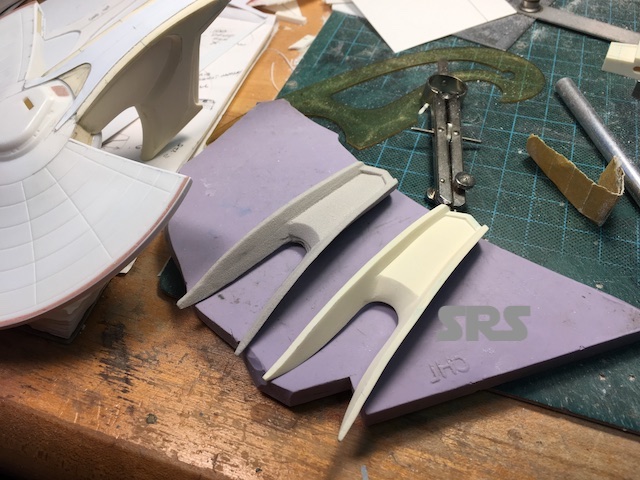
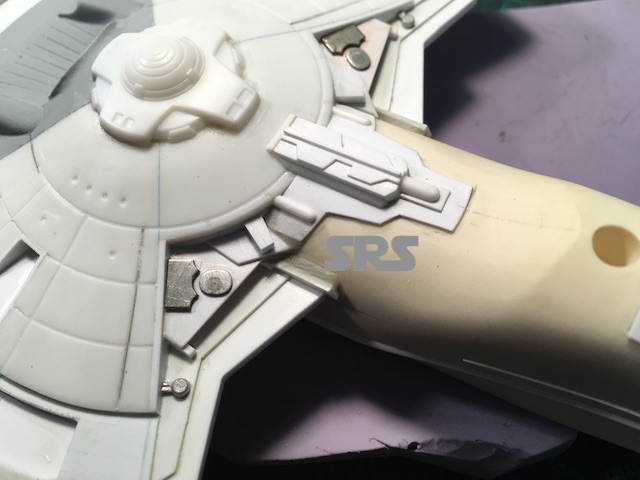
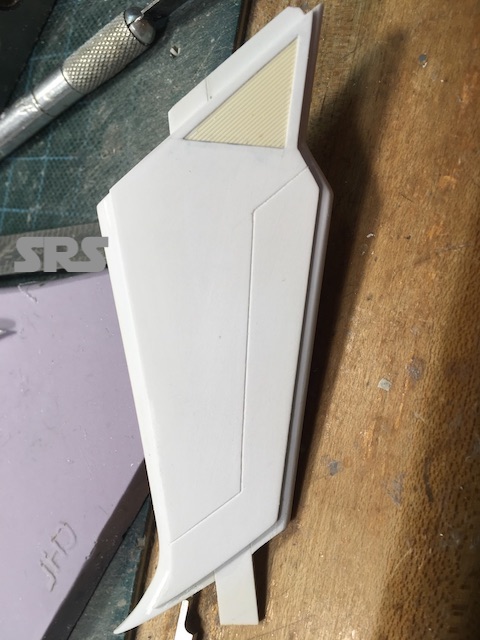
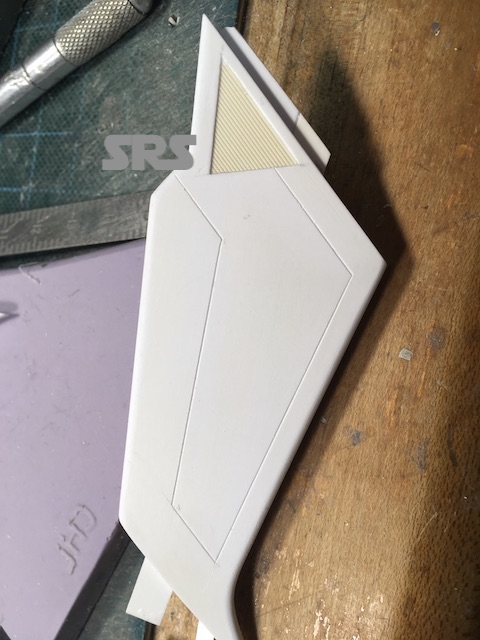
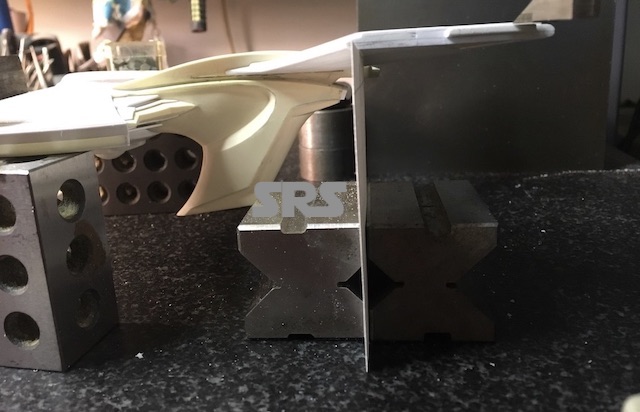
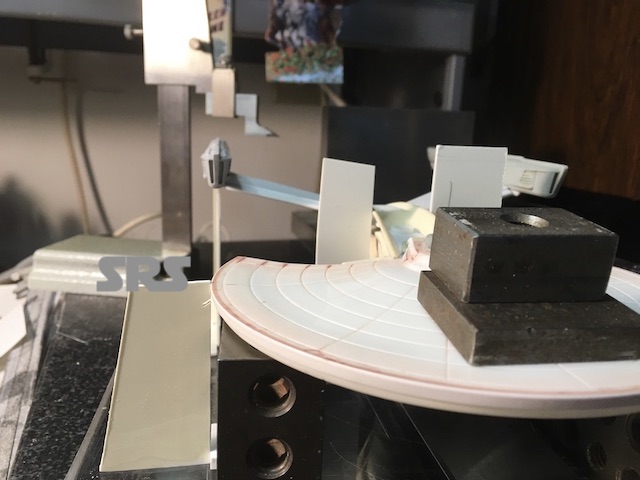
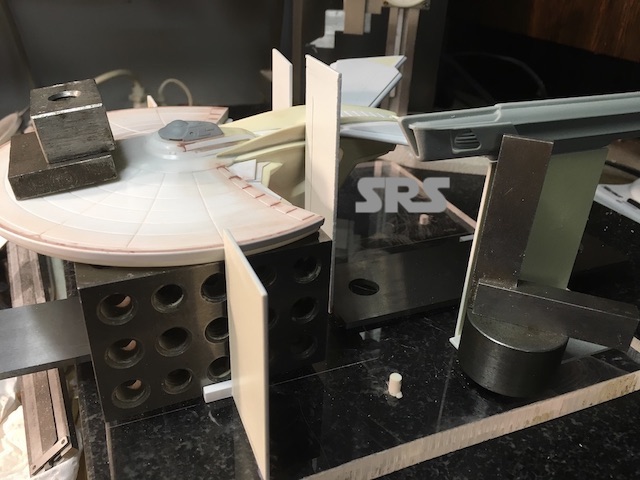
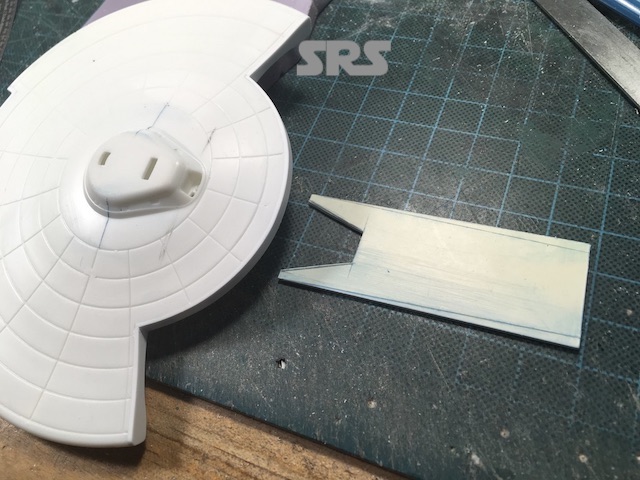
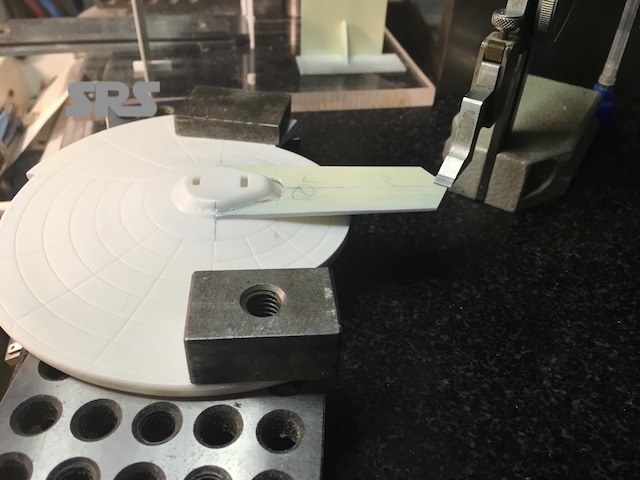
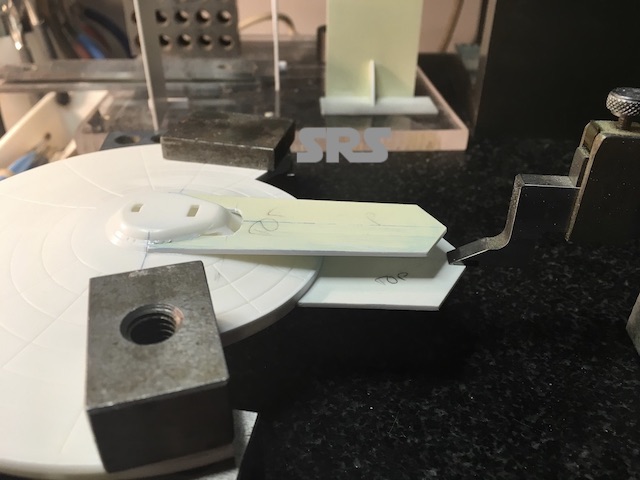
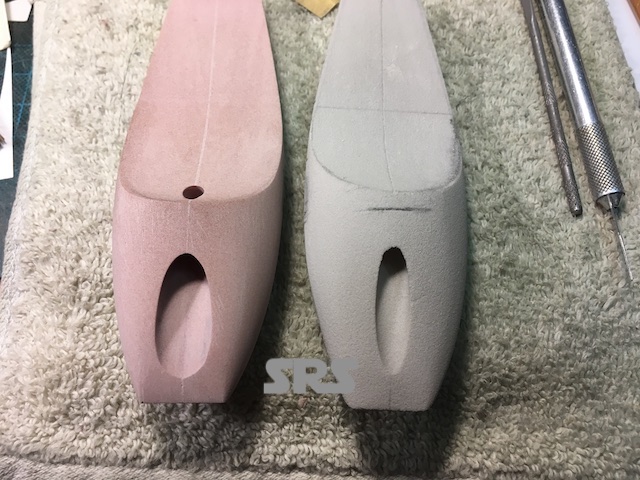
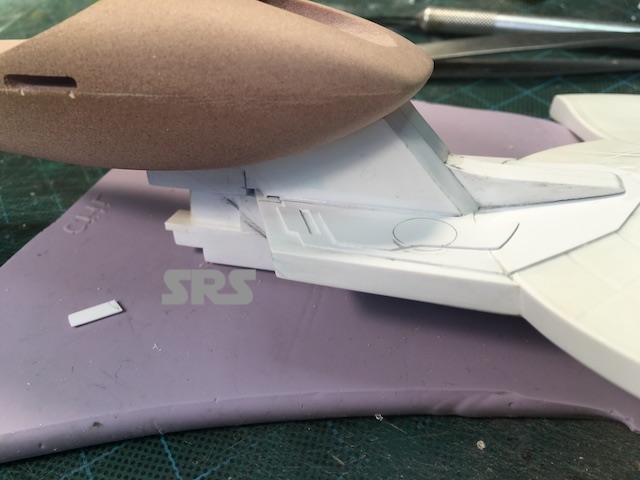
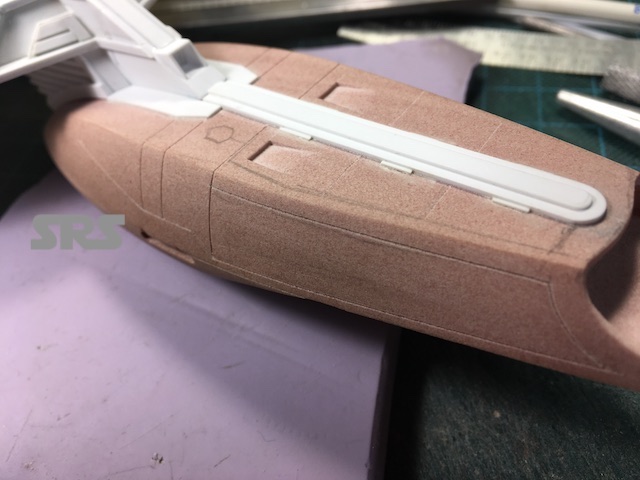
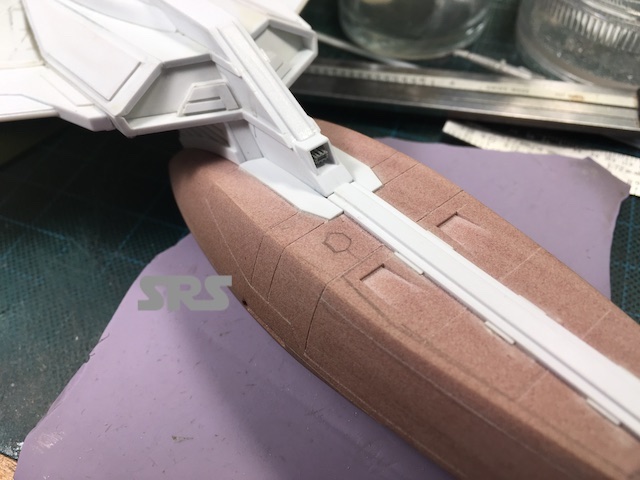
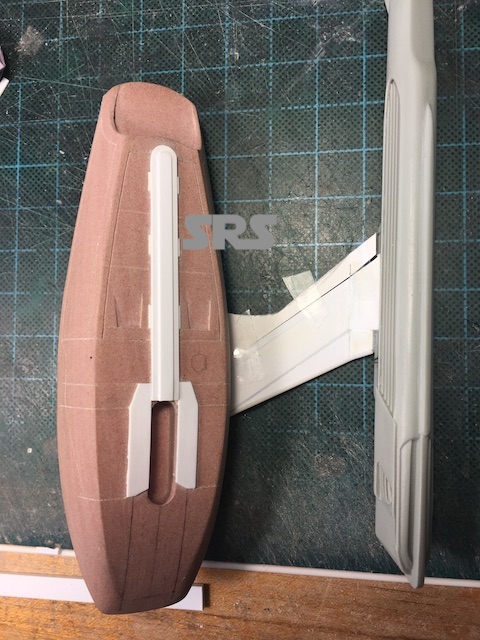
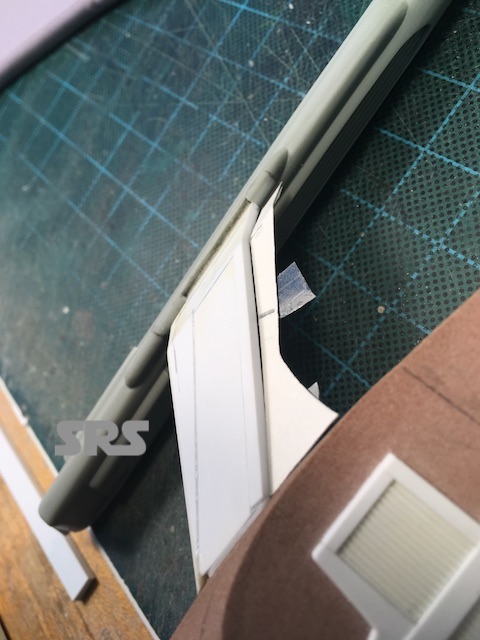
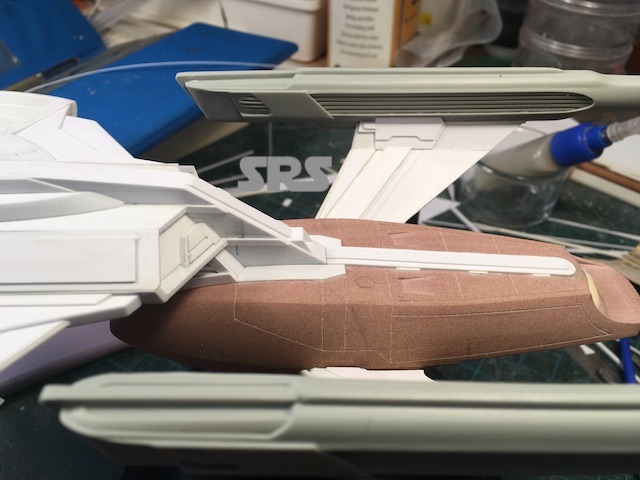
The next item is what I am calling the ‘strong back’. It has a fairly complicated shape to it, so I decided to create one in foam first. No images of the part in-progress, just completed next to its final replacement.
Mulder/Scully
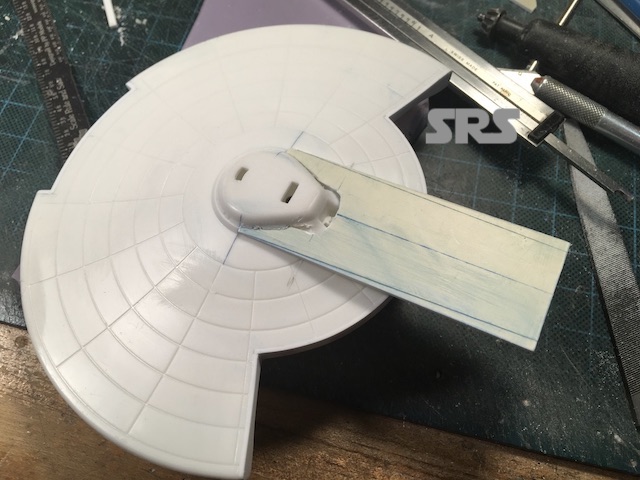
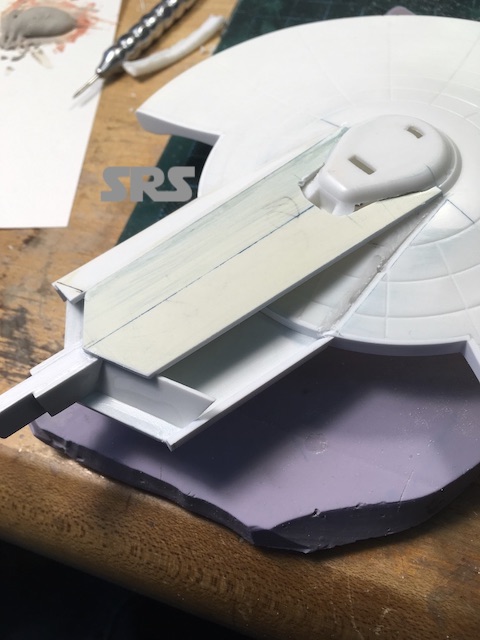
And permanentally in position;
Mulder/Scully
Mulder/Scully
Before moving forward on more of the Mulder, it’s time to join the hulls of the Scully. Both parts are aligned so they are square and level.
Mulder/Scully
Mulder/Scully
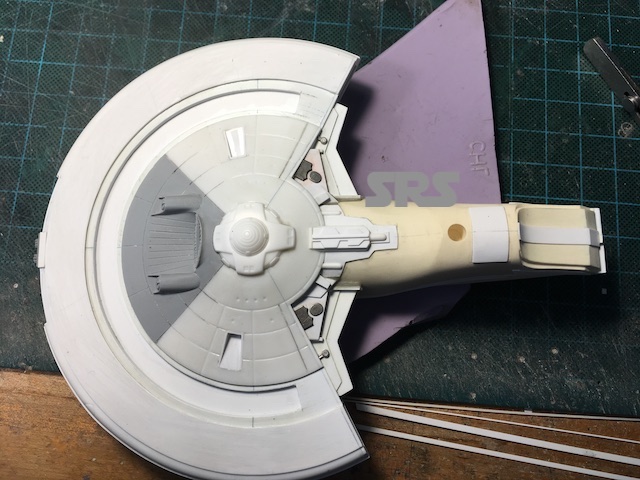
The B/C deck was then created;

Mulder/Scully
Now it is time to address these tricky corner pieces on either side of the hull on the Mulder. From original model:
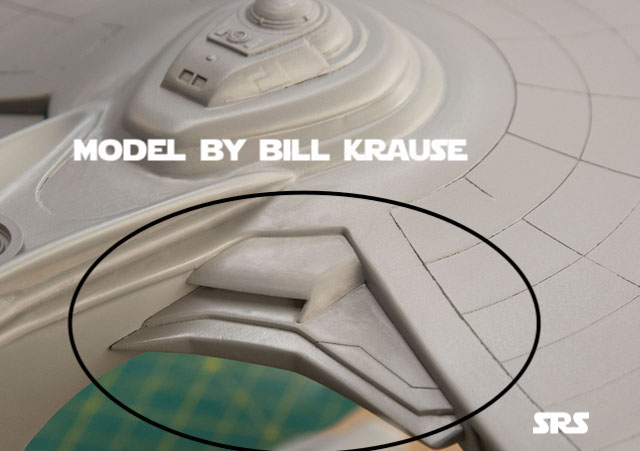
Mulder/Scully
The Mulder;
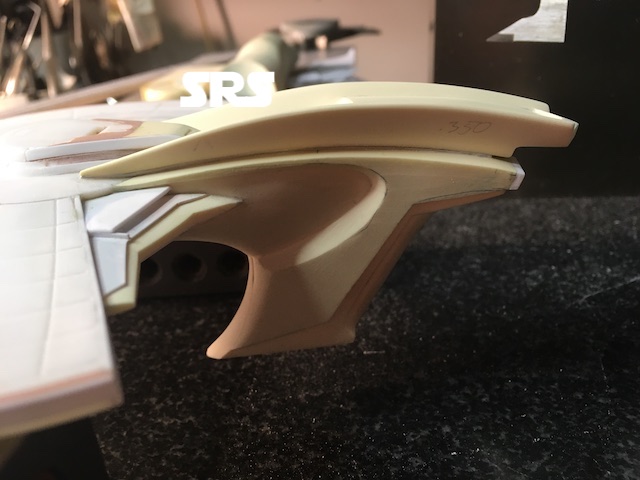
Mulder/Scully
Mulder/Scully
Mulder/Scully
A new B/C deck for a new bridge on the Mulder,

Mulder/Scully
And for the Scully,
Mulder/Scully
Mulder/Scully
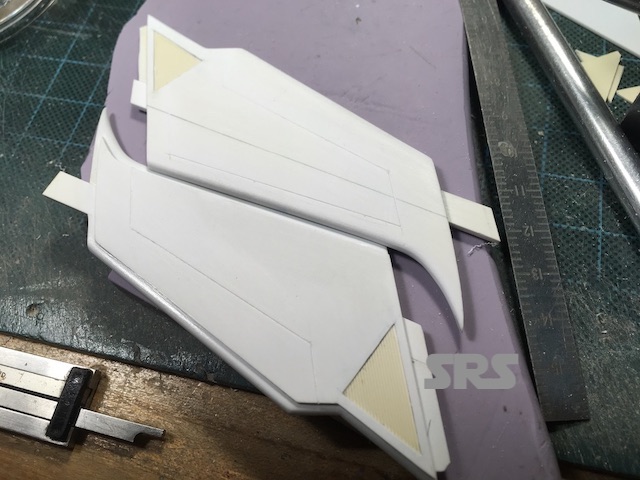
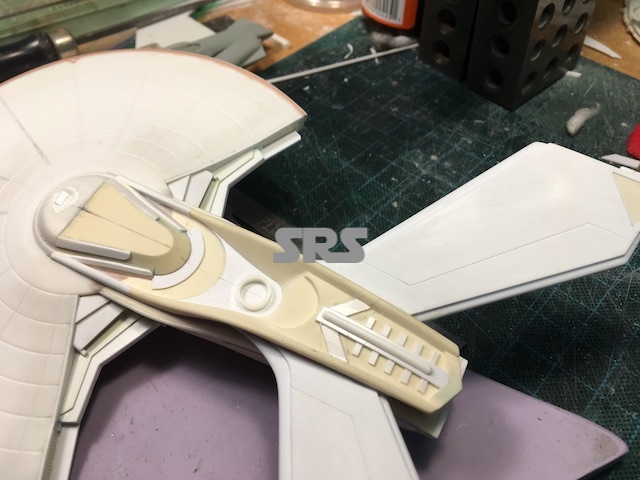
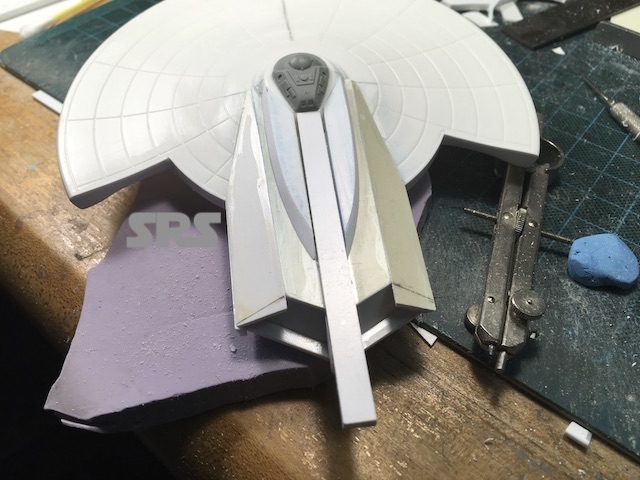
After the corners are added to the Scully, the strong-back is put in position and surface details are added;

Scully
Scully
Scully
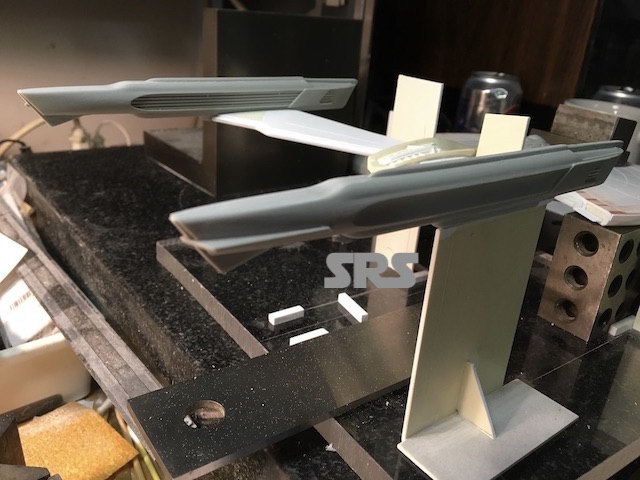
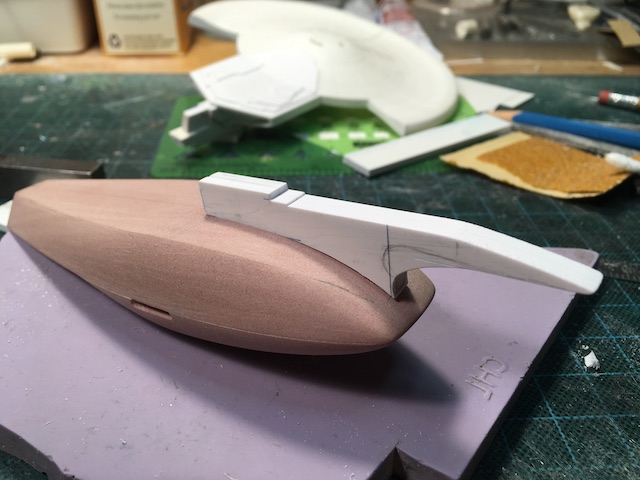
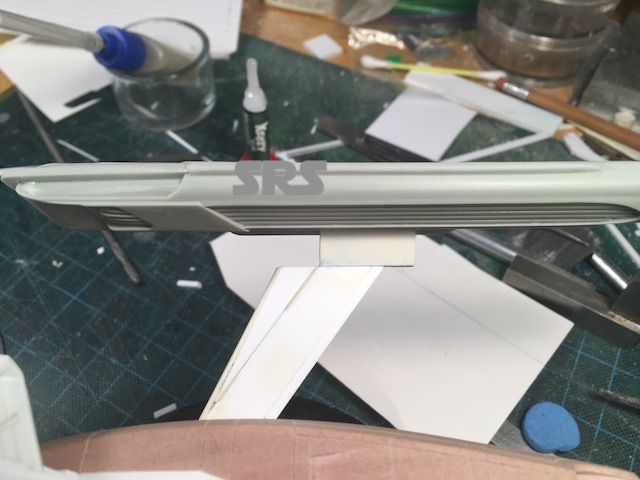
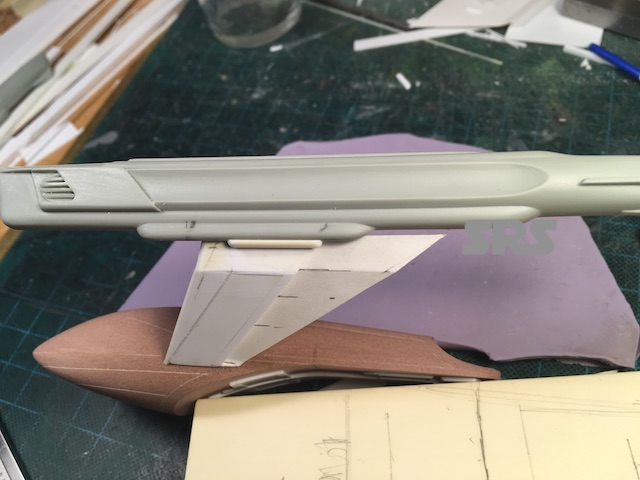
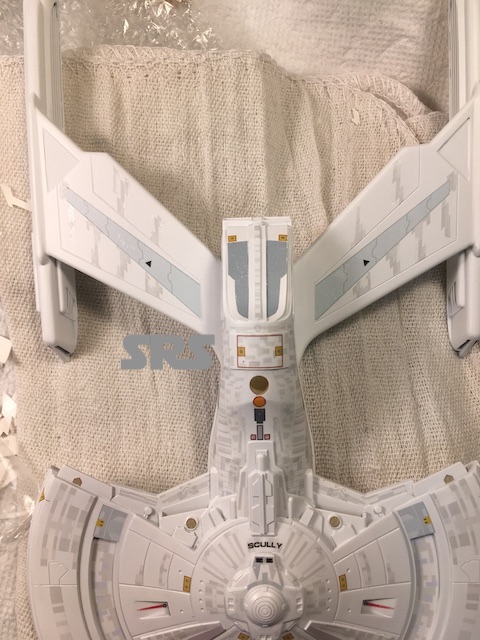
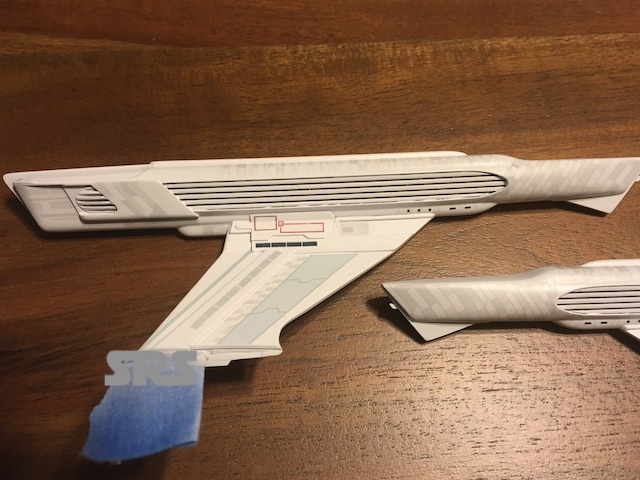
Now that most of the hull detailing on both models is in place, time to create & mount the pylons. I had considered using a brass armature in the pylons, but they are not that long or thin, and the engine castings are very light. I decided to super-glue layers of .060 styrene together rather than weld them with solvent. This will keep the pylons from warping after they dry, and will make for a pylon far less likely to droop over time.
The bottom of each pylon will be one solid sheet;
Scully
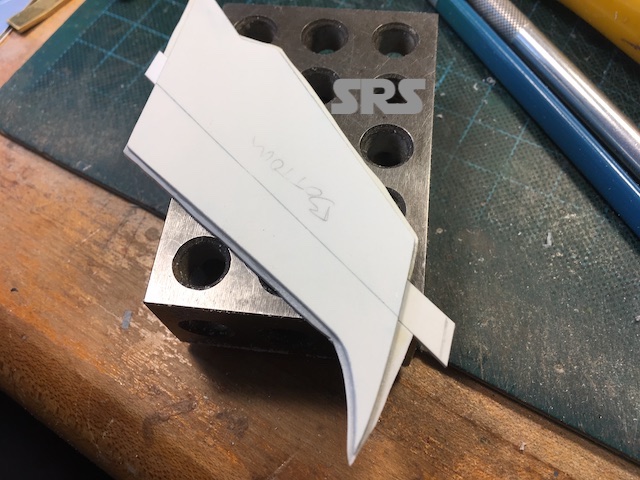
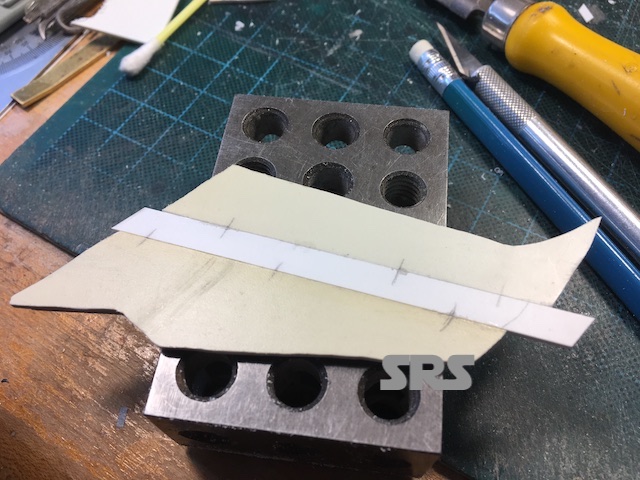
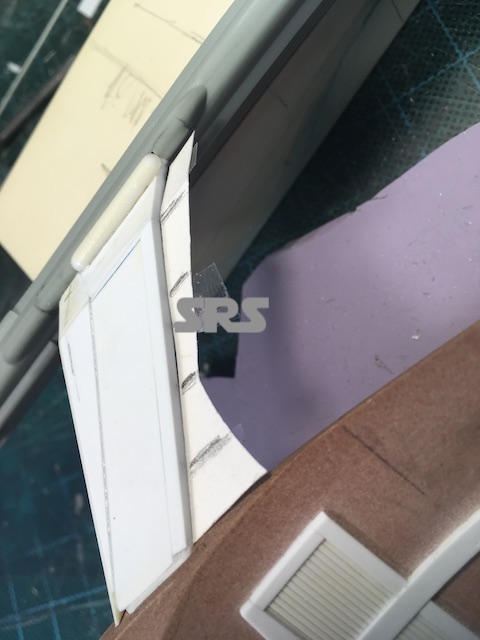
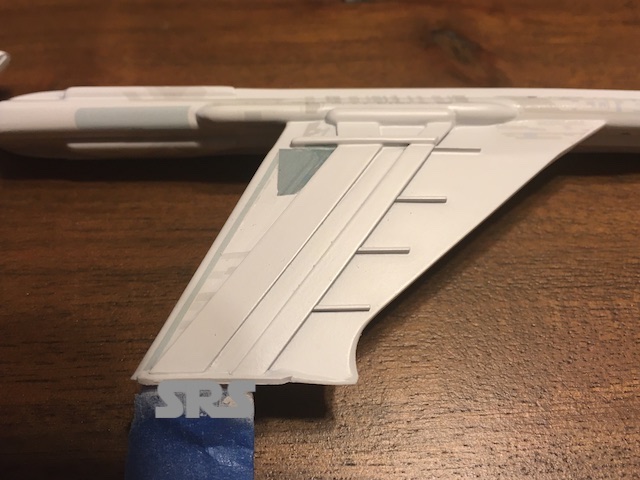
The top side of the pylons are made up of three pieces of styrene, one central piece to be the main support and connect to the strong back, then two on each side. They were then given their airfoil shape.
Scully
Scully
Scully
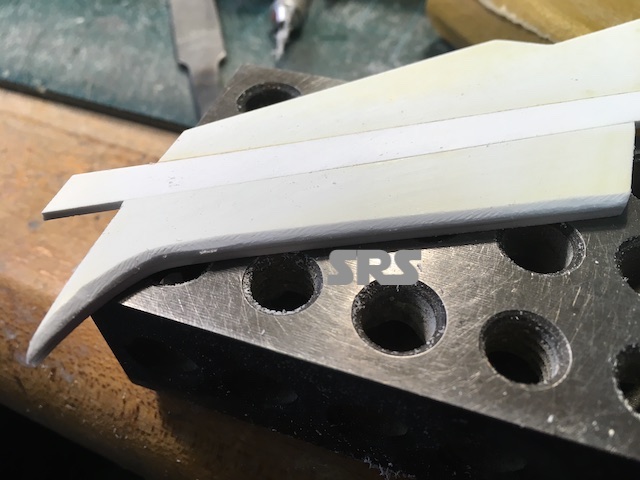
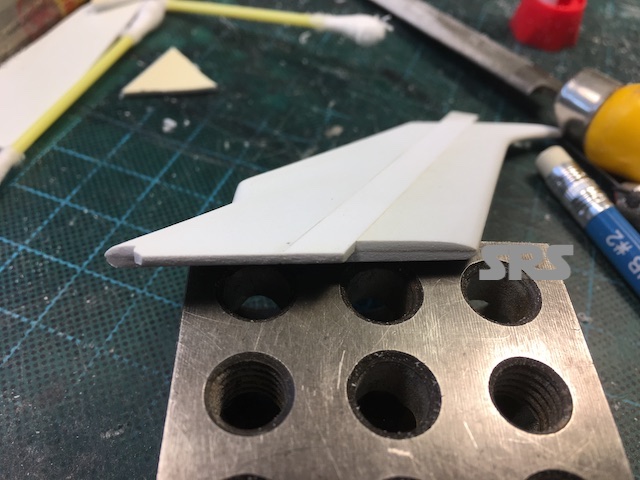
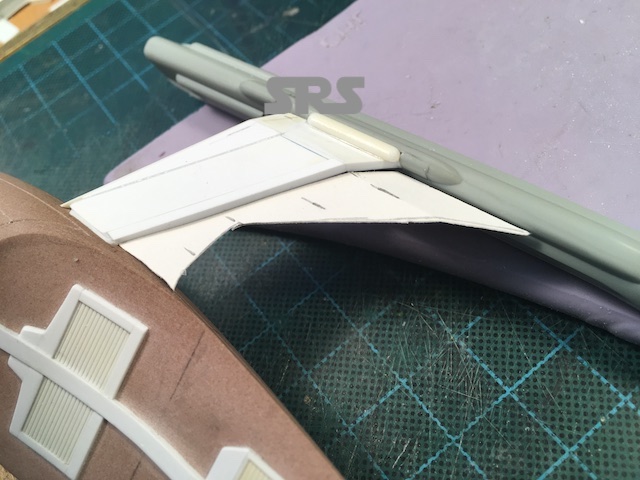
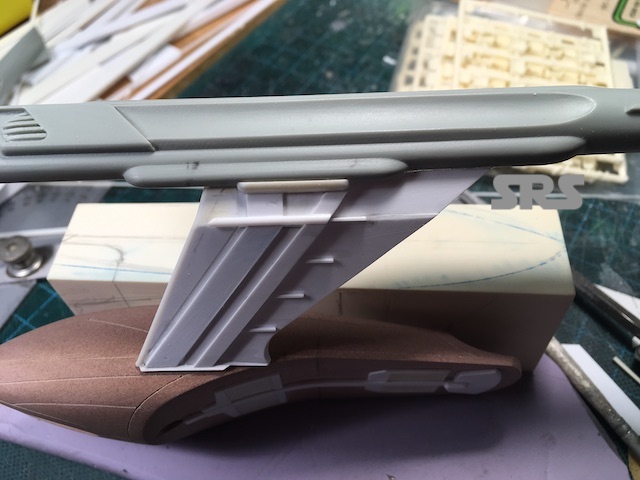
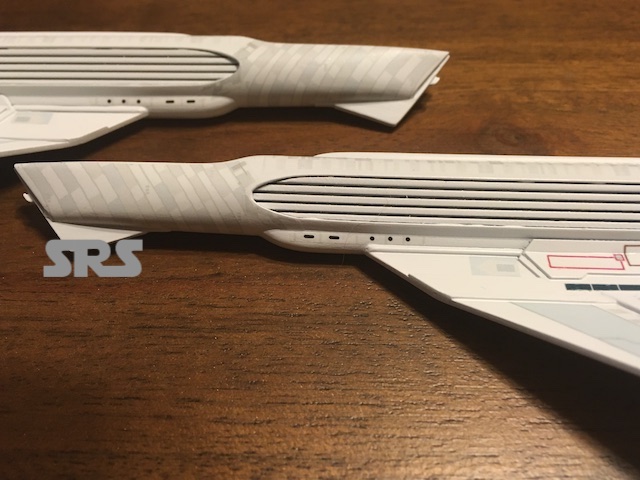
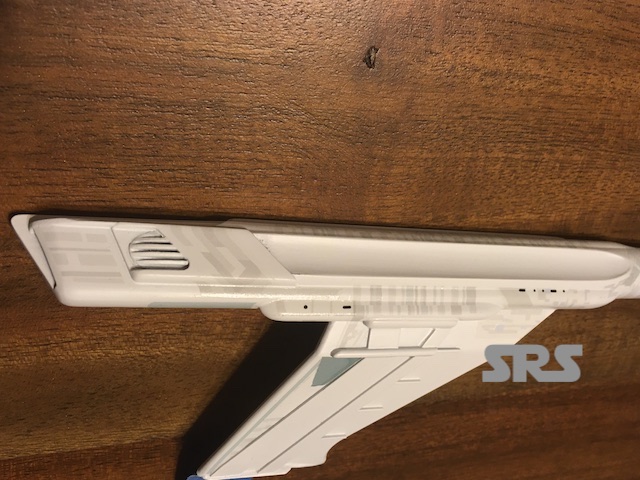
Once the glue was set, I added .040 styrene to the top with a cut-out for some vent detailing. For the bottom, I added a recess for the vent detailing. Then some scribe details.
Scully
Scully
Scully
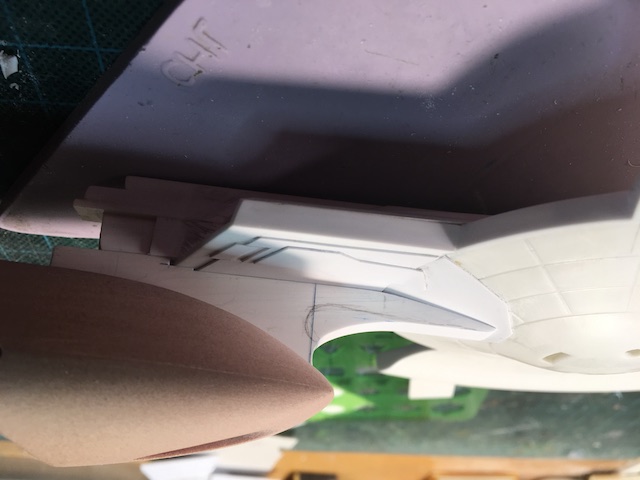
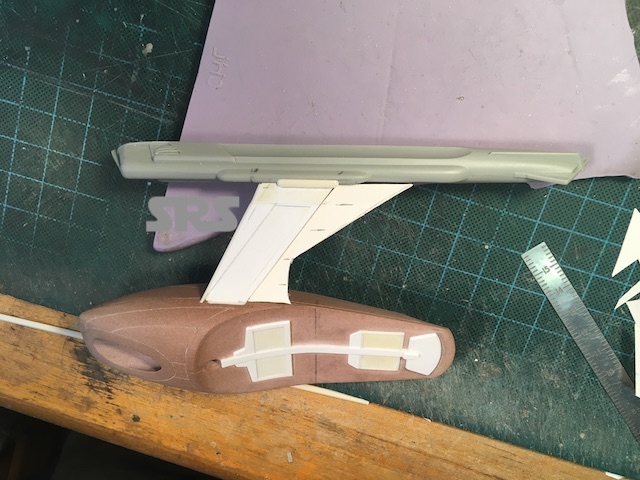
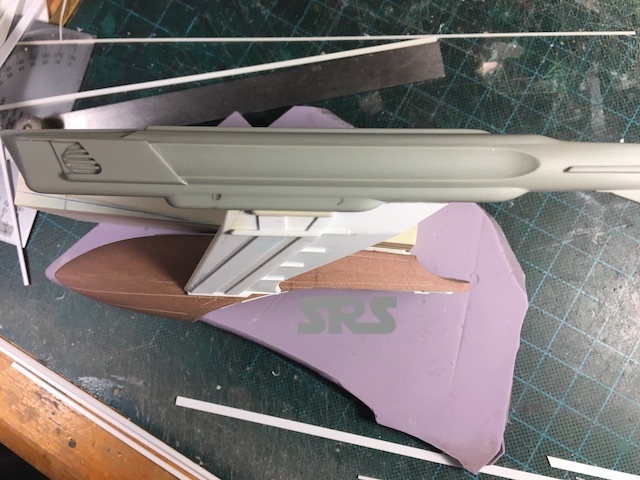
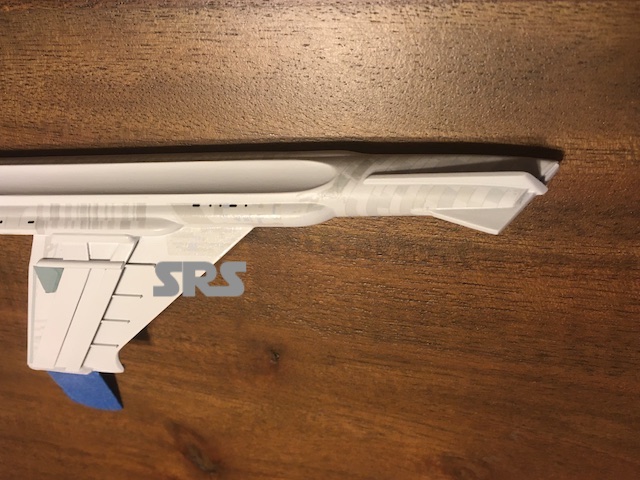
Now comes the tricky bit, mounting them. I scribed a level line and the created the mounting holes.
Scully
I used card stock to support the pylons at the proper angle and welded them in place and used superglue & baking soda to make things solid.
Scully
Scully
Scully
The Mulder;
Mulder
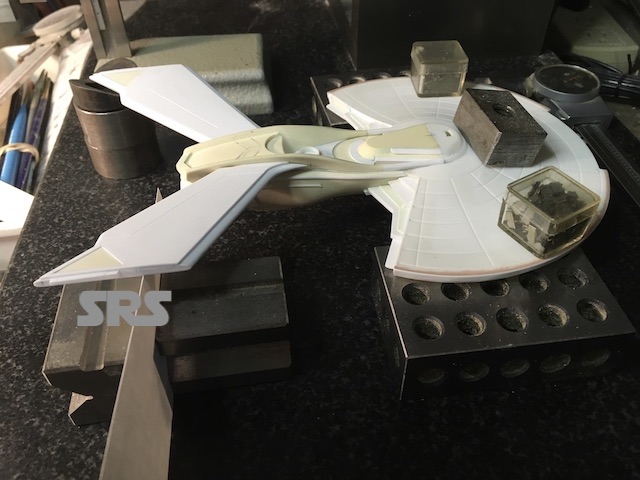
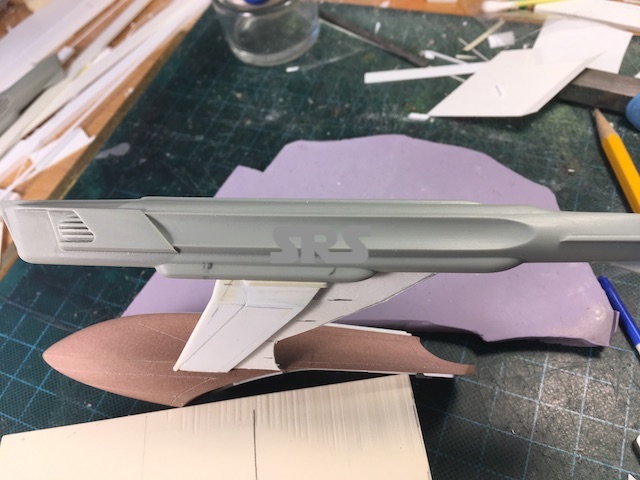
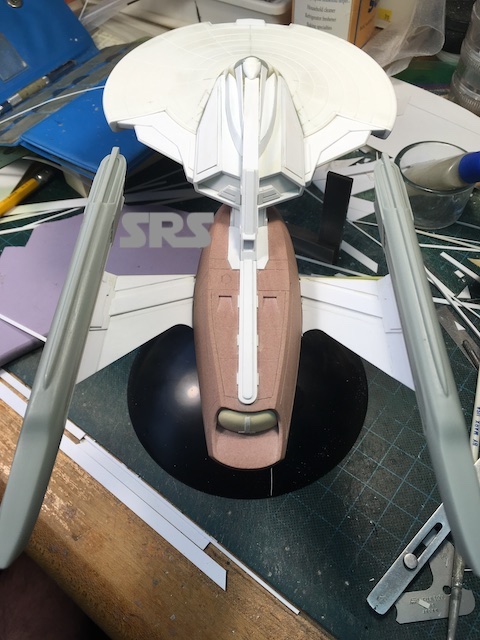
Engines temporarily in place on the Scully;

Scully
Added the unique scribing on the saucer bottom for the Mulder, I changed the scribing on the Scully to make it different.
Mulder
Scully
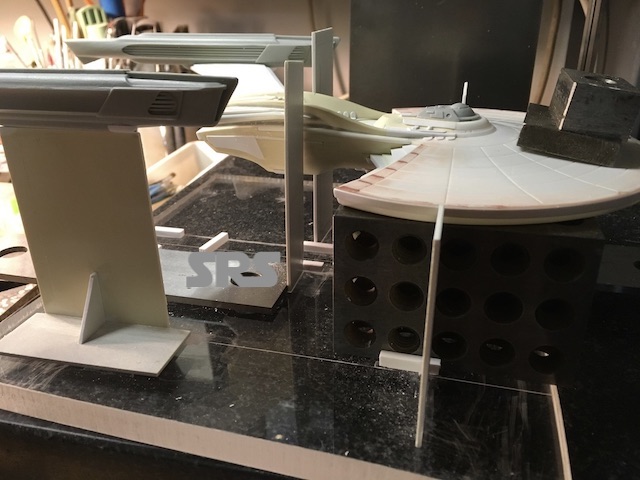
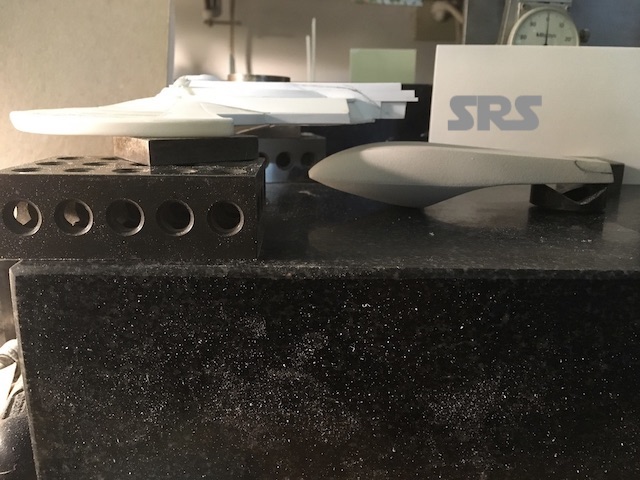
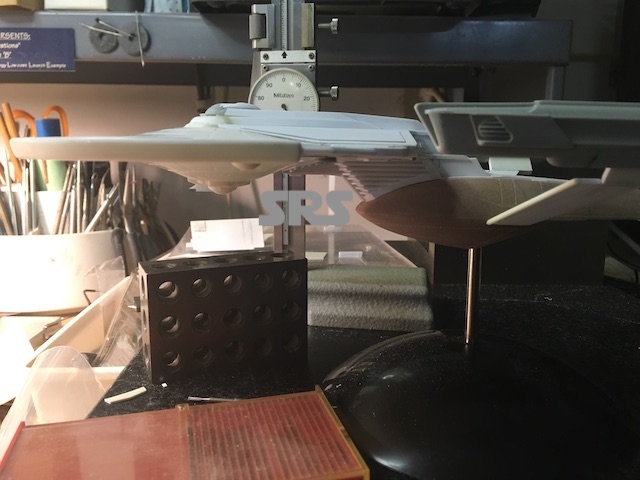
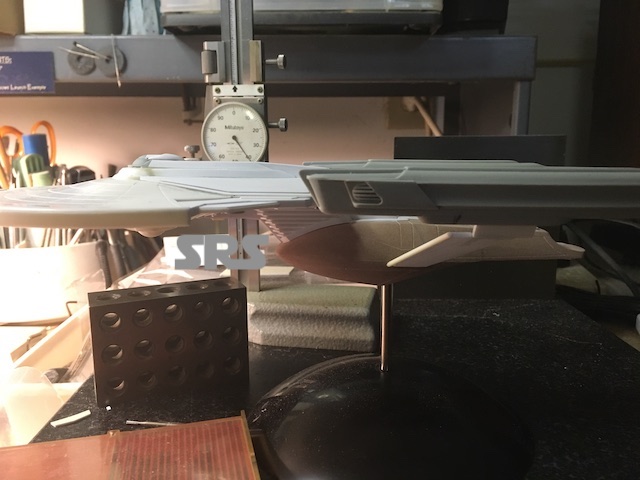
Time to add warp power.
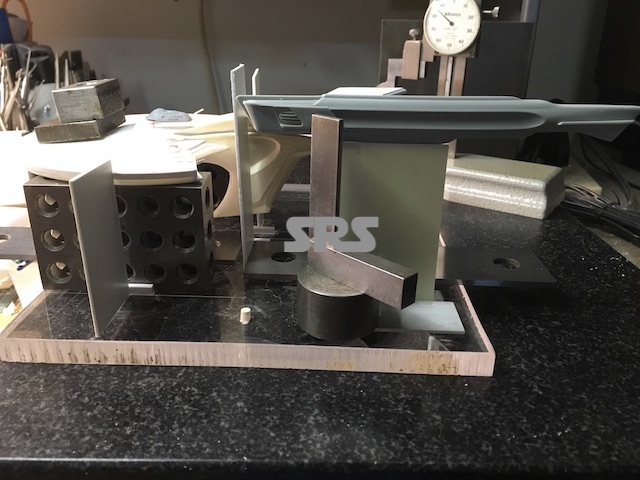
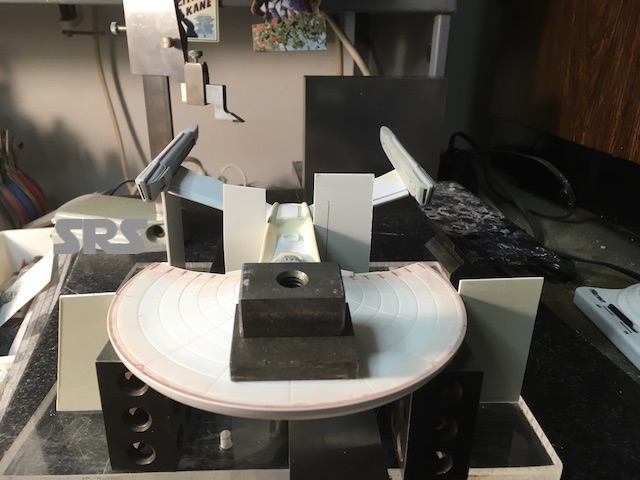
In order to ensure that the engines are level to the ‘ground’, level to each other, parallel to the ship’s center line and each other, I have to create a jig to hold everything in place while permanently attaching them. Jigs are always time consuming because of how accurate they need to be, but they save a huge amount of time because of the repeat-ability they allow for.
I started with the Osmia to make sure any ‘fitment’ issues would not be on the Wasp since it is more critical the Wasp match the existing model that Bill created
To create the jigs that I use, I start with .5″ clear acrylic sheet. It is extremely stable, (no warping with age) so it is always dead flat. It also allows for easy reading of scribe lines, location holes, etc. From there I can use precision blocks and levels to keep things accurate. Styrene also welds nicely to the acrylic.
Scully
Scully
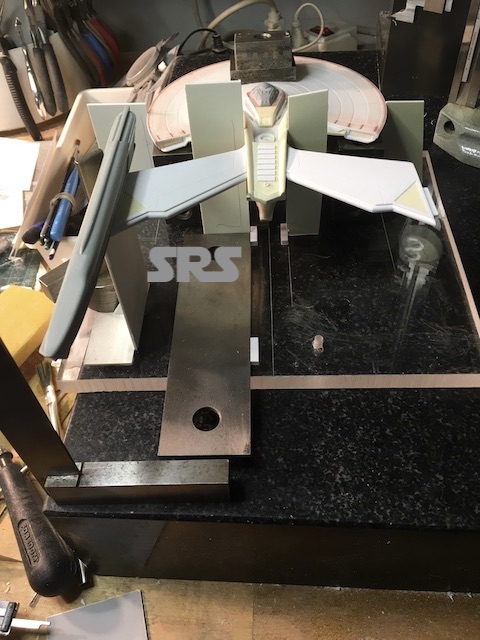
Now the Mulder;
Mulder
Mulder
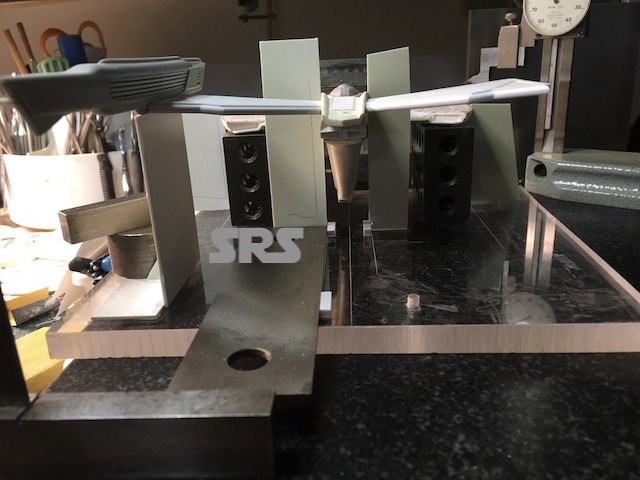
Mulder
Mulder
Mulder
Mulder
Lots of blending & sanding ahead to clean things up. Then it is time to start priming & filling imperfections for finish coat.
The shipyards are almost at capacity, as the Ranger variant of the Shangri-La class , the U.S.S. Skinner, has the ‘keel’ laid down.
As with the Mulder & Scully, the Skinner starts with a sectioned saucer. After that, the differences are many. A unique bridge and a B/C deck that also accommodates large impulse engines is added to the saucer/primary hull. The secondary hull is unique to this class. The warp power units of the Mulder & Scully are shared with the Skinner.
After sectioning the saucer, the extended B/C deck walls are put in place.
Skinner
Skinner
Skinner
Skinner
Skinner
Skinner
Skinner
All blended & sanded and the new bridge is also in place.
Skinner
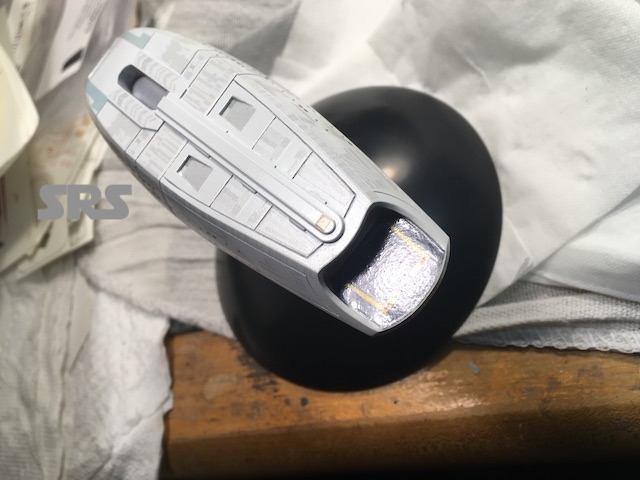
The next step is the secondary hull. It has a unique shape, and will be a bit of a challenge to create. The main problem with this model is that, although I have drawings to use, Bill’s model has small changes from those drawings. I am using nothing but images of Bill’s original models. The problem being is, there is a lot of perspective and fore-shortening associated with photography.
For this shape, I have to go with foam first. Using Ren-Board from the start will be a big gamble that I get it perfect the first time.
Using all of the images at my disposal, I create a hull. After living with it for an hour or so, it just feels too small, so I adjust some of the images and add 7.5% to what I first created, and it looks really good.
Skinner
Skinner
Skinner
To ensure I get as close as possible to Bill’s model, I created a split image of his model and my model.
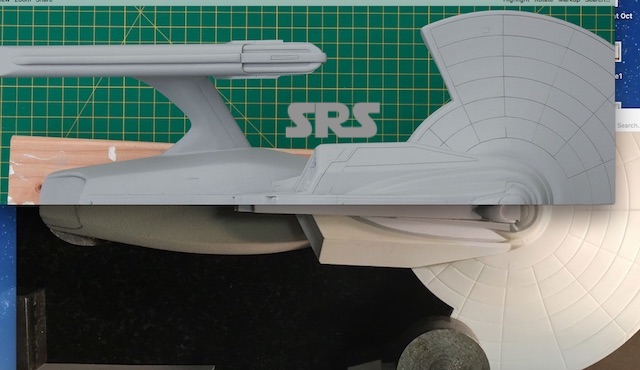
Skinner
The only thing off is the saucer and that is because I did not center it on the secondary hull. Even my roughed in pencil line lines up. Looks spot on!! ( whew )
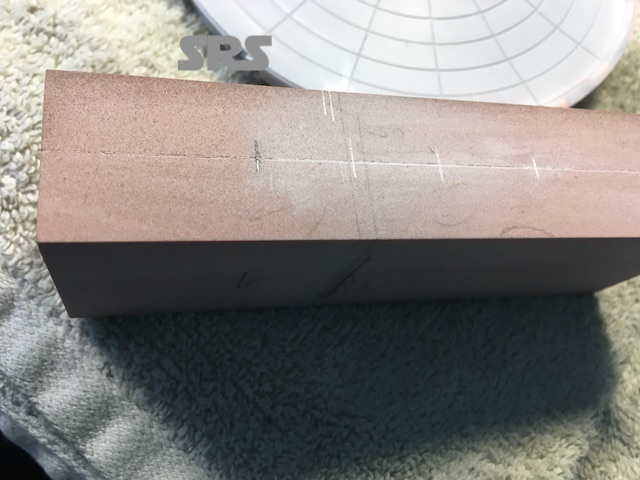
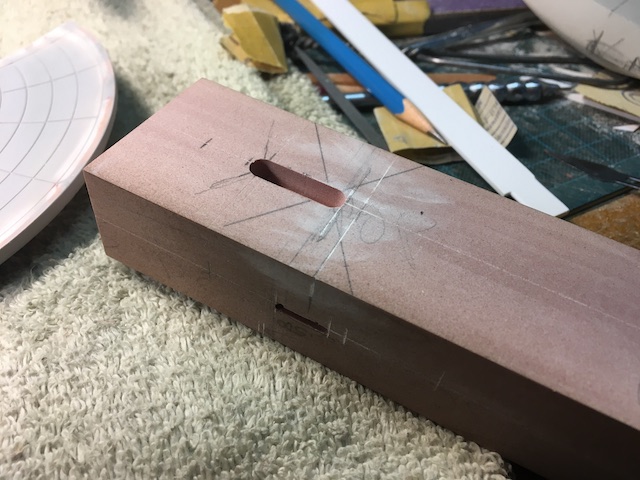
Time to start carving Ren-board…….
A nice square block, adding slots to locate the pylons, the stand and the neck that connects the saucer. I also added the recess for the deflector.
Skinner
Skinner
Skinner
Side by side with the foam model.
Skinner
The neck piece is under way and almost ready for attachment.
Skinner
Skinner
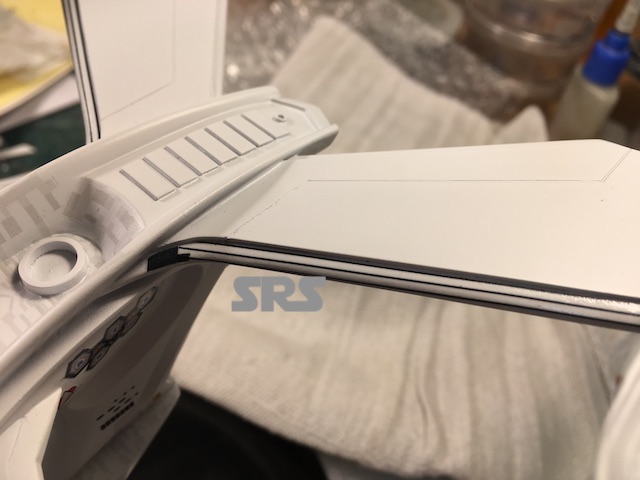
Because this is the Ranger variant of the Shangri-La, I wanted to do something different with the neck. Getting some input from the client, he suggested something like the Enterprise ‘B’ design……..perfect!
I changed the outer shape by boxing it in and added the ribbing;
Skinner
Skinner
Skinner
Skinner
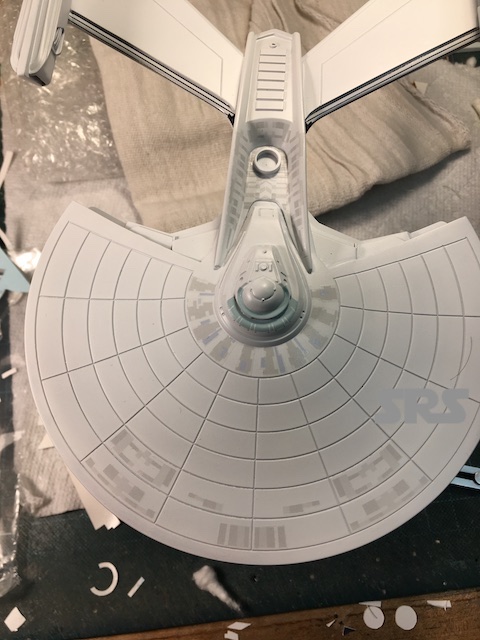
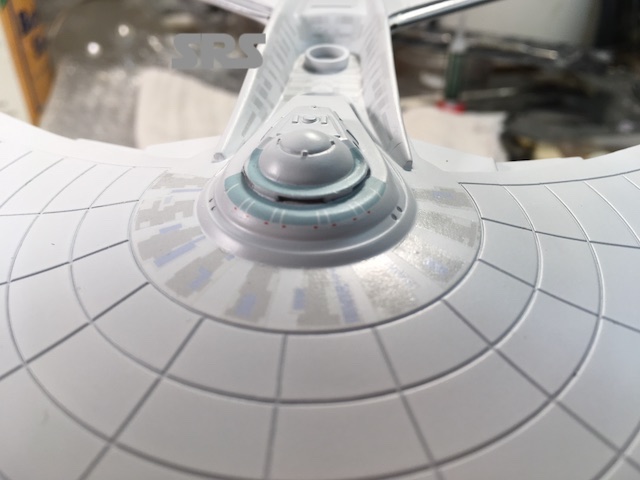
Equipment detailing will be added to the front of the neck to help differentiate it from the Shangri-La. There will also be additional saucer details added as well.
Skinner
Skinner
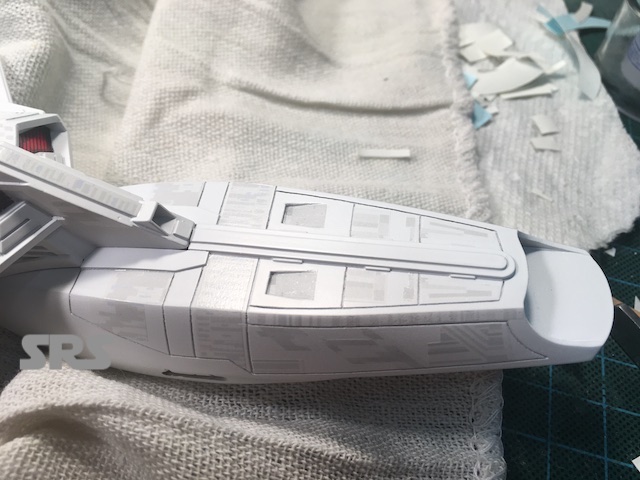
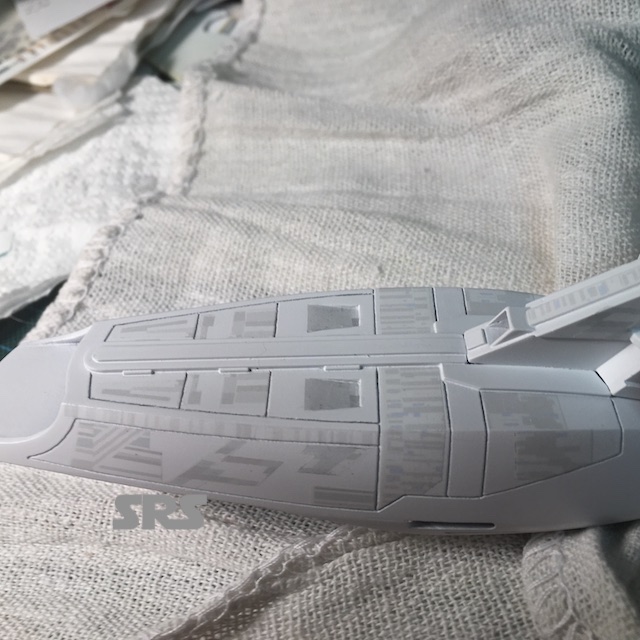
Still more work to do on the saucer & neck, but time to move on to the secondary hull. Additional plating was added around the neck area. Deflector grid lines were scribed in place and the shuttle bay was added. A pair of thruster slots were also added.
Skinner
Skinner
Skinner
Skinner
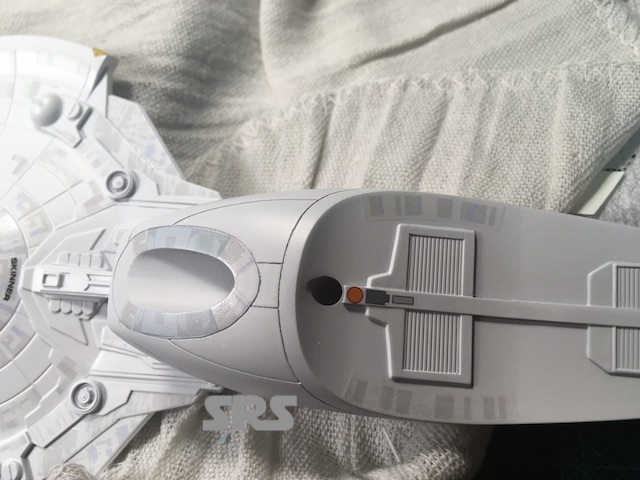
A close up of the dorsal torpedo tube. All of the tubes are removable to allow for easier painting.
Skinner
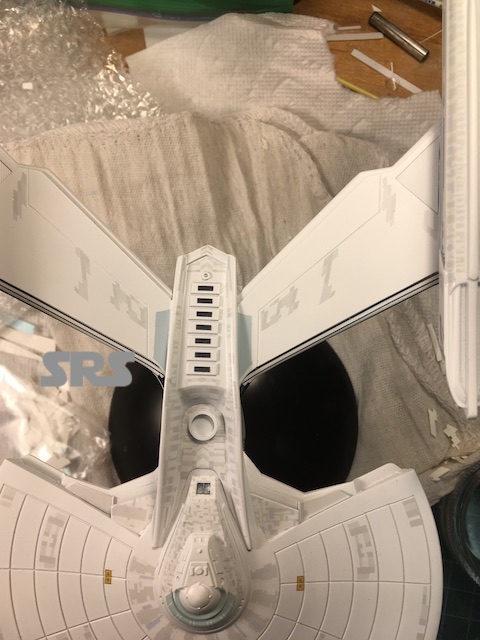
Now onto the tedious engine pylons. I had already pre-milled the slots for the pylons to plug into. I planned out all of the angles so now it is a matter of making small angle cards to double check everything as I assemble the pieces. Sounds easy right? The pylons have also been designed to be removable to make it easier to paint & mask & paint, etc.
Skinner

Skinner
Skinner
Skinner
The Skinner pylons will be different to set them apart from the Shangri-La, since it is a variant. Once I had the engines attached, I can start working on a design. As usual, I use card stock to work things out.
Skinner
Skinner
Skinner
Not happy with that, not dynamic or ‘fast’ enough.
Skinner
Skinner
Skinner
Better, but not right.
This is closer;
Skinner
Time to ‘make it so’……
Skinner
Skinner
Skinner
Skinner
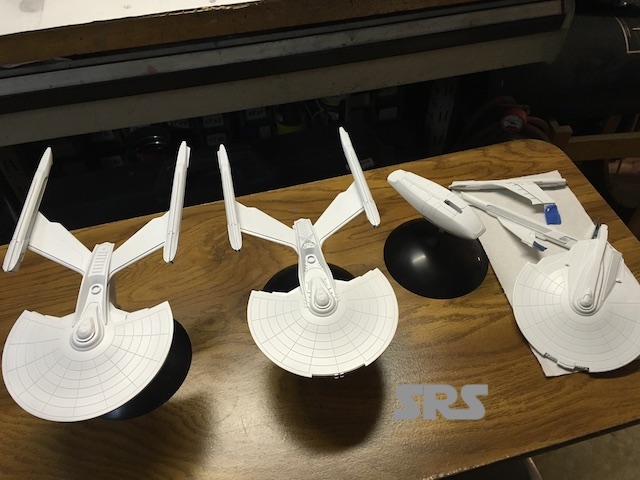
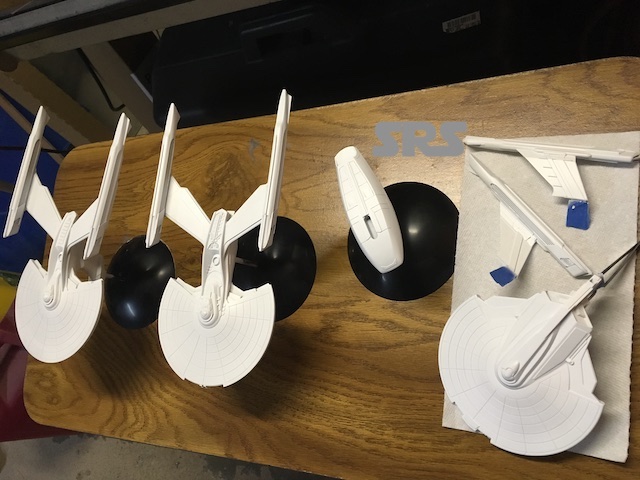
The triplets are ready for their white coats;
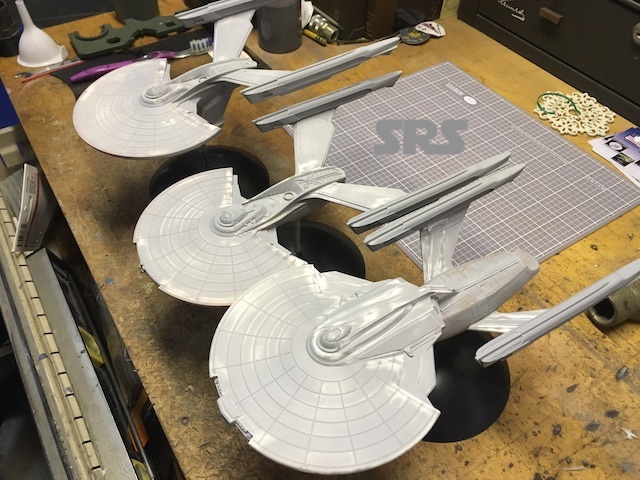
All three
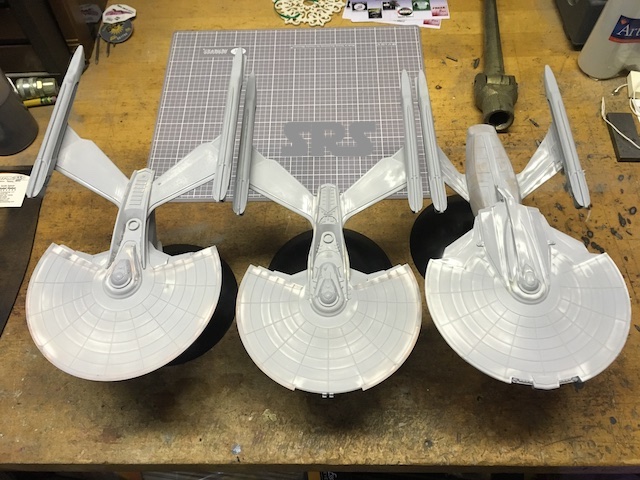
All three
Ready for decals;
All three
All three
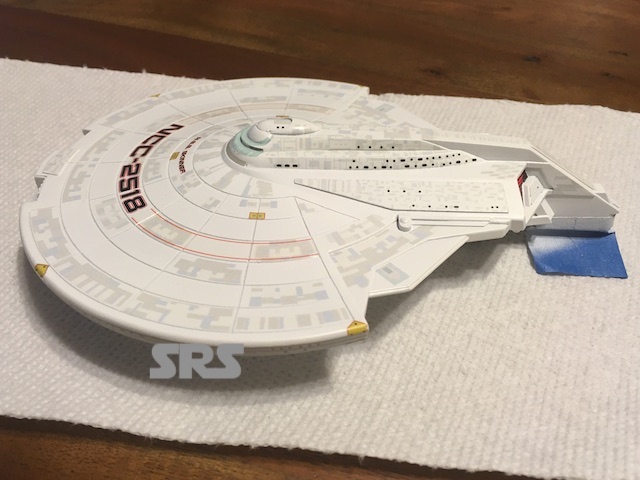
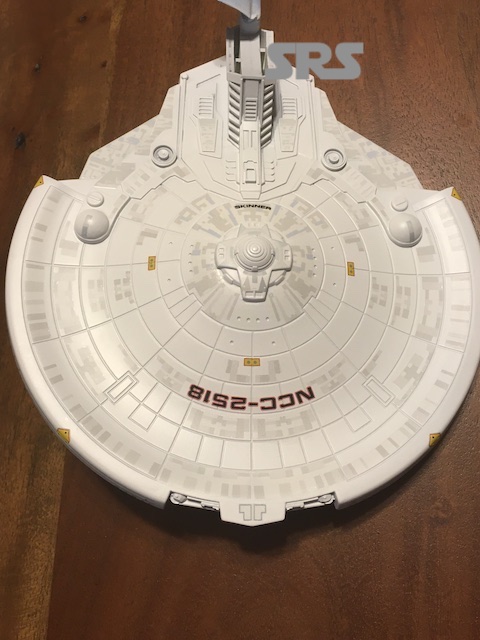
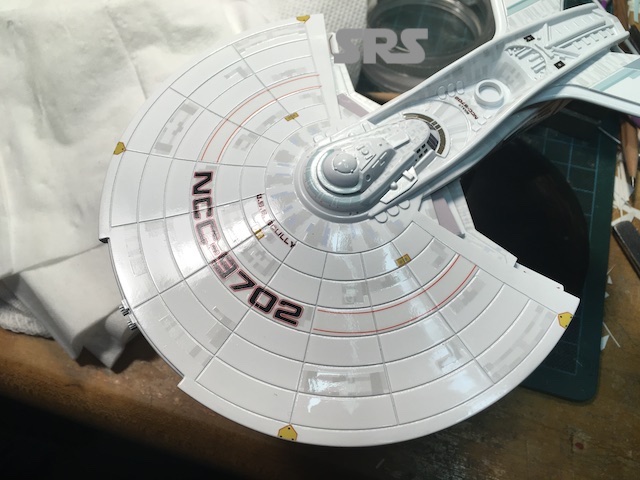
First up will be the Mulder;
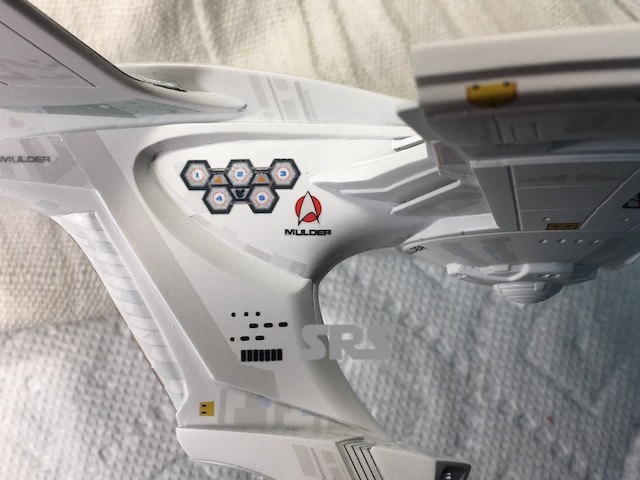
Mulder
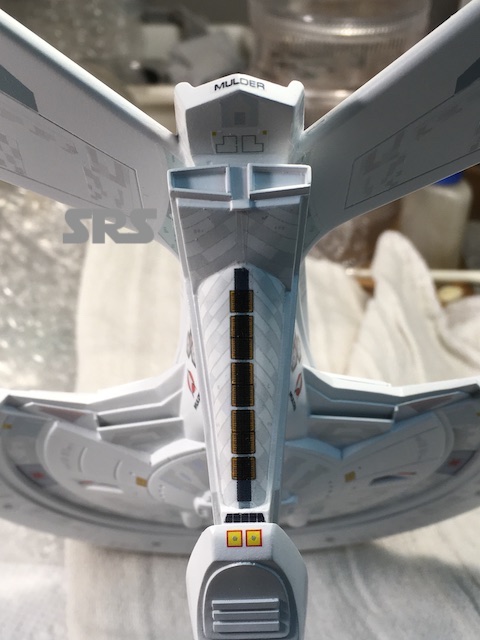
Mulder
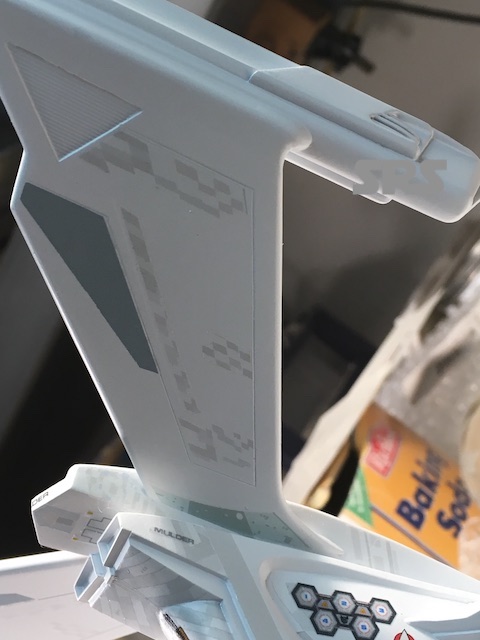
Mulder
Mulder
Mulder
Mulder
More Mulder and the start of the Scully;
Mulder
Many of the decals are custom cut and fit. I create card stock templates to ensure the decals fit as intended.
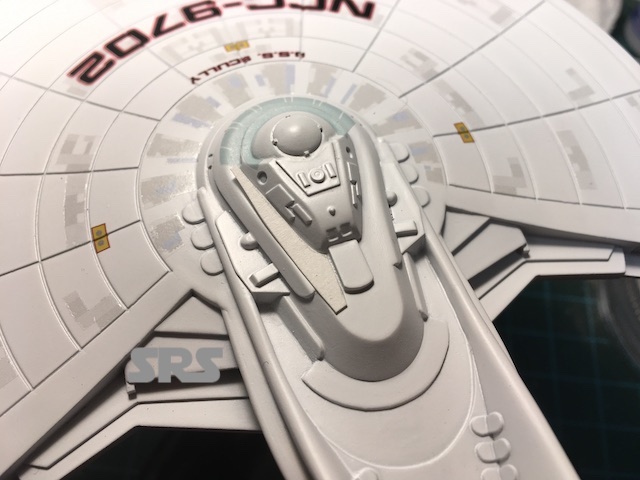
Scully
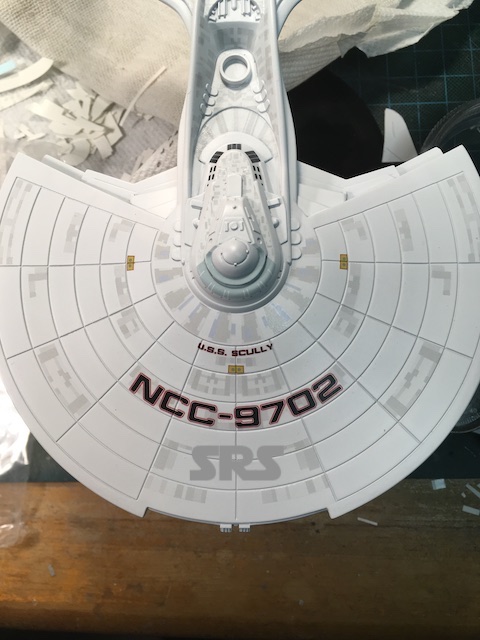
Scully
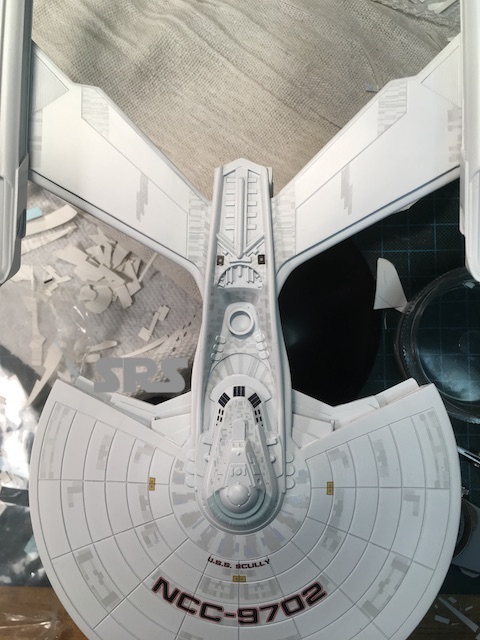
Scully
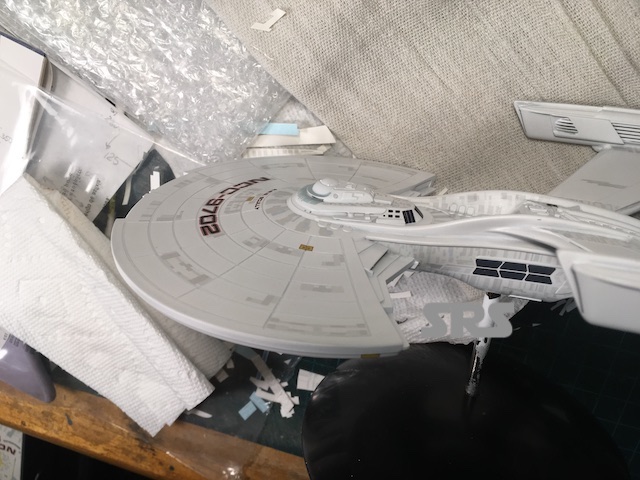
Scully
Scully
Scully
Scully
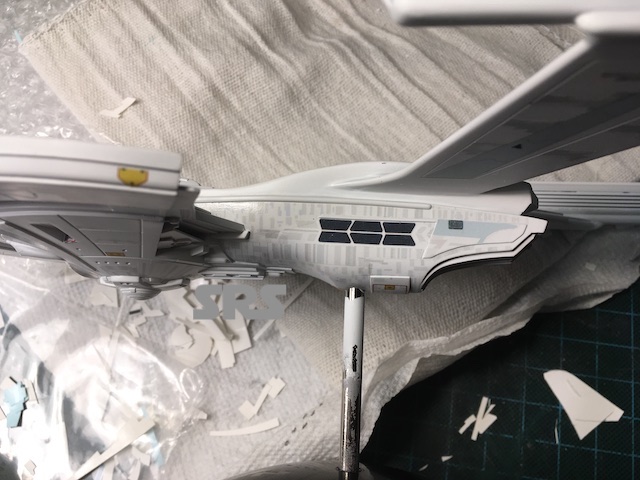
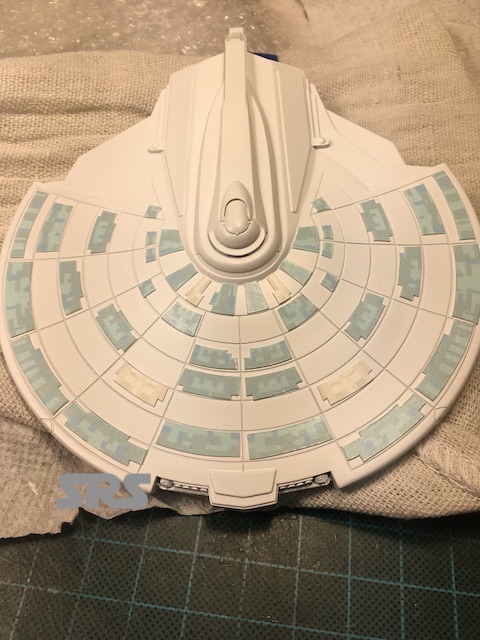
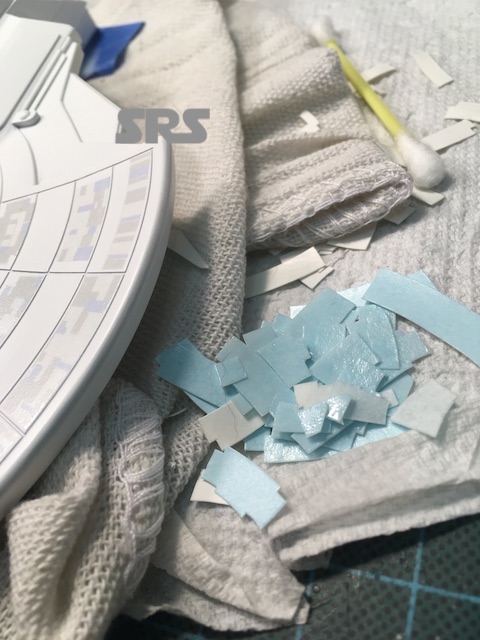
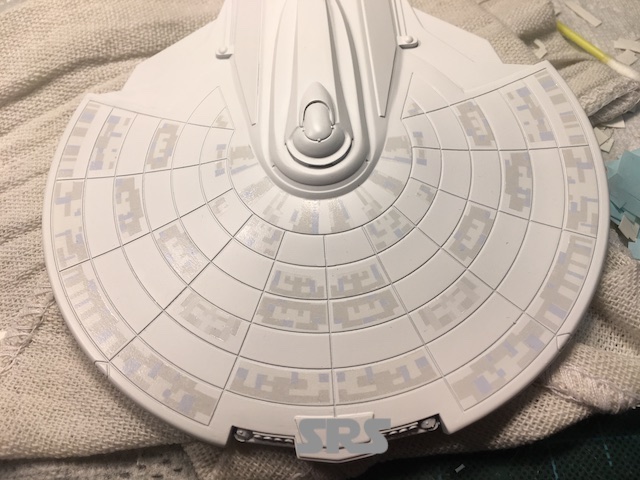
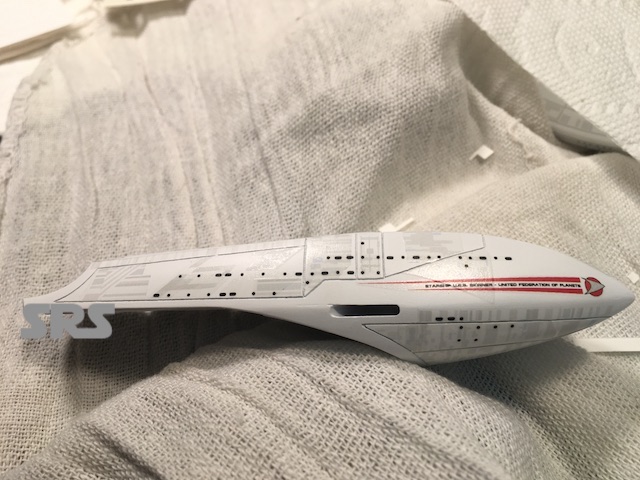
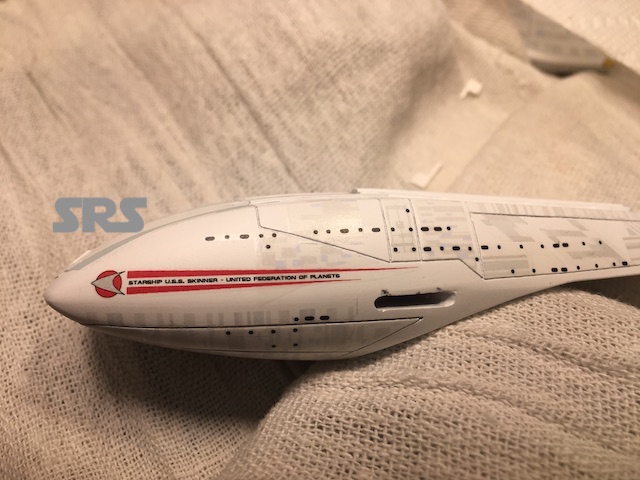
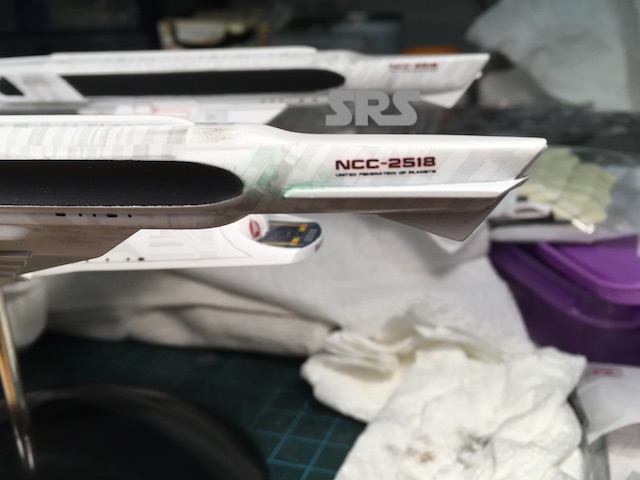
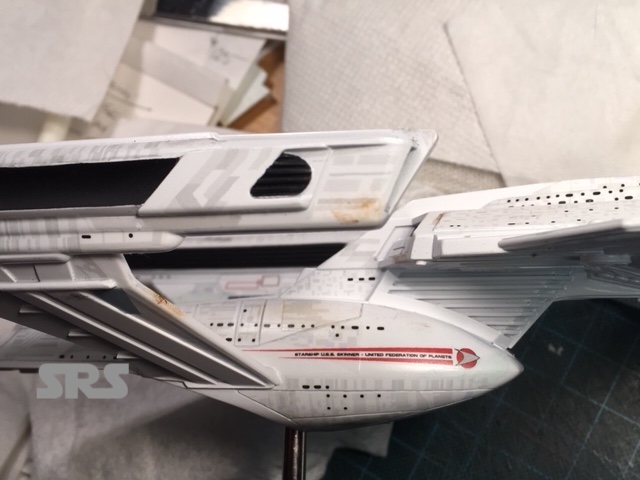
Time to decal the Skinner. Decals are cut & laid out and then applied;
Skinner
Skinner
Skinner
Skinner
Skinner
Skinner
Skinner
Skinner
Skinner
Skinner
Skinner
Skinner
Skinner
Skinner
Skinner
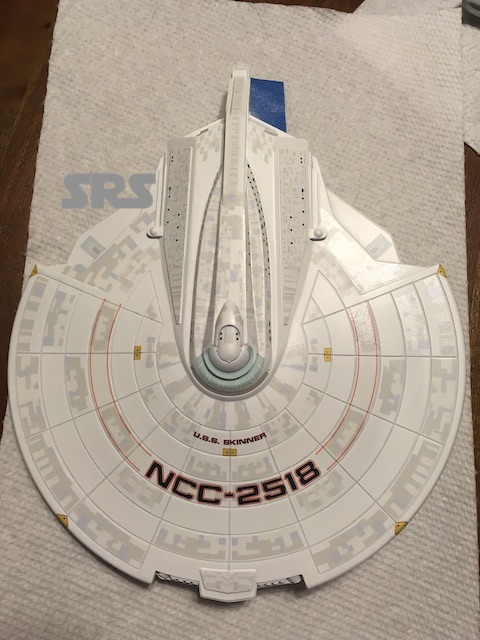
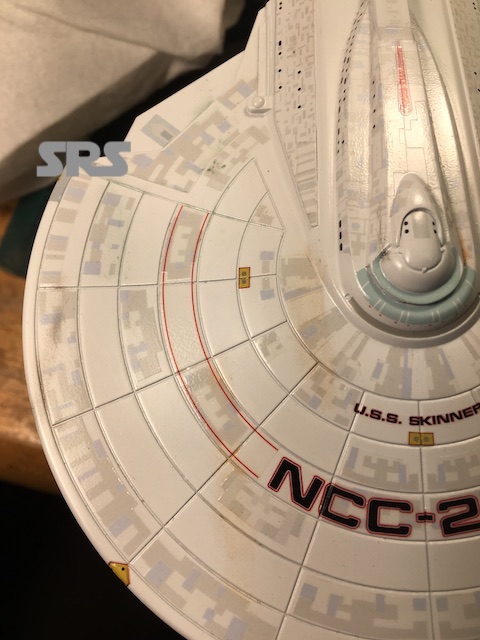
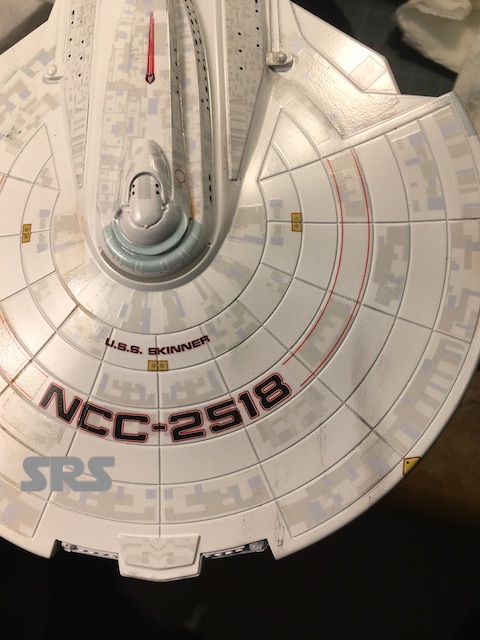
Added windows and ship’s name.
Skinner
Skinner
Decals are finally complete. Now for a nice coat of clear to seal everything;
Skinner
Skinner
Skinner
Skinner
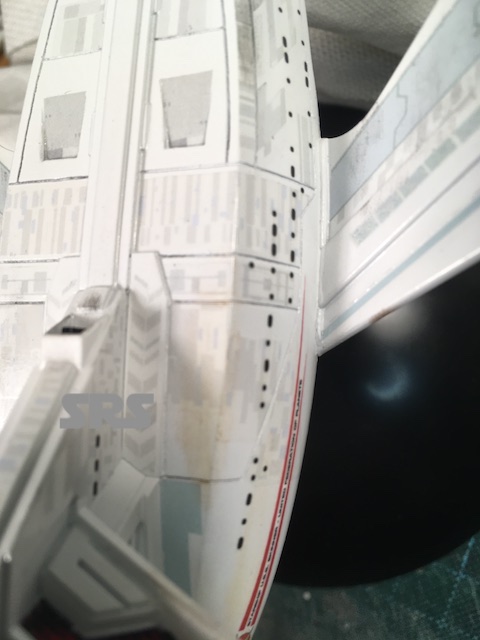
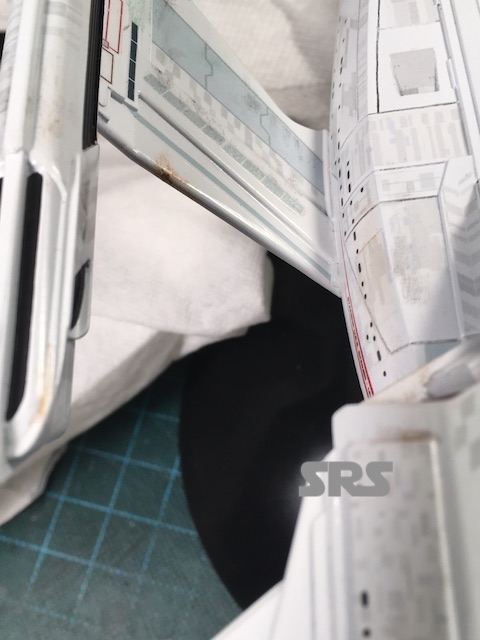
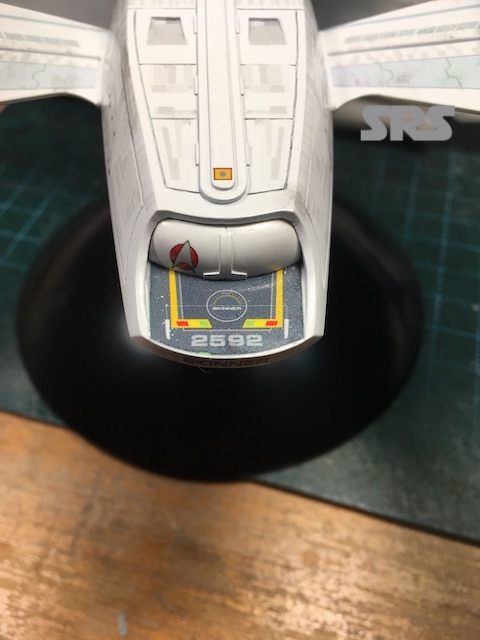
Time to add some weathering…
U.S.S. Skinner;
Skinner
Skinner
Skinner
Skinner
Skinner

Skinner
Skinner
Skinner
More to come…………