
For me, this vehicle is turning out to be one of the most intricate designs to be turned into a kit, with the most organic body design and styling I have come across yet.
After many hours of research, visiting several forums, exchanging emails and finding the movie on Crackle.com, I have been able to get the info and images to create this master pattern. So, I hope you find this a least entertaining if not interesting!
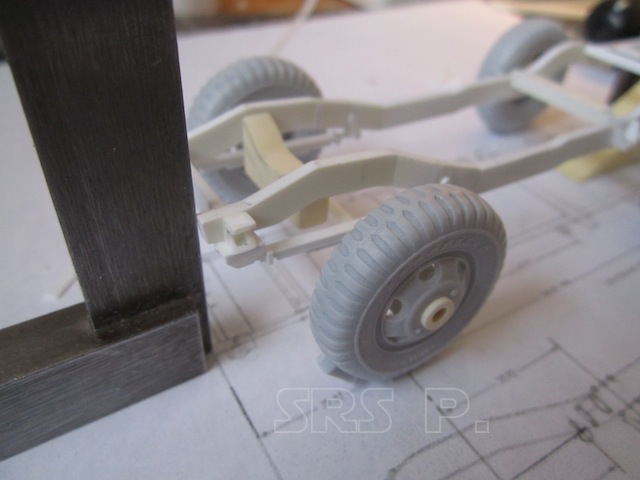
My first task was to find out what type of vehicle the Scrambler was built on. I was sure it was going to be an old weapons or personnel carrier from Korea or WWII era or perhaps even a 70’s or 80’s Jeep. One of my internet searches lead me to a Jeep forum, where a member had mentioned ‘that vehicle in that Space Hunter movie’. Someone had replied that they new exactly what vehicle it was, and that person was and still is running the Spacehunter forum based in the UK. ( A forum I had found & joined several years ago, but had forgotten all about!! ) It was there that I found out the vehicle was constructed on a 1982 Dodge Power Ram -( 4X4) pickup truck. After receiving the factory spec drawing of the frame from a helpful member of RamchargerCentral.com forum, I could at last start an accurate master………………..

Dodge truck frame
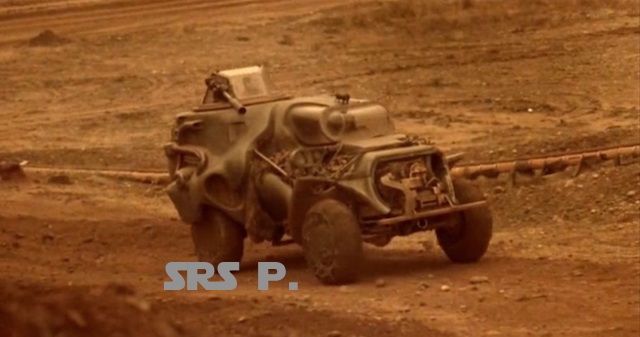
The Scrambler
The Scrambler
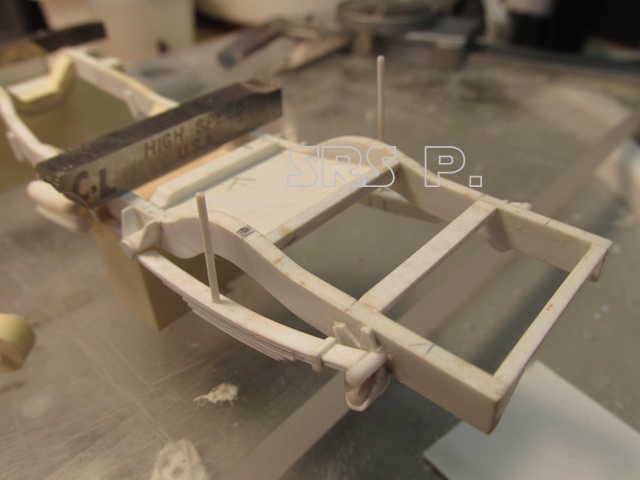
Once I converted the real dimension of the frame to 1:35th scale, I could start construction.
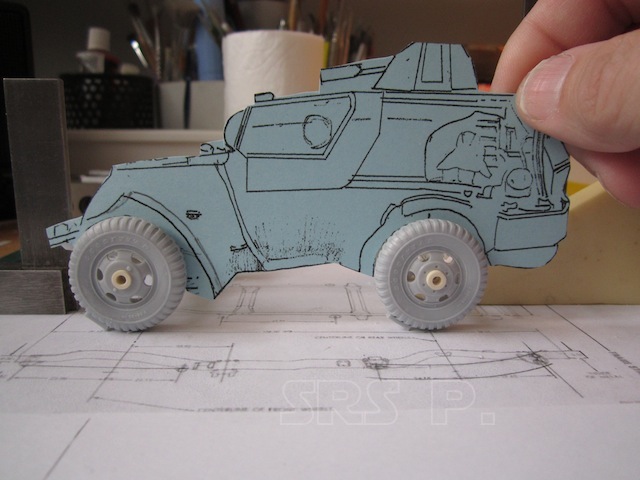
I used the side view image and hand traced it to create a working line drawing for all of the major ‘land marks’ of the vehicle. This drawing was reduced to make the wheel centers line up on the numbers from the frame.
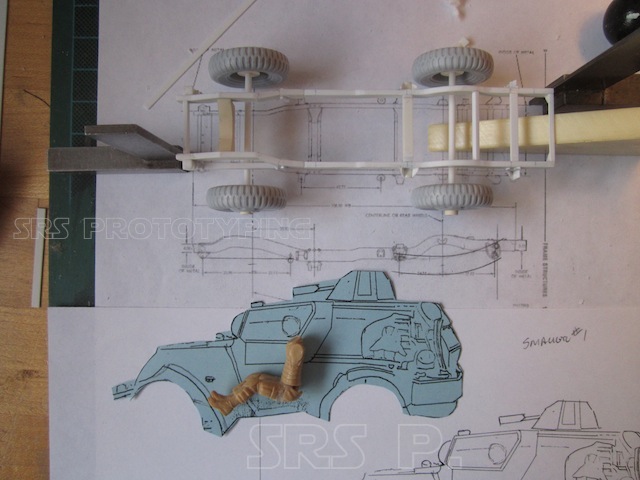
The next images show the frame under construction and the card stock cut out of the side view perfectly aligned. The frame with suspension will be created as it will be visible on the completed kit. Pictured below, the front suspension is under way, the axle with differential will be next.
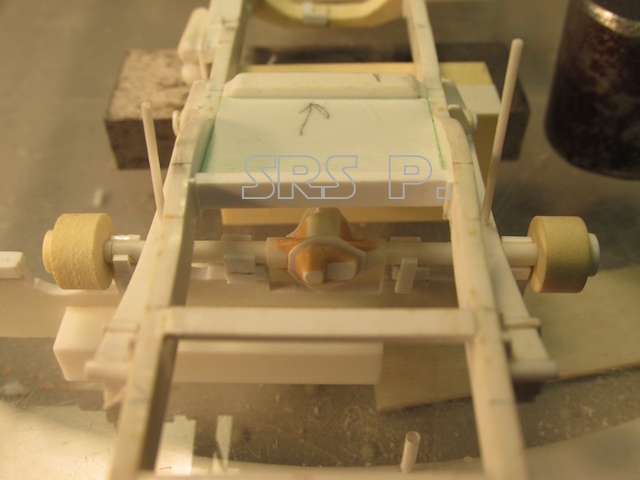
Leaf springs for all four corners were made. The rear axle will be taking a lot of weight, so to help with this, the shocks were made into one part that drops into the frame from above. The axle can be glued to this part and be able to take more of the load.
The frame before the new part:
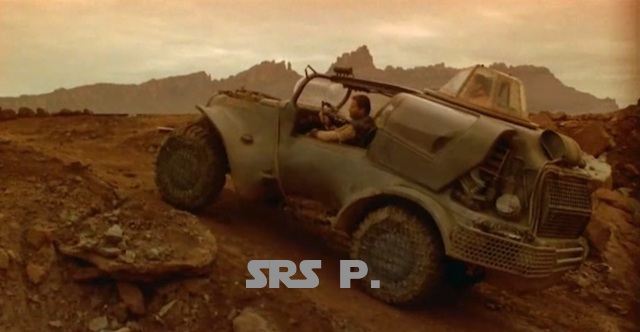
Scrambler
I created a stand to hold the rear axle at the needed height and angle to make the shocks line up at the correct length.The new cross-member is in place, waiting for the shocks to be added.
Scrambler
It looks a bit funky, but all of the arts line up perfectly.

Scrambler
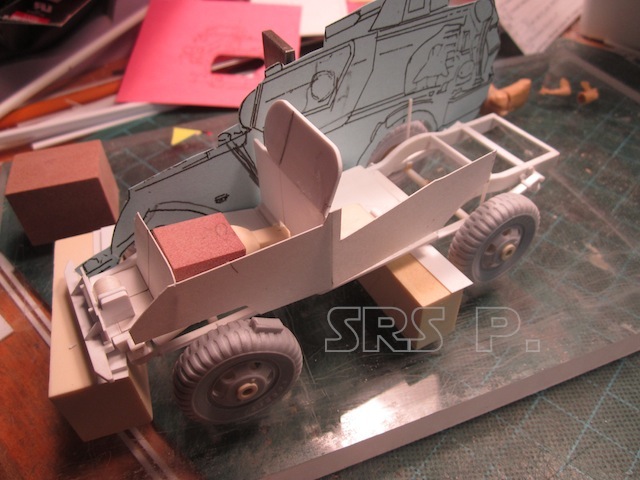
Now that the frame is 90% complete I can start creating the many body sections it will take to make this vehicle somewhat easy to produce. I created the sections using card stock. Card stock does not sag and it will hold a shape once you form it. You can see the card stock radiator and side walls in place, the windshield frame is cut in styrene and in final position. You can also see the floorboard, steering box, custom front bumper w/winch and the engine w/transmission in place. The engine will not be finished any further than you see here. It will be provided in the kit as a starting point if someone wants add in exhaust and other details.
Once satisfied that the card stock panels are the right shape and in the correct position, I can start cutting styrene and assembling the body sections.
At this point I have also created the driver’s seat. From what I could see in the film, it looks like the vinyl and most of the padding was stripped off and the frame wrapped with heavy tape. That detailing will be added later.
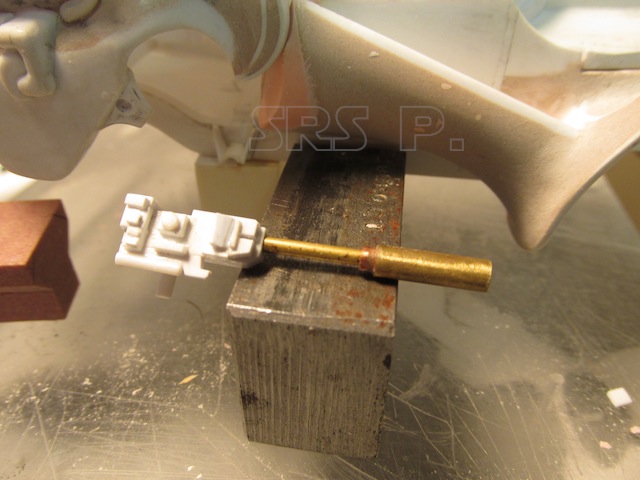
The passenger side of the vehicle is a bit more complicated. This combination fender/body panel had to locate under the hood and against the frame. A card stock guide was made here as well. A brass rod was employed to create the unique fender as it appears in the film. There will be a lot more body-filler sculpting involved to finish this body section.

Right front fender & panel

Right front fender & panel
Ready for filler & sculpting.
Right front fender frame work
A very odd shape to this fender.
Sculpted r. f. fender
Sculpted r. f. fender top view
The fender is about 90% complete here. I’ll return to this part later.
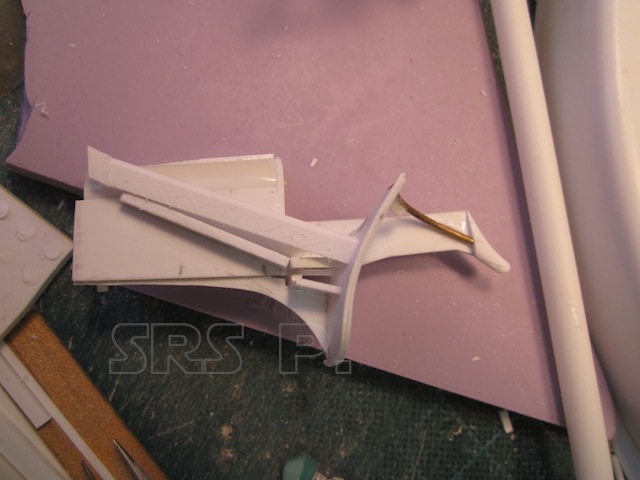
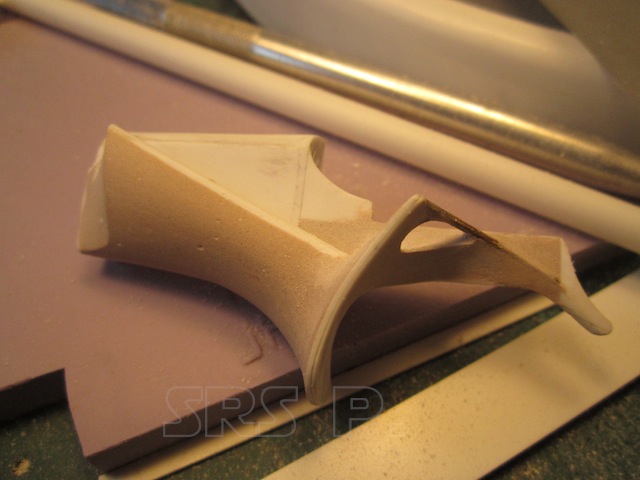
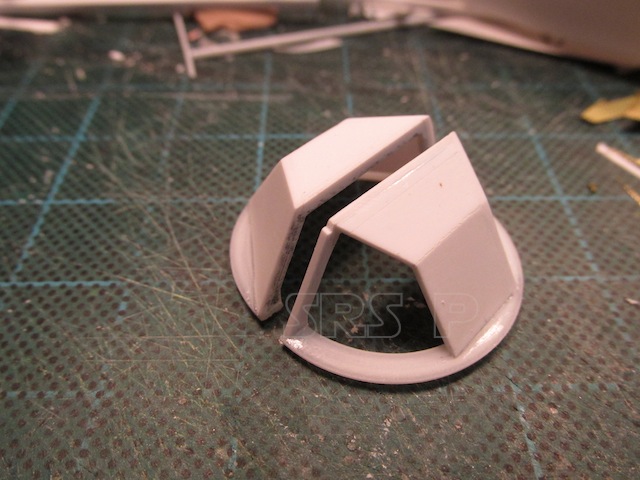
I have to create the passenger side window, I started with a solid block, carved the small lip that locks into the front windshield frame and shaped the rest of the block. Once I had the block to wall thickness and final shape, I was ready to create the rear wall that it joins to. Body filler was used and then carved away to establish the rear wall. The rear wall was then welded to the roof plate.
Side window
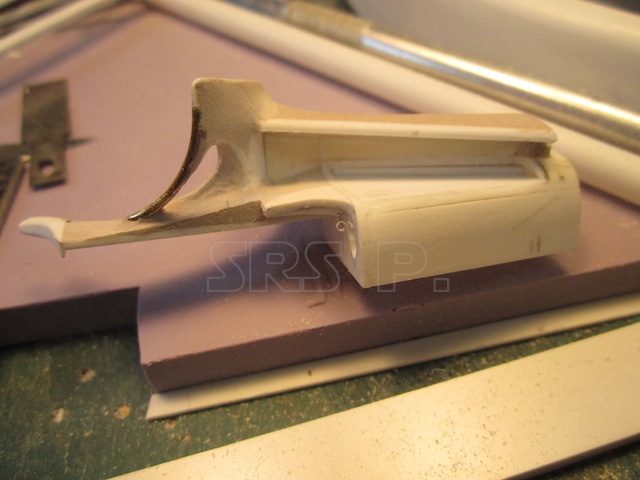
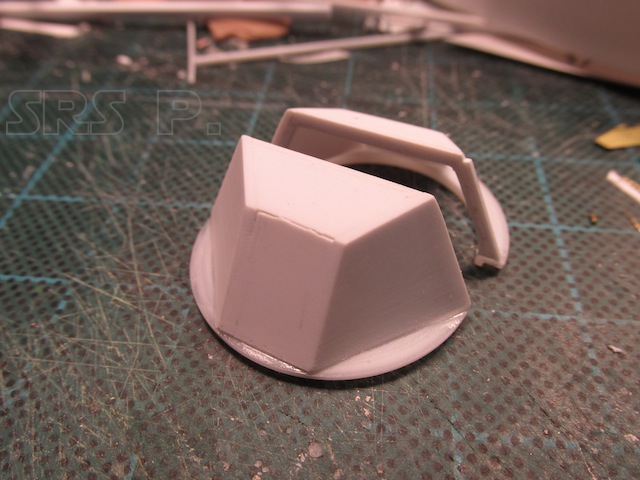
Side window placement
Now that the window & frame are finally in place, I can start to create the right rear body walls.
Right side wall
Right side wall front view
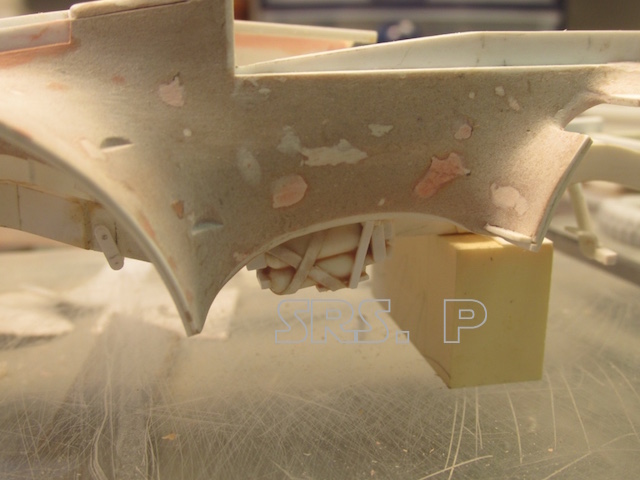
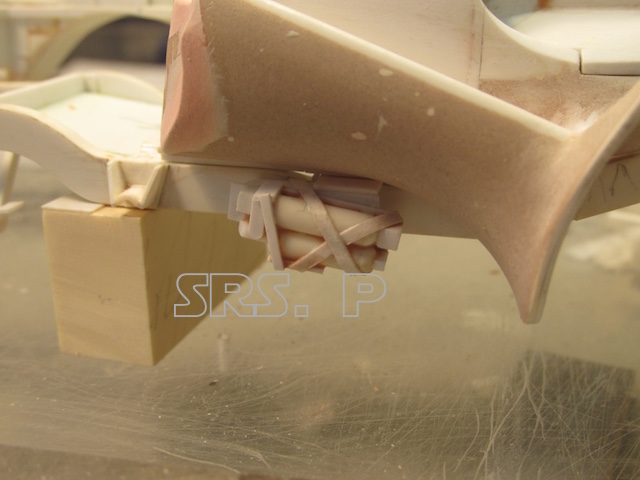
The rear fender was another challenge. Studying the real truck, I drew out a shape by hand that I thought would work once it was formed to the proper shapes. I molded that card stock to shape, and satisfied, I traced it onto .040″ styrene sheet and heat-formed and welded it into position. Then it was ‘filler-time’ for all of the blending and shaping. I separated the lower portion of the fender and pinned it into place as a separate part to allow for easier molding. A lot of work for this section of the body to be sure.
Rear fender
Rear fender card stock
Rear sidewall
Front sidewall
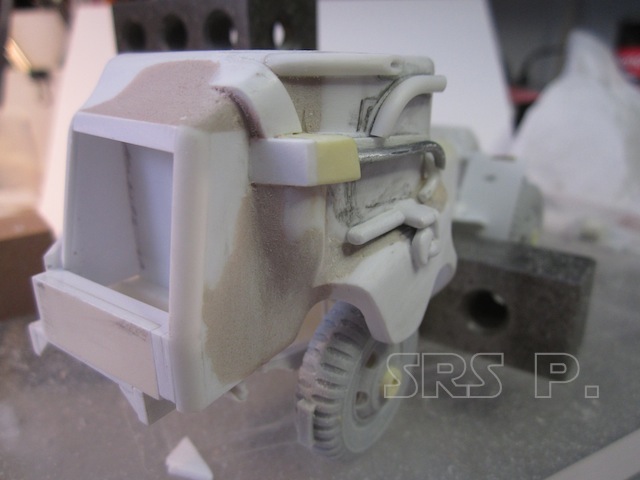
Rear quarter sidewall
Lower fender
Look at all of the odd pipe work on this side of the truck, a side not really shown in the move accept briefly.
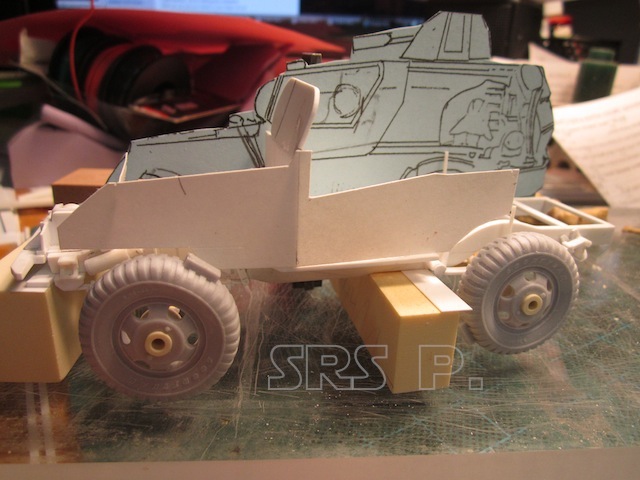
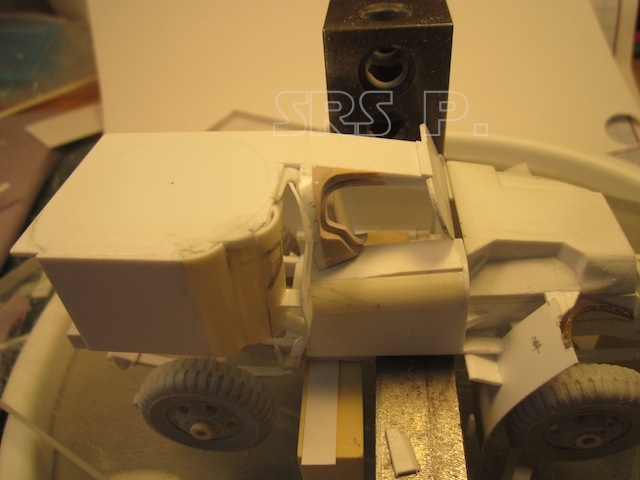
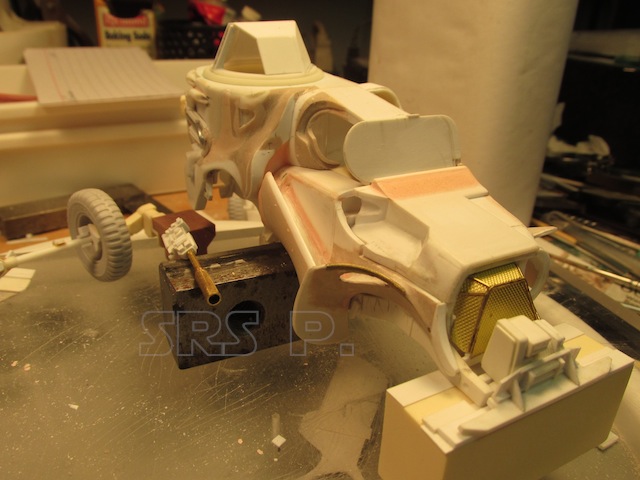
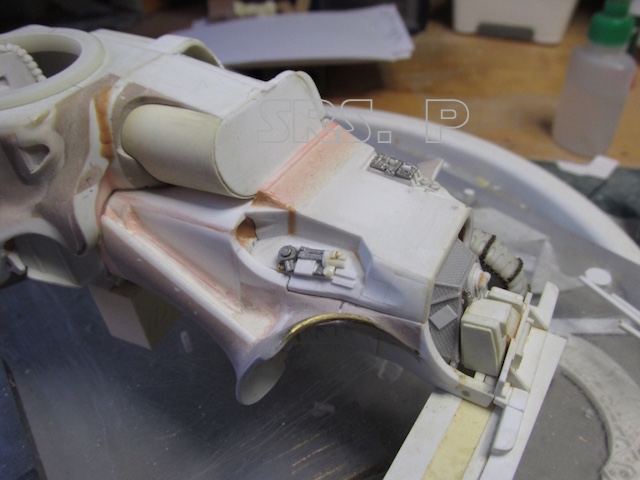
Onto the driver’s side. Below you can see the upper body panel on the driver’s side taking shape. I am leaving myself extra material to allow for final fitting. A small rib on the bottom of the panel aligns it to the lower wall. This part will be kept a separate piece because there is detailing that goes behind it. The sliding canopy is also taking shape as I lay in the lower body line that it rests on. This is a very complicated little part, curved and angled surfaces must meet behind the front windscreen and conform to the outer body. The builder will be able to place the canopy in any position.

Scrambler master

Scrambler master

Scrambler master
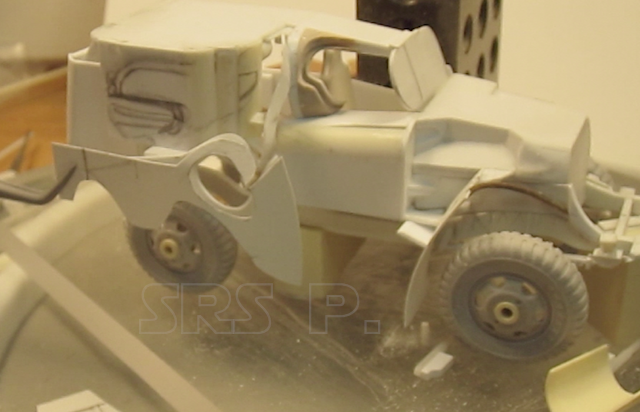
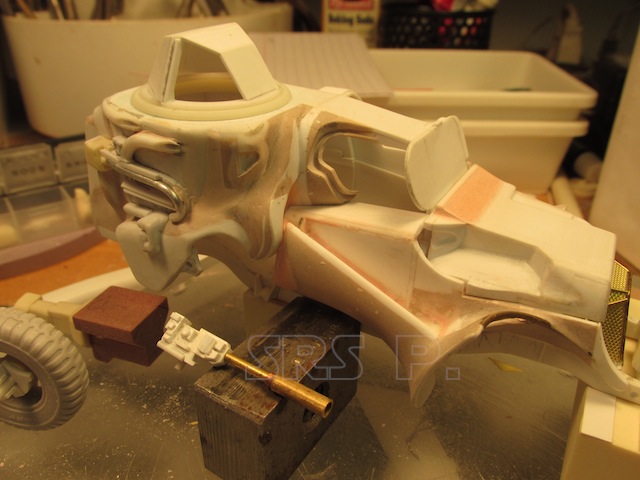
After several hours of fitting and adjusting and shaping, both parts are complete and fitting properly. The canopy in the closed position……..

Scrambler master

Scrambler master
Open position…..

Scrambler master

Scrambler master
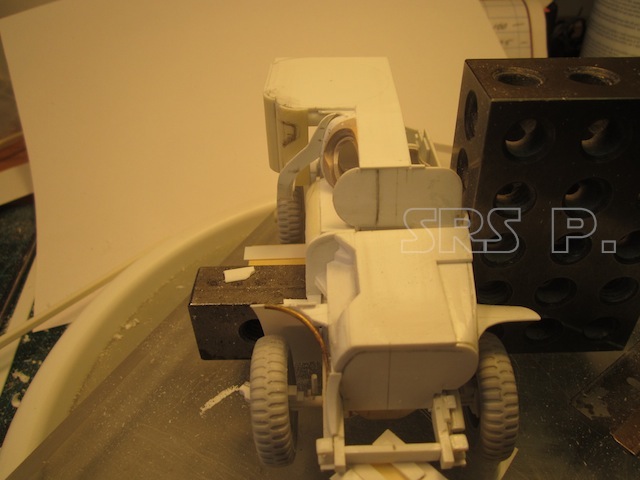
Looking more like an abandoned vehicle on blocks than our beloved Scrambler, the top is open for the turret ring and the turret canopy has been completed and is in position.

scrambler master
scrambler master
scrambler master
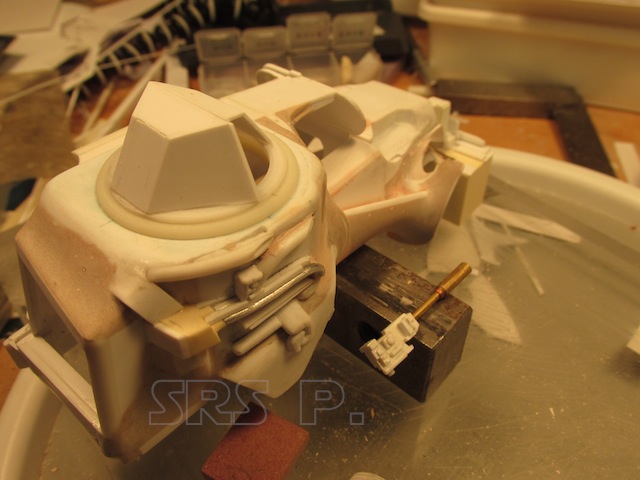
scrambler master
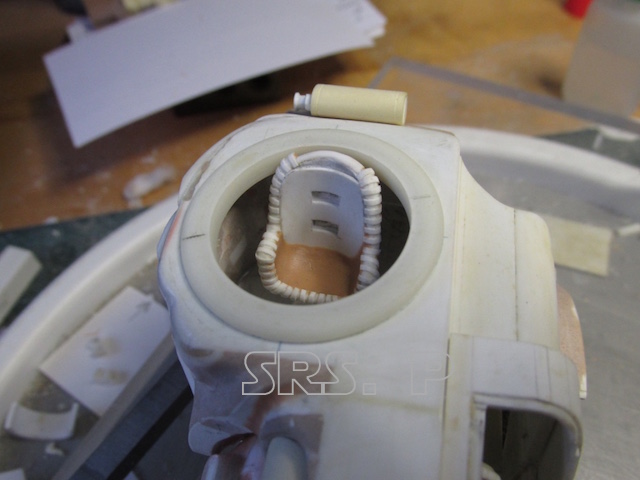
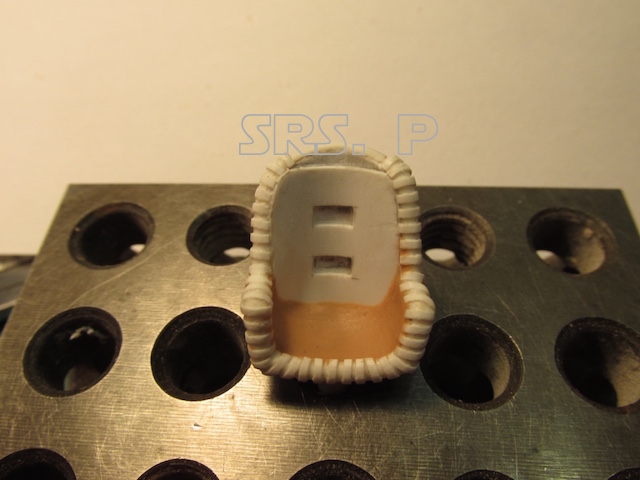
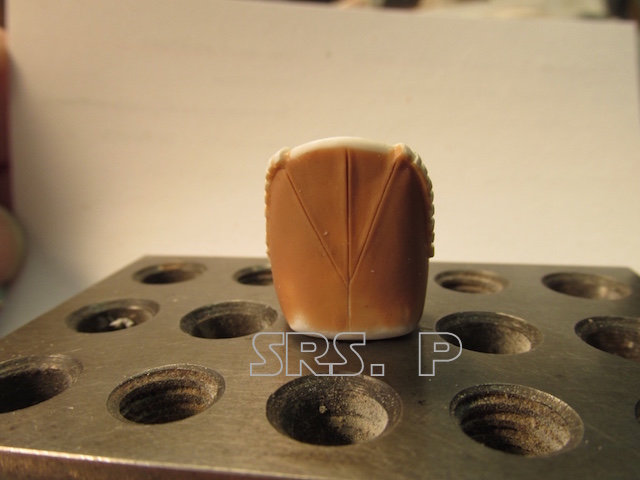
Completed turret gun.
scrambler master
The two canopy halves will be primed and glossy clear coated for nice clear castings, as the real turret was made of a plexiglass type material.
scrambler master
scrambler master
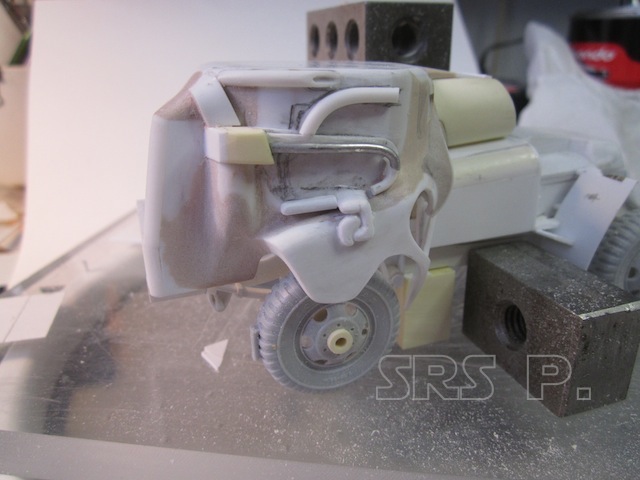
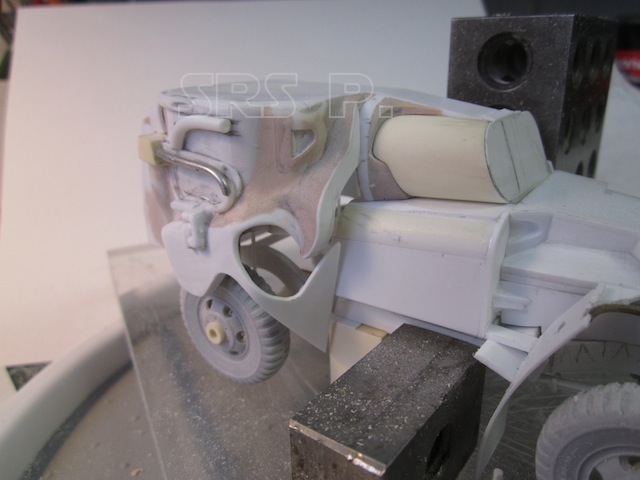
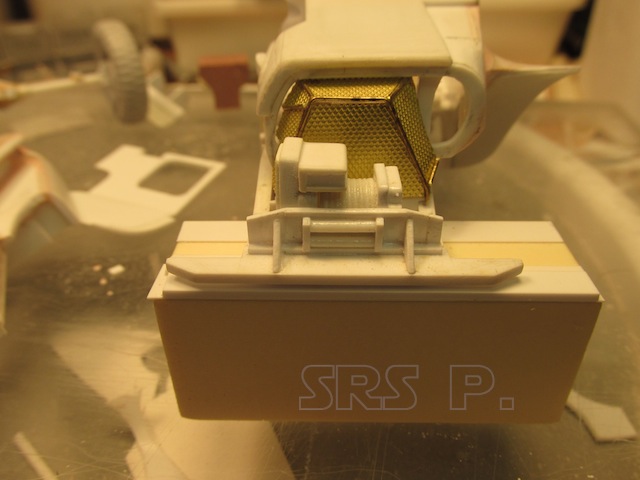
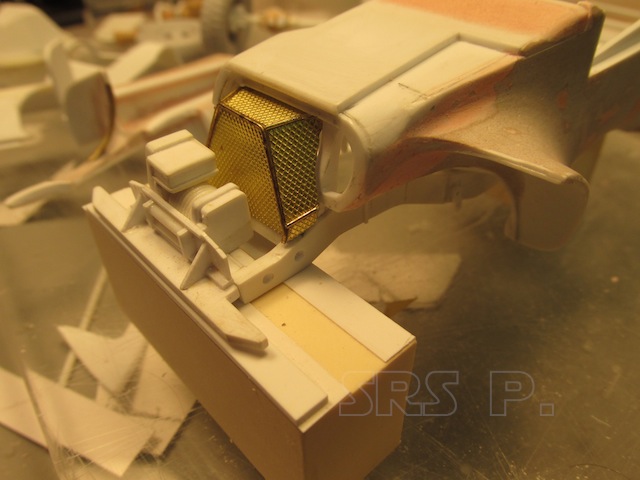
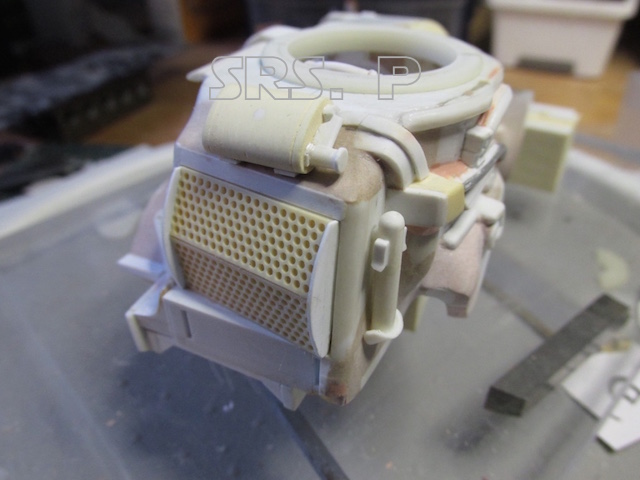
Anothe unique detail is the front ‘grill’ that looks to be fabricated for the vehicle. It was a frame work of steel rods and wire screen. I was able to find photo-etch brass that worked perfectly to replicate the screening.
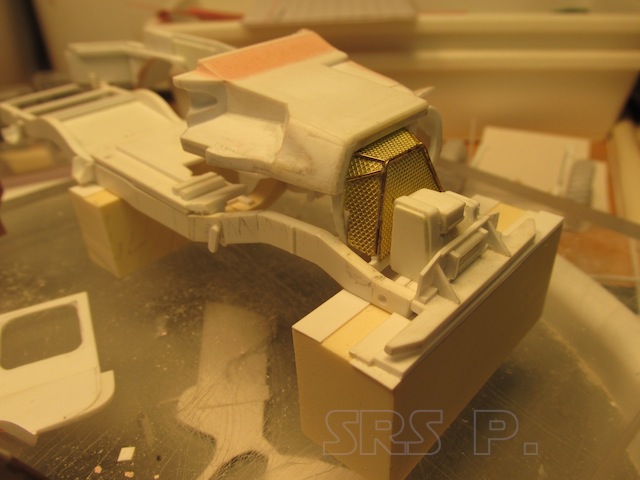
scrambler master
scrambler master
scrambler master
Completed grill with the front bumper & winch;

Scrambler
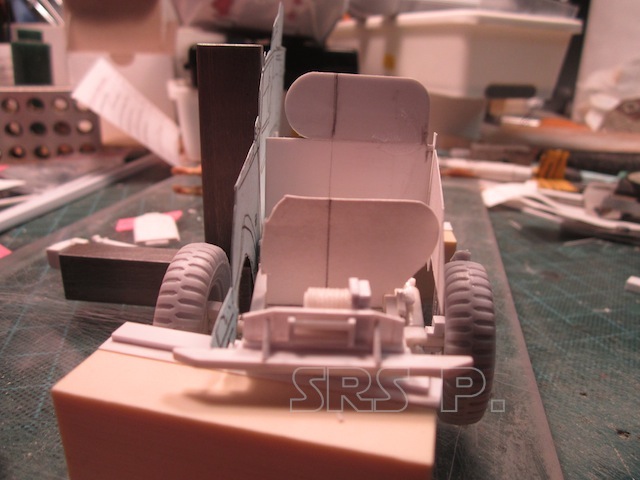
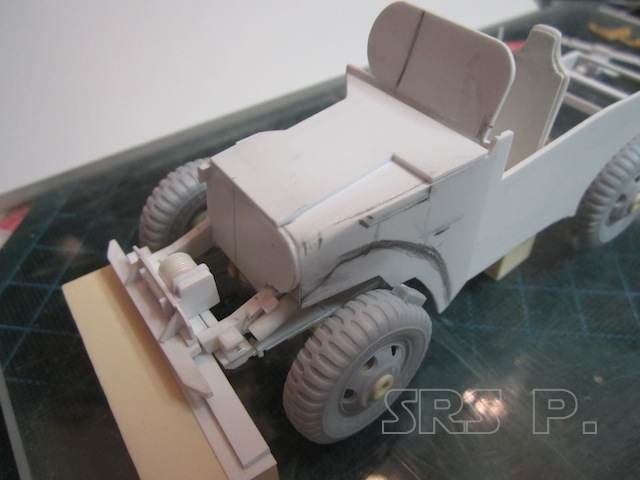
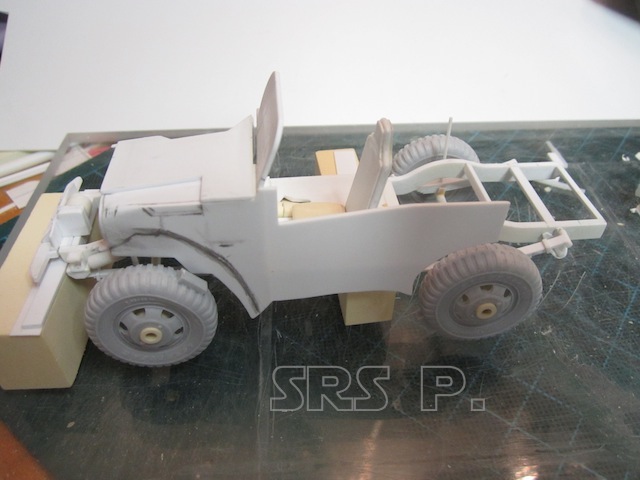
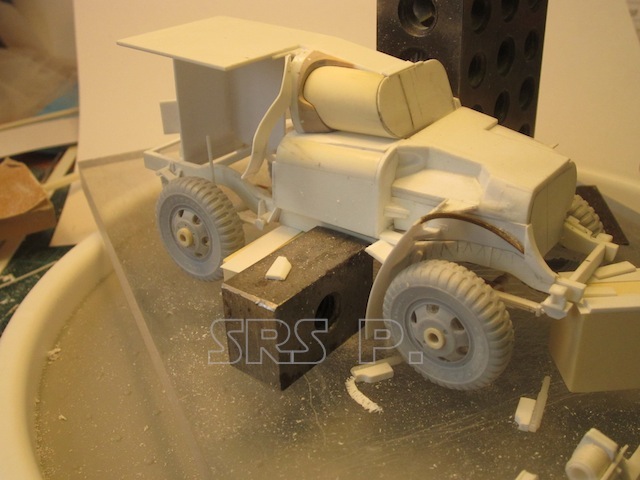
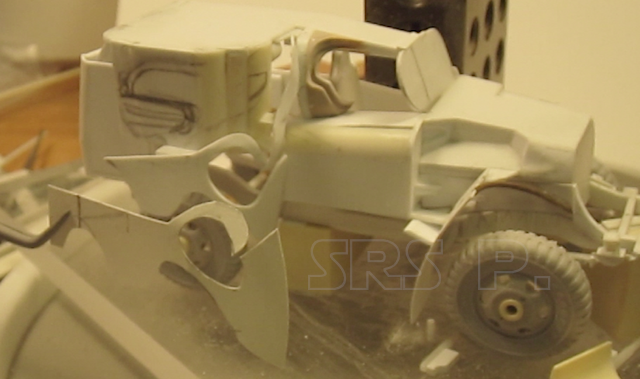
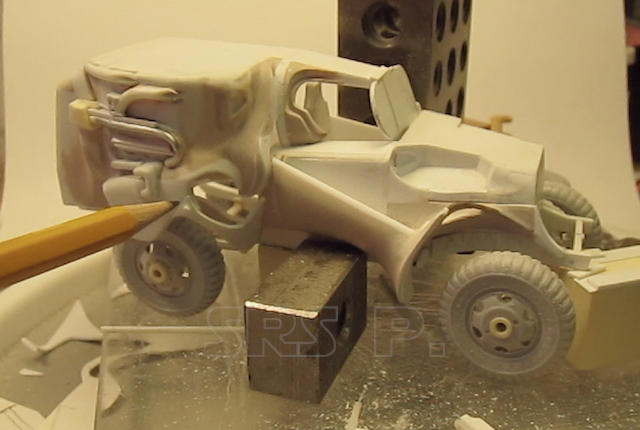
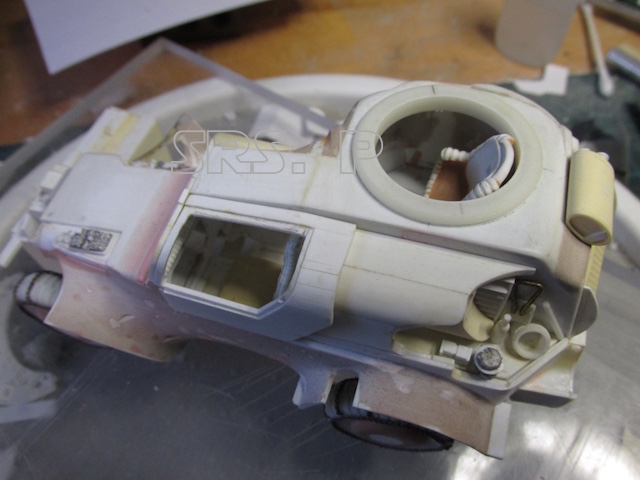
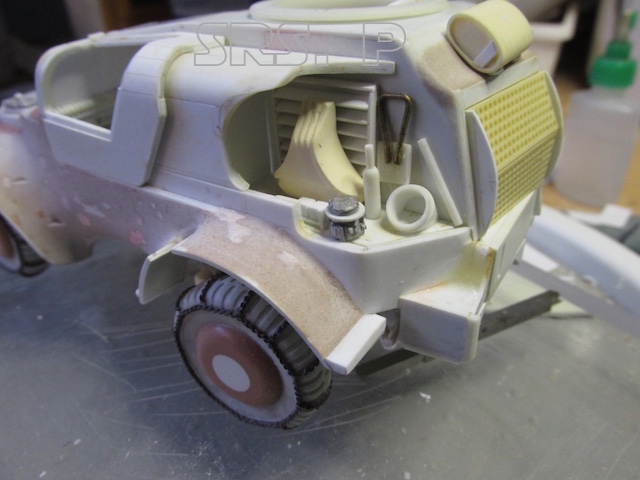
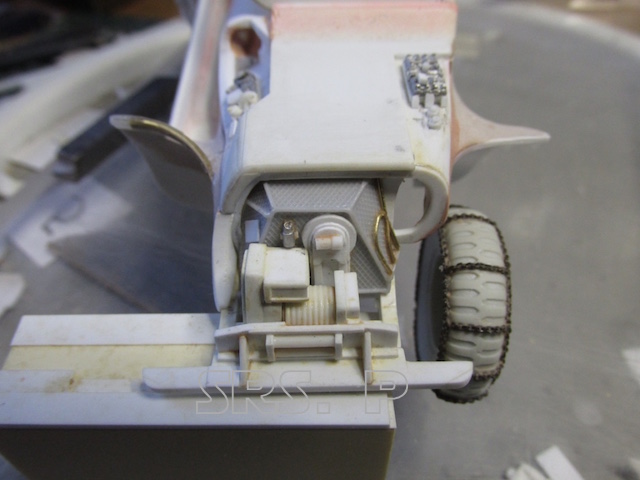
Here is a quick walk-around to see the latest progress. Most of the smaller exterior details have been made, the driver’s seat, and the gunner’s chair are finished and in place as well. Many parts are already made are not shown.

Scrambler
Scrambler
Scrambler
Scrambler
Scrambler
Scrambler
The gunner’s chair..
Scrambler
Scrambler
More thing-a-ma-jigs;
Scrambler
Scrambler
Scrambler
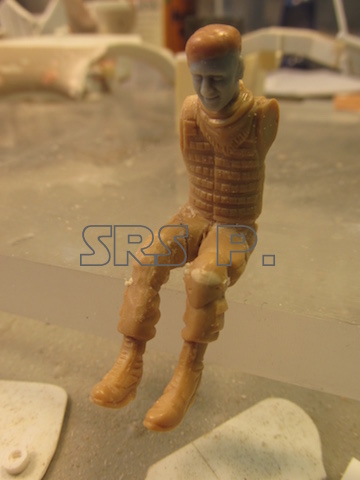
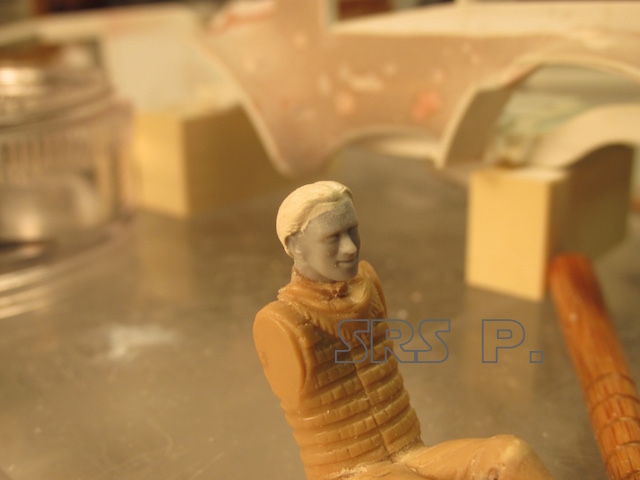
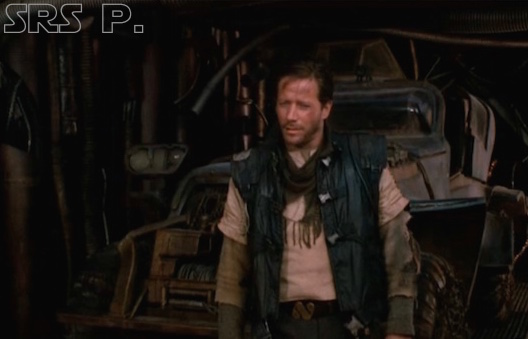
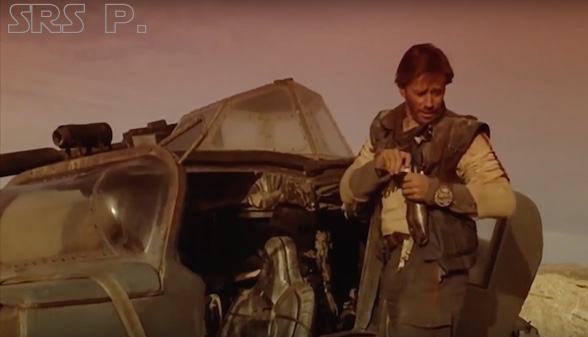
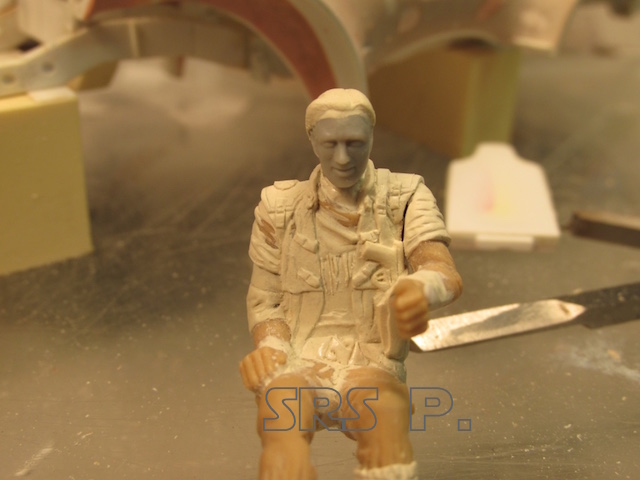
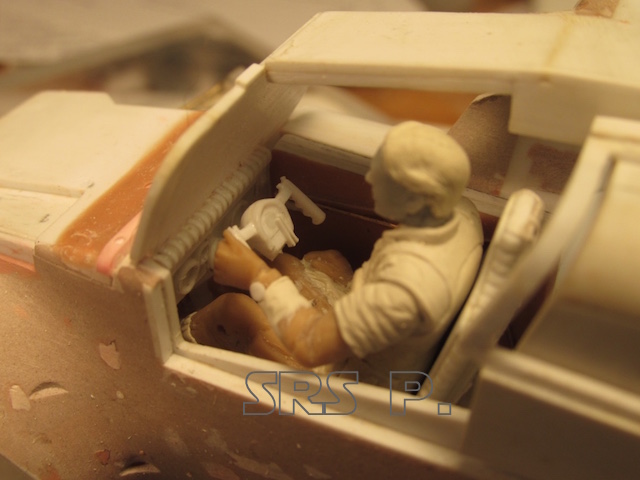
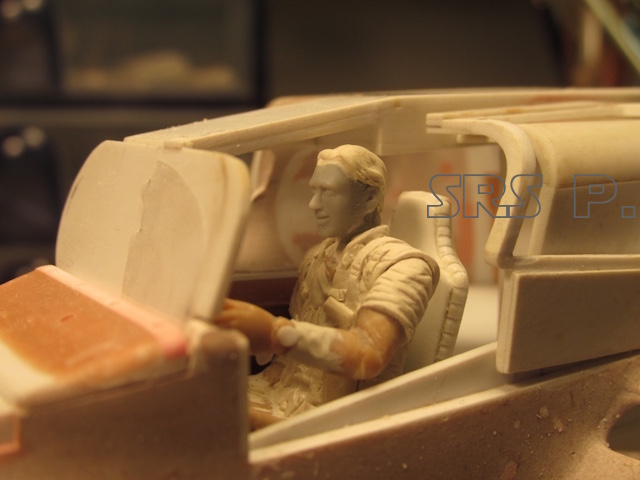
The Scrambler must have ‘wolff’ behind the wheel!
I started with a 1:35th scale figure and heavily modified it. I changed the head, it’s seated position and the clothing & equipment was added.
Scrambler
Scrambler
Scrambler
Scrambler
Scrambler
Scrambler

Scrambler
Scrambler
The ‘things to complete’ list is getting shorter!