
The Visitor’s Center at WCHP was completely renovated in 2012. With the donations of private individuals and corporations, a beautiful new entrance, offices and a Museum room was added to the original, aging structure. I was contacted by the Museum Curator, Kimberly McCarty to create an original illustration for the museum room. There will be a new display that will compare and contrast how an officer of the Rev War would live during a campaign and a typical line soldier. On display will be some furniture and artifacts from the period, as well as some reproductions.The illustration will be enlarged to 8 feet X 8 feet and placed on the wall as a vinyl application.
My task was to create a color illustration that represents what the typical soldier would have in the field with him. I was instructed to represent a soldier from two units that were in attendance during the Christmas Eve crossing of the Delaware. I also wanted to show some typical tasks that soldiers would perform when camped. I chose the 1st. Maryland regiment and the 1st. Pennsylvania rifle regiment, also known as the PA State Rifles. The choice was very simple, I had the most research on those units.
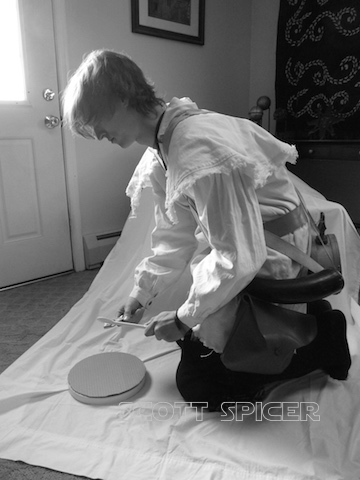
The layout was simple enough, fill the square shape. The only hitch was that there was an electrical outlet in the wall, so I just arranged the layout around it. I know I wanted the soldiers in opposite corners so I could have the accouterments played out in front of them. I made a list of what each soldier would have and made sure I had them ready to photograph. I needed a model next, to pose wearing the uniform and holding some of the equipment. One of my daughter’s friends had posed for me before, and agreed to do so again. He is perfect for the Rev War subject, as he is very tall and thin. There were very few ‘fat’ soldiers in the field. A quick survey of what was provided, or not, to the soldier of that time, and you’ll quickly learn that replacing worn and missing clothing and looking for food was the primary concern of the soldier when not fighting the British.
WCHP Illustration
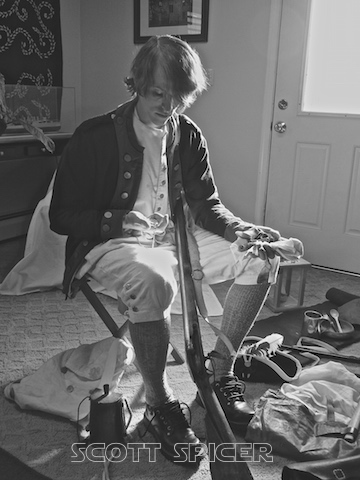
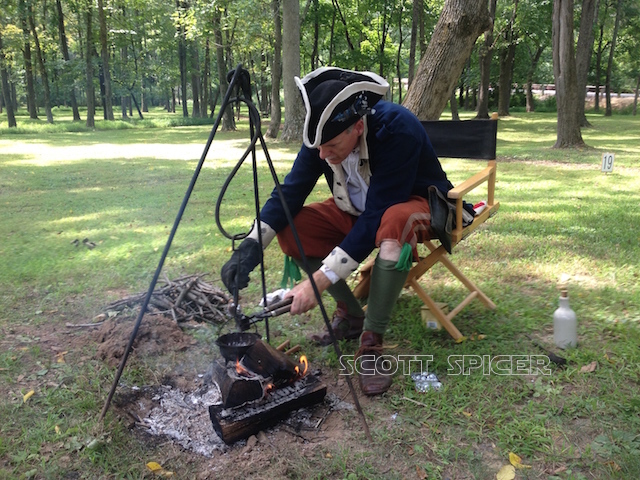
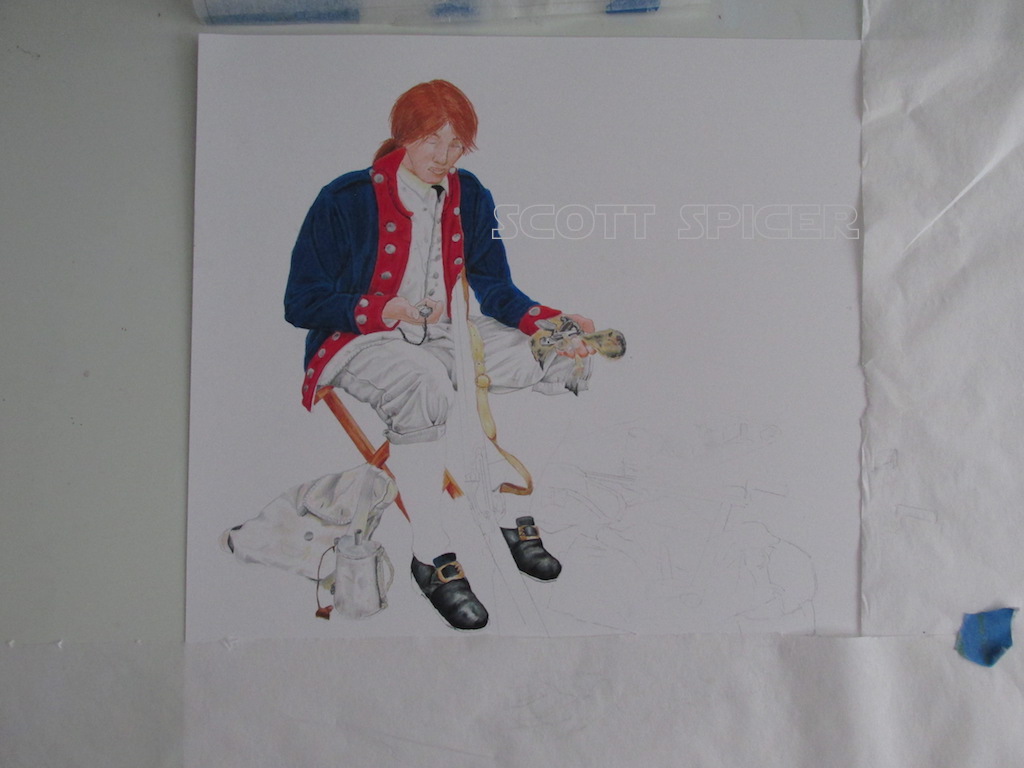
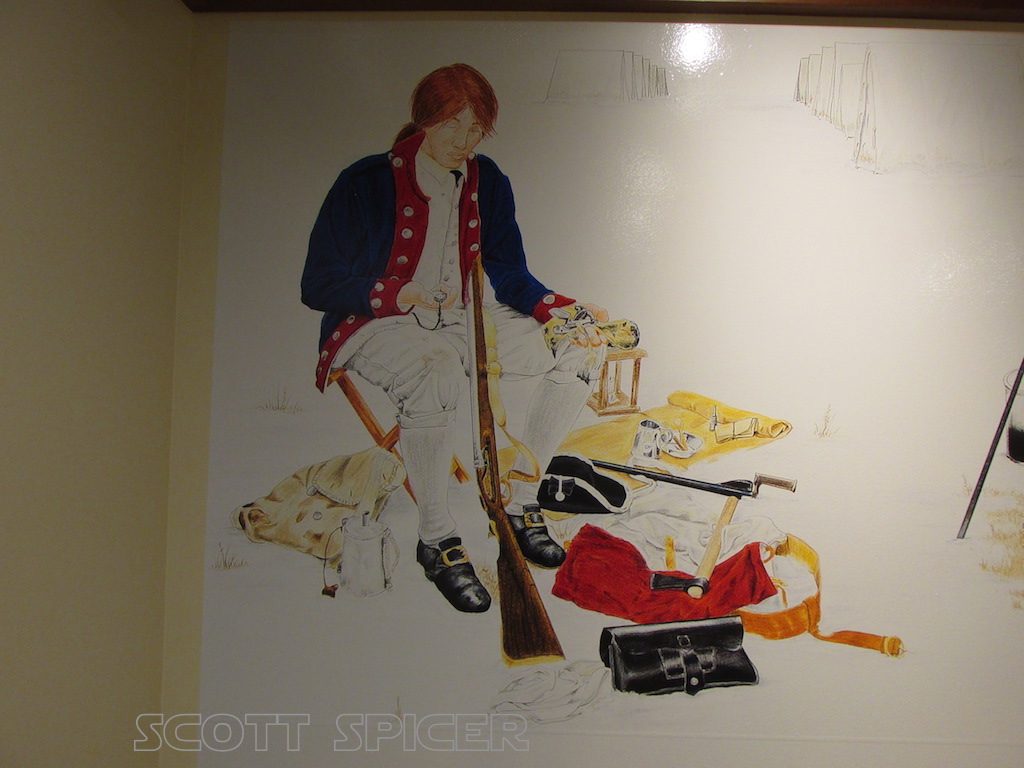
So, I clothed my model in each of the uniforms, using different equipment. The task for the the Maryland soldier was cleaning his musket and timing his meal on the boil. So I took the lock off of the musket and had him hold it in one hand and hold his pocket watch in the other.
WCHP Illustration
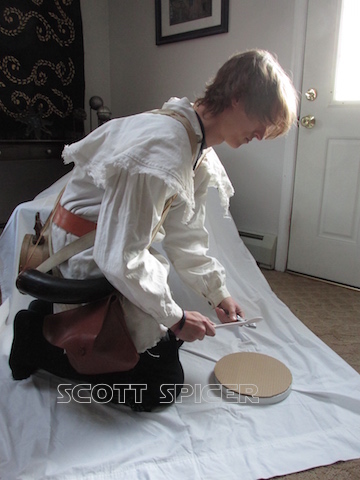
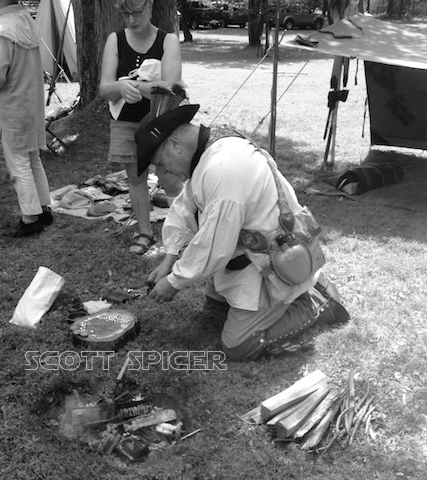
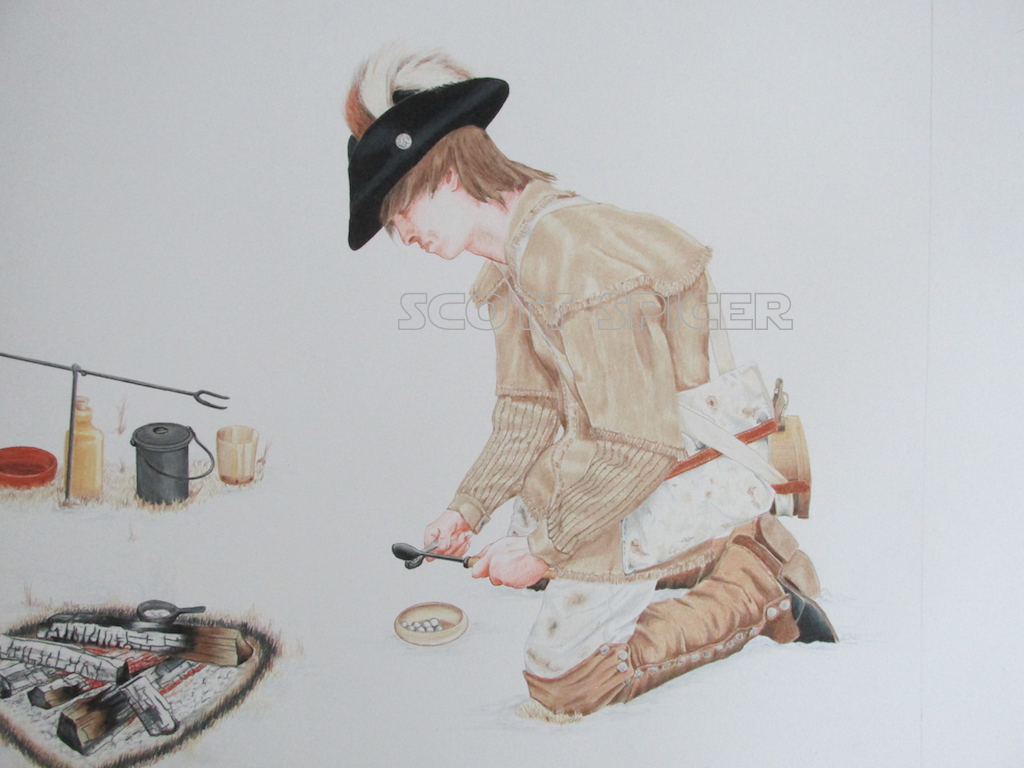
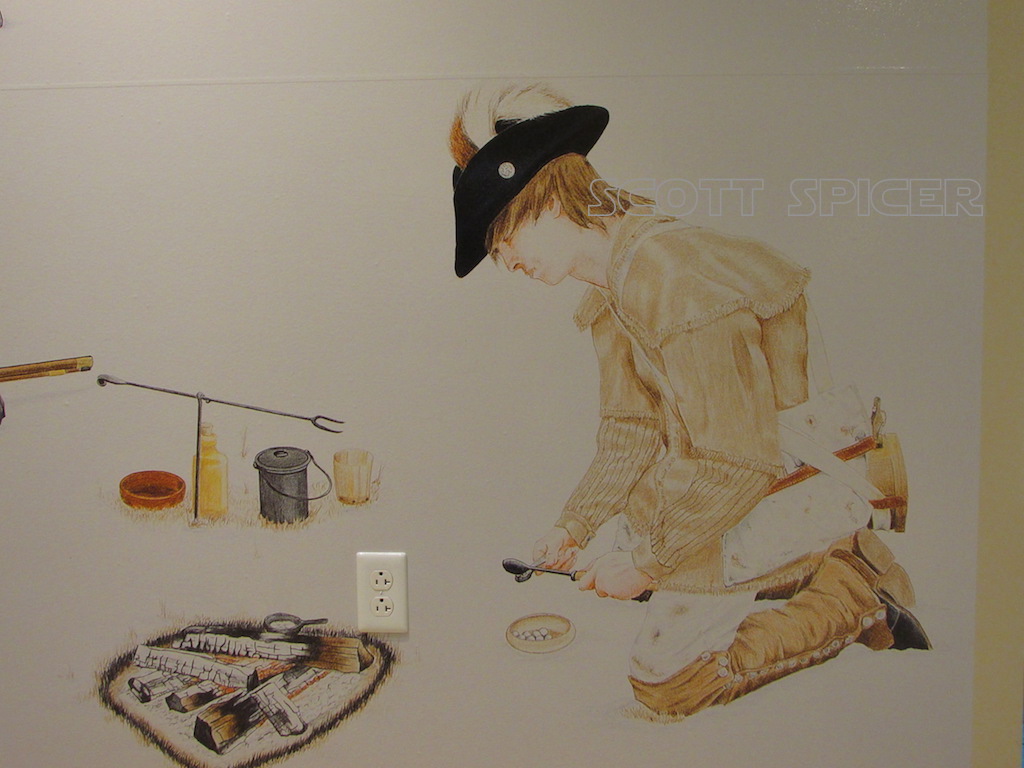
The task for the Rifleman was to be bullet or, ball making, a suggestion from my wife.
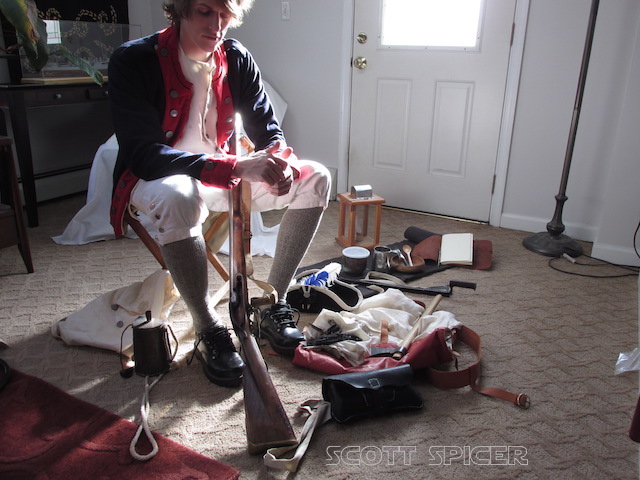
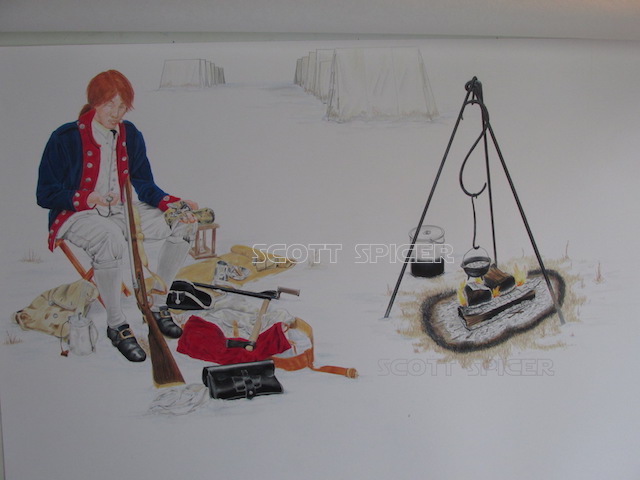
This next image shows the accouterments laid out for the Maryland soldier. The concept here us that after the march to their new encampment, he has removed his knapsack and opened it. He has removed and laid out several items from it to clean his musket and prepare to eat. Some of the items shown are his bed roll/blanket, bowl and utensils, writing things and lantern.
WCHP Illustration
WCHP Illustration
I also had some images from an event his year of someone using an iron tripod, so I used that as part of the illustration. He also happens to be bullet making.
WCHP Illustration
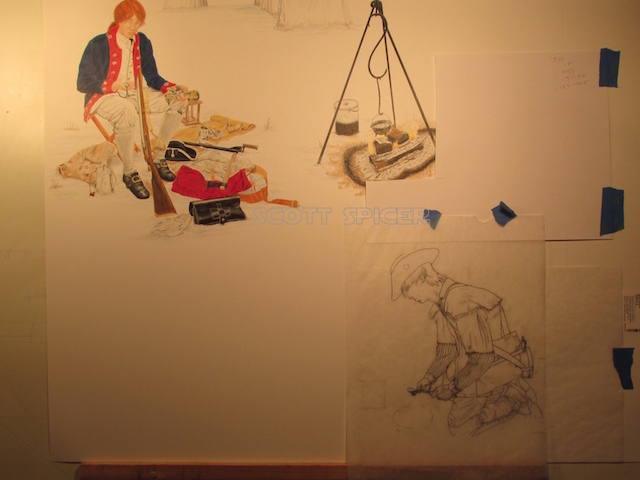
For the Rifleman, I had images from the same event in the pose that I wanted. What I did was combined the two images. I reversed the image of my model to match the re-enactor, to create the figure I wanted.
WCHP Illustration
WCHP Illustration
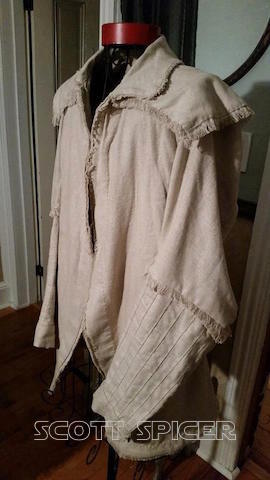
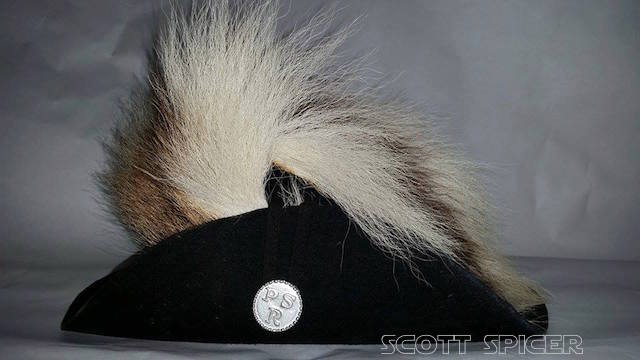
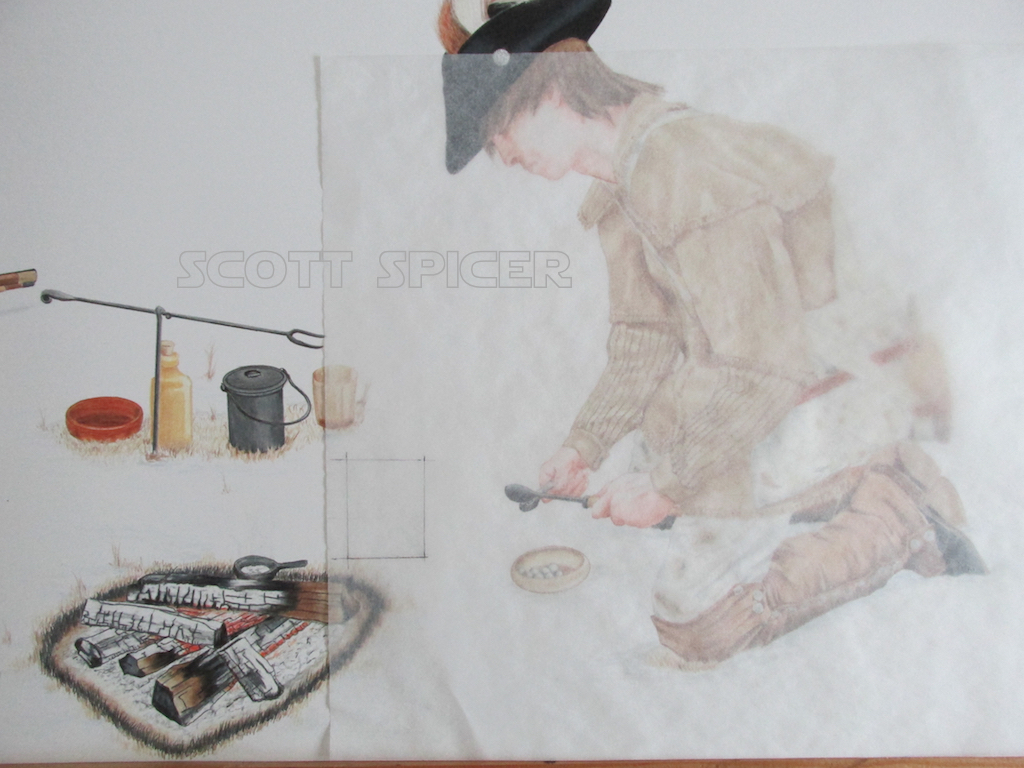
I also had to update the uniform of the Rifleman. Over the winter, the unit had done some research and found the proper style of shirt and hat the regiment wore. Special thanks to Chuck Faust of the PA State Rifles for his help with ‘accurizing’ the uniform.
WCHP Illustration
WCHP Illustration
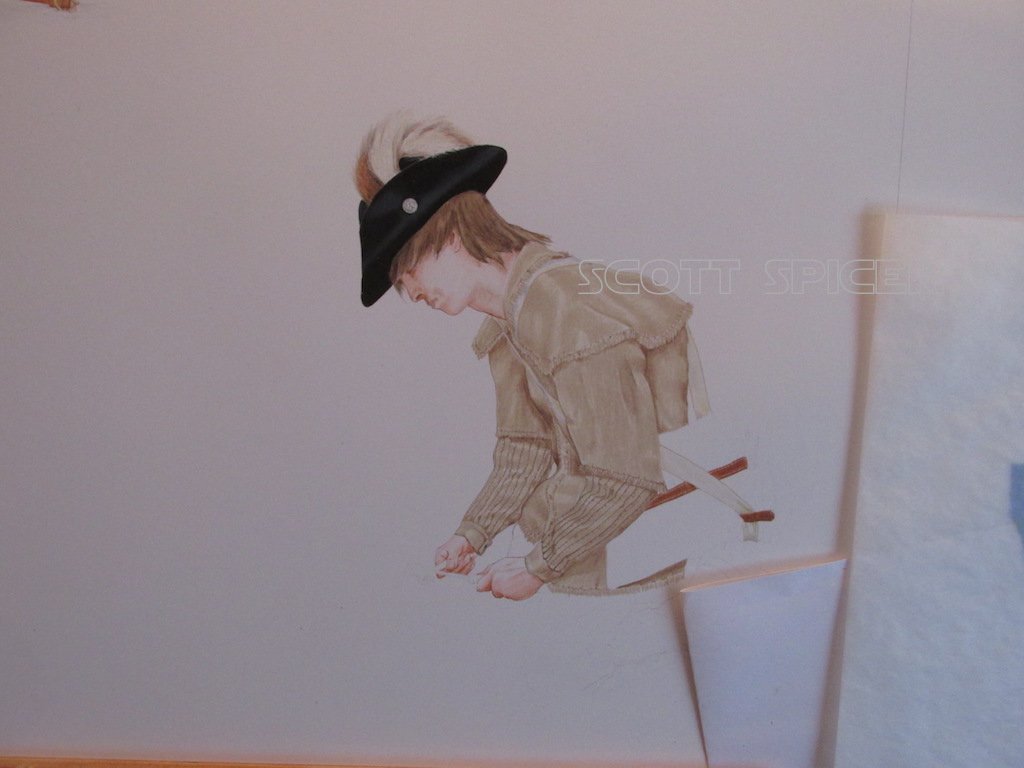
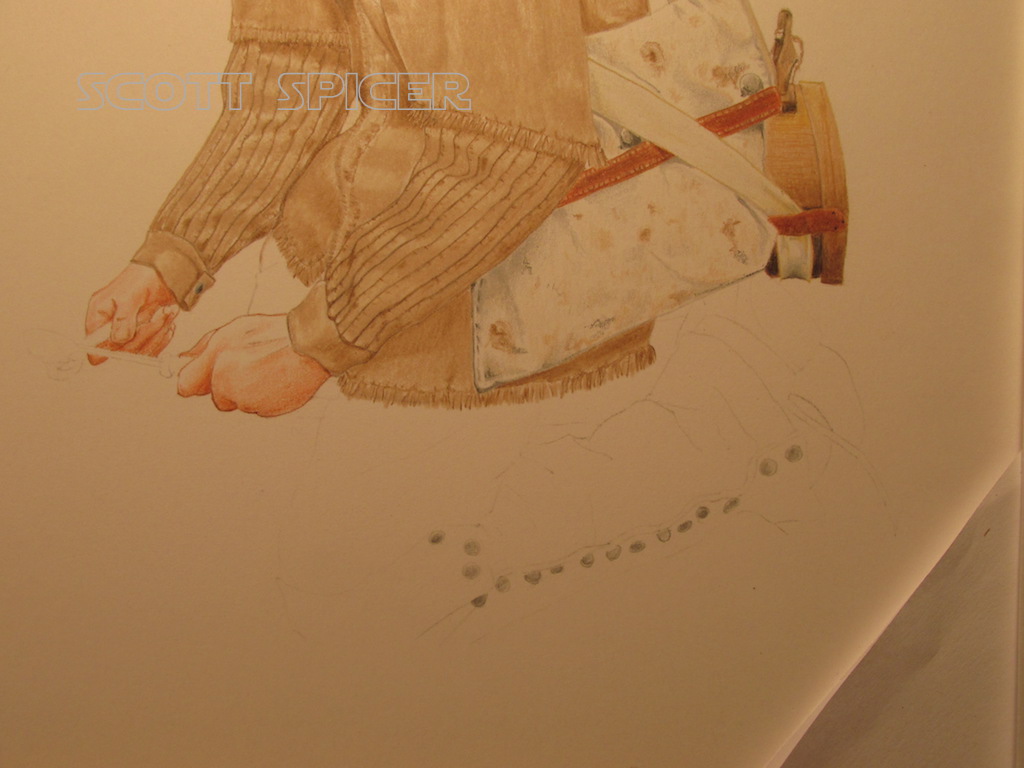
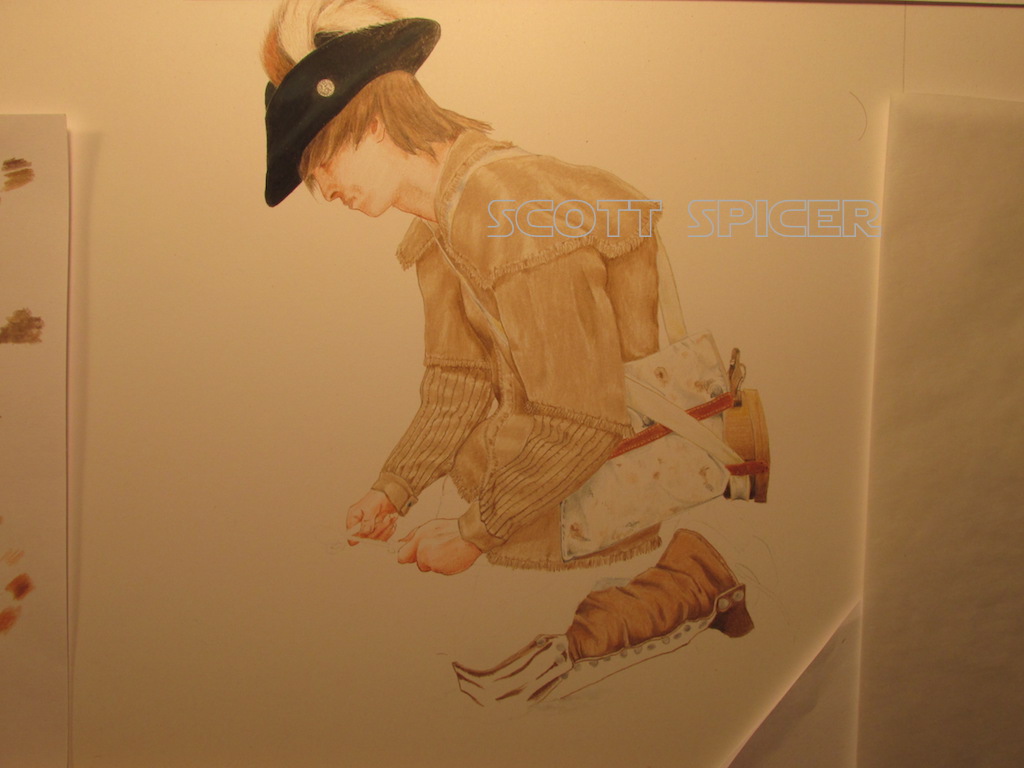
All of these elements were combined to create the Rifleman. Some progression on the rifleman;
WCHP Illustration
WCHP Illustration
WCHP Illustration
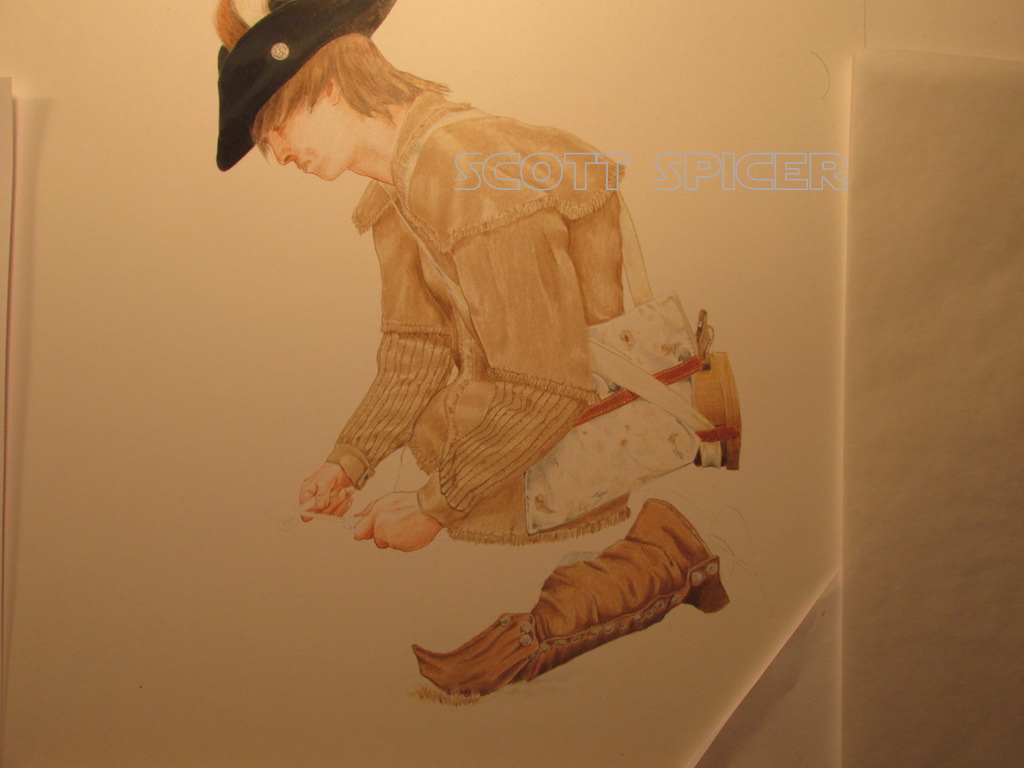
WCHP Illustration
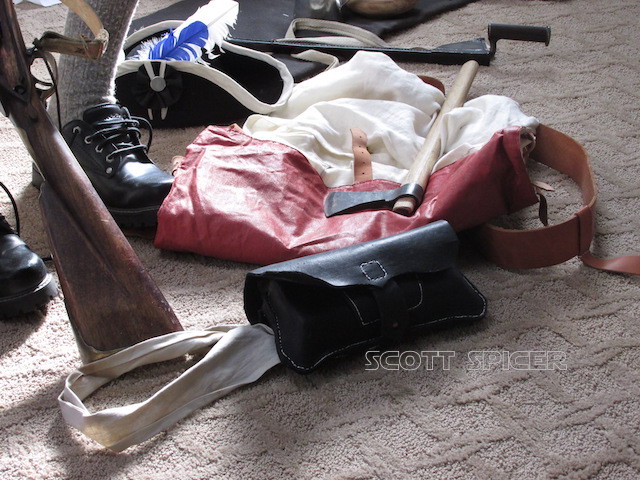
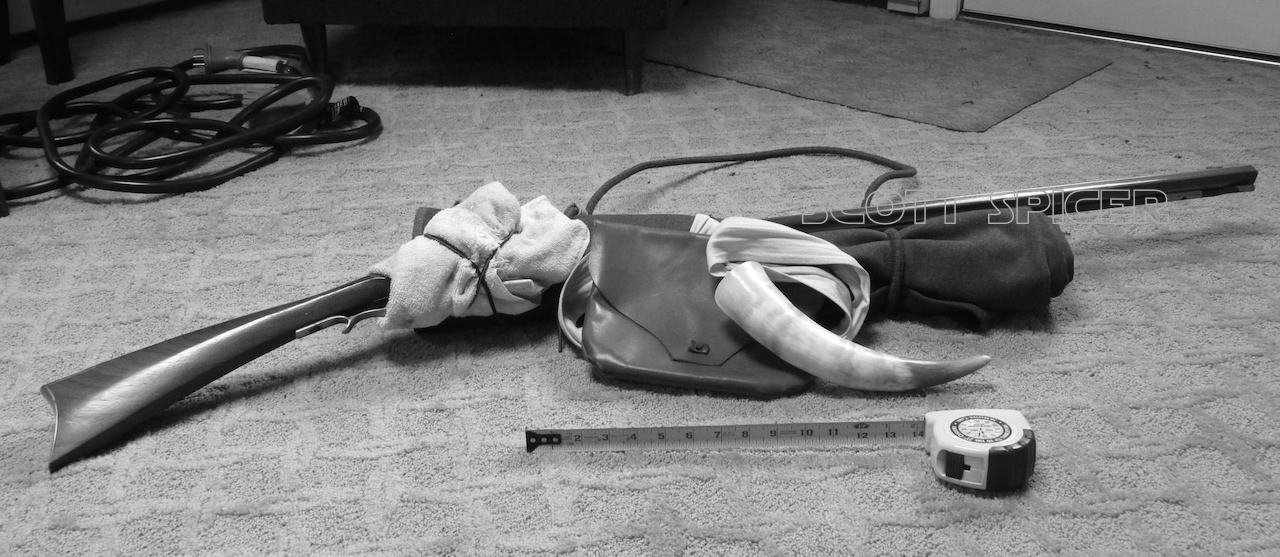
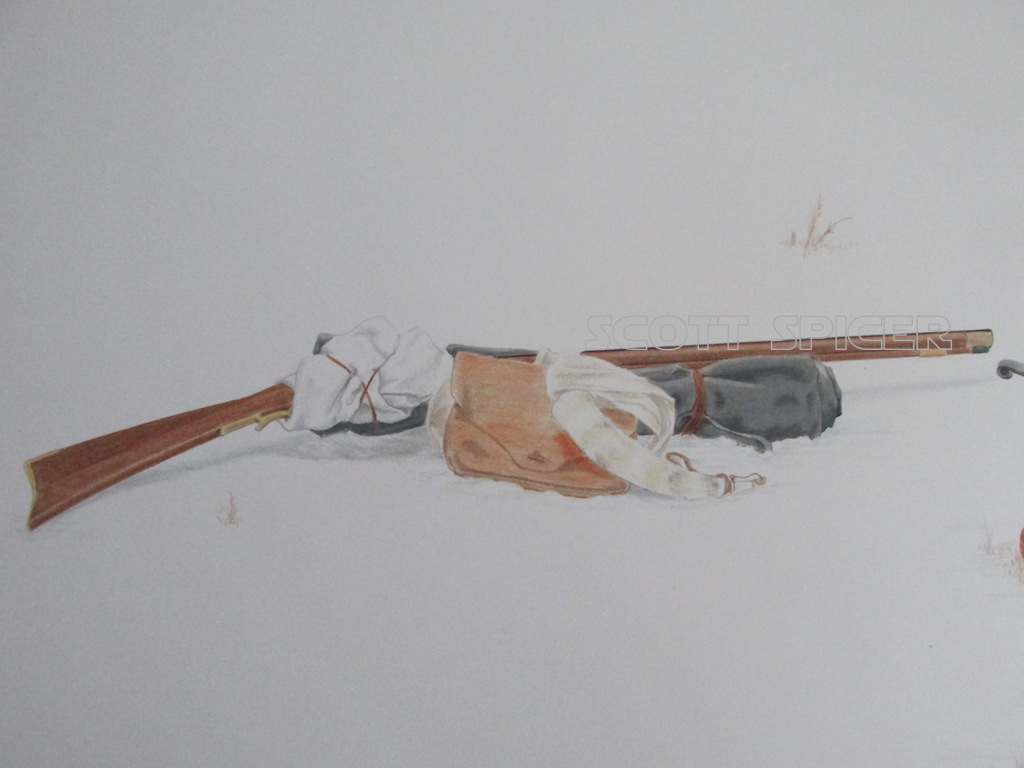
Also depicted are some of the items the Rifleman may carry on the march. Along with the ball casting tools, he has basic food containers, an iron fork for over the fire, his bed roll, leather possibles bag, powder horn and of course his Pennsylvania Long rifle.
WCHP Illustration
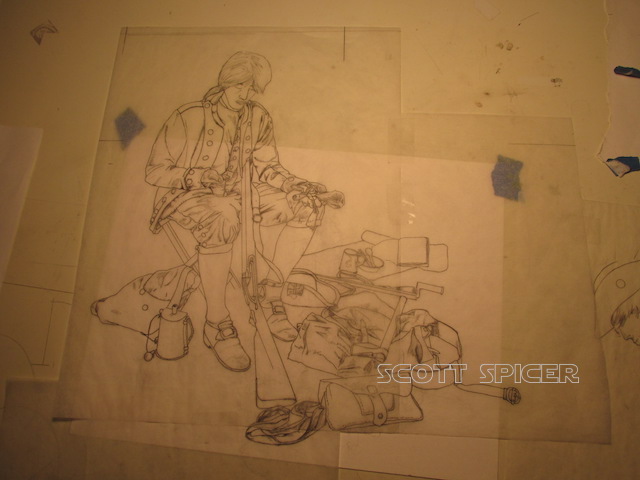
The tracing of the Maryland soldier;
WCHP Illustration
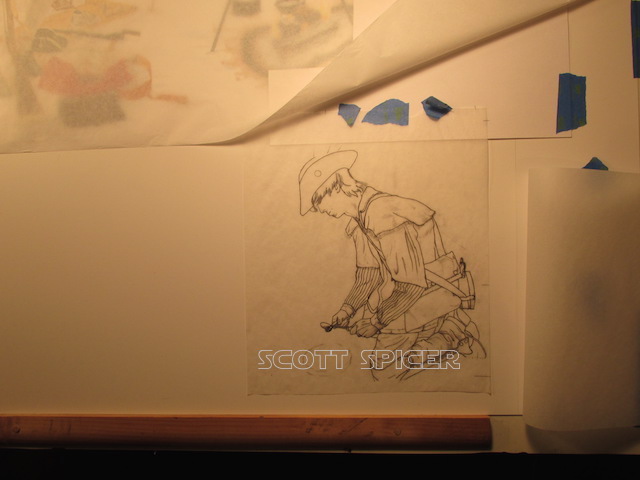
The Rifleman;
WCHP Illustration
I was asked to include a few specific items in the drawing, as they would also be part of the display. A cooking pot made of steel and a wooden canteen were some of the items.

WCHP Illustration
This is how things progressed;
WCHP Illustration
WCHP Illustration
WCHP Illustration
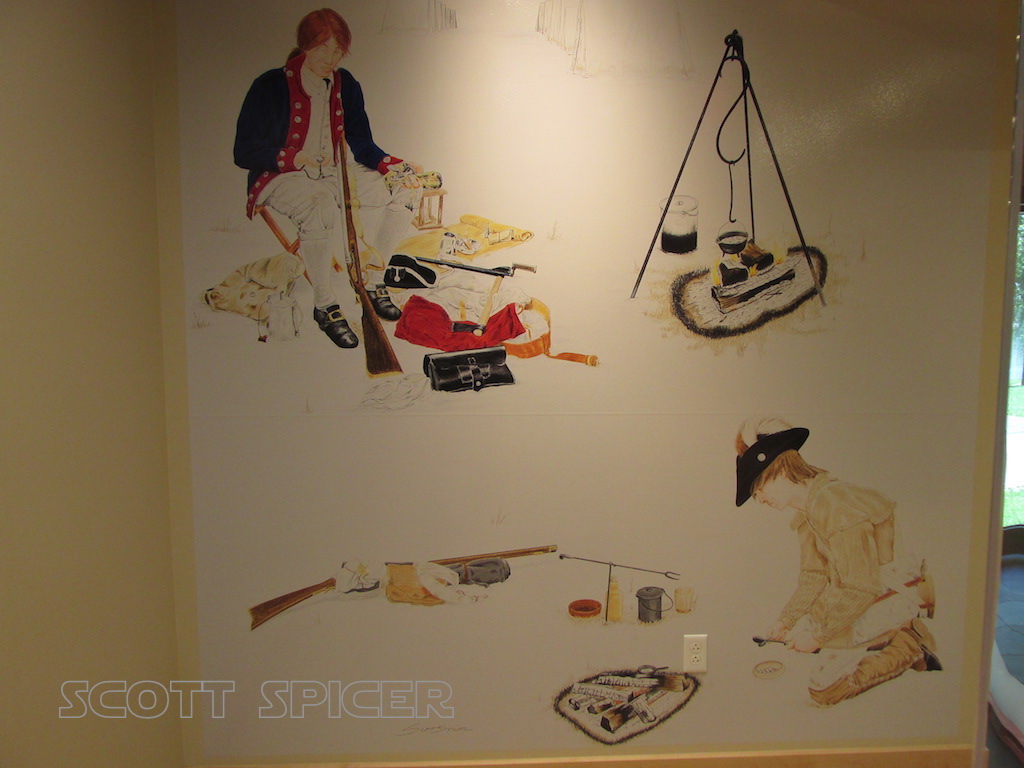
The image below shows the layout of the electrical outlet on the wall that had to be accomodated.
WCHP Illustration
WCHP Illustration
WCHP Illustration

WCHP Illustration
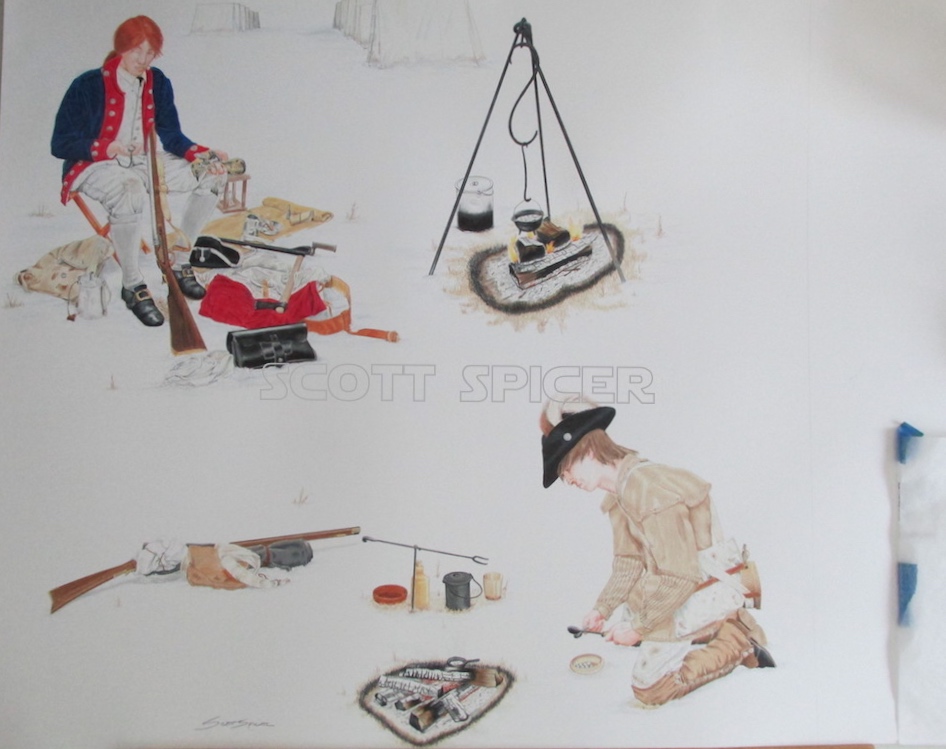
The finished piece. Poor photography because I am not set up for large art work such as this. The dimension are 24″ X 24″.
WCHP Illustration
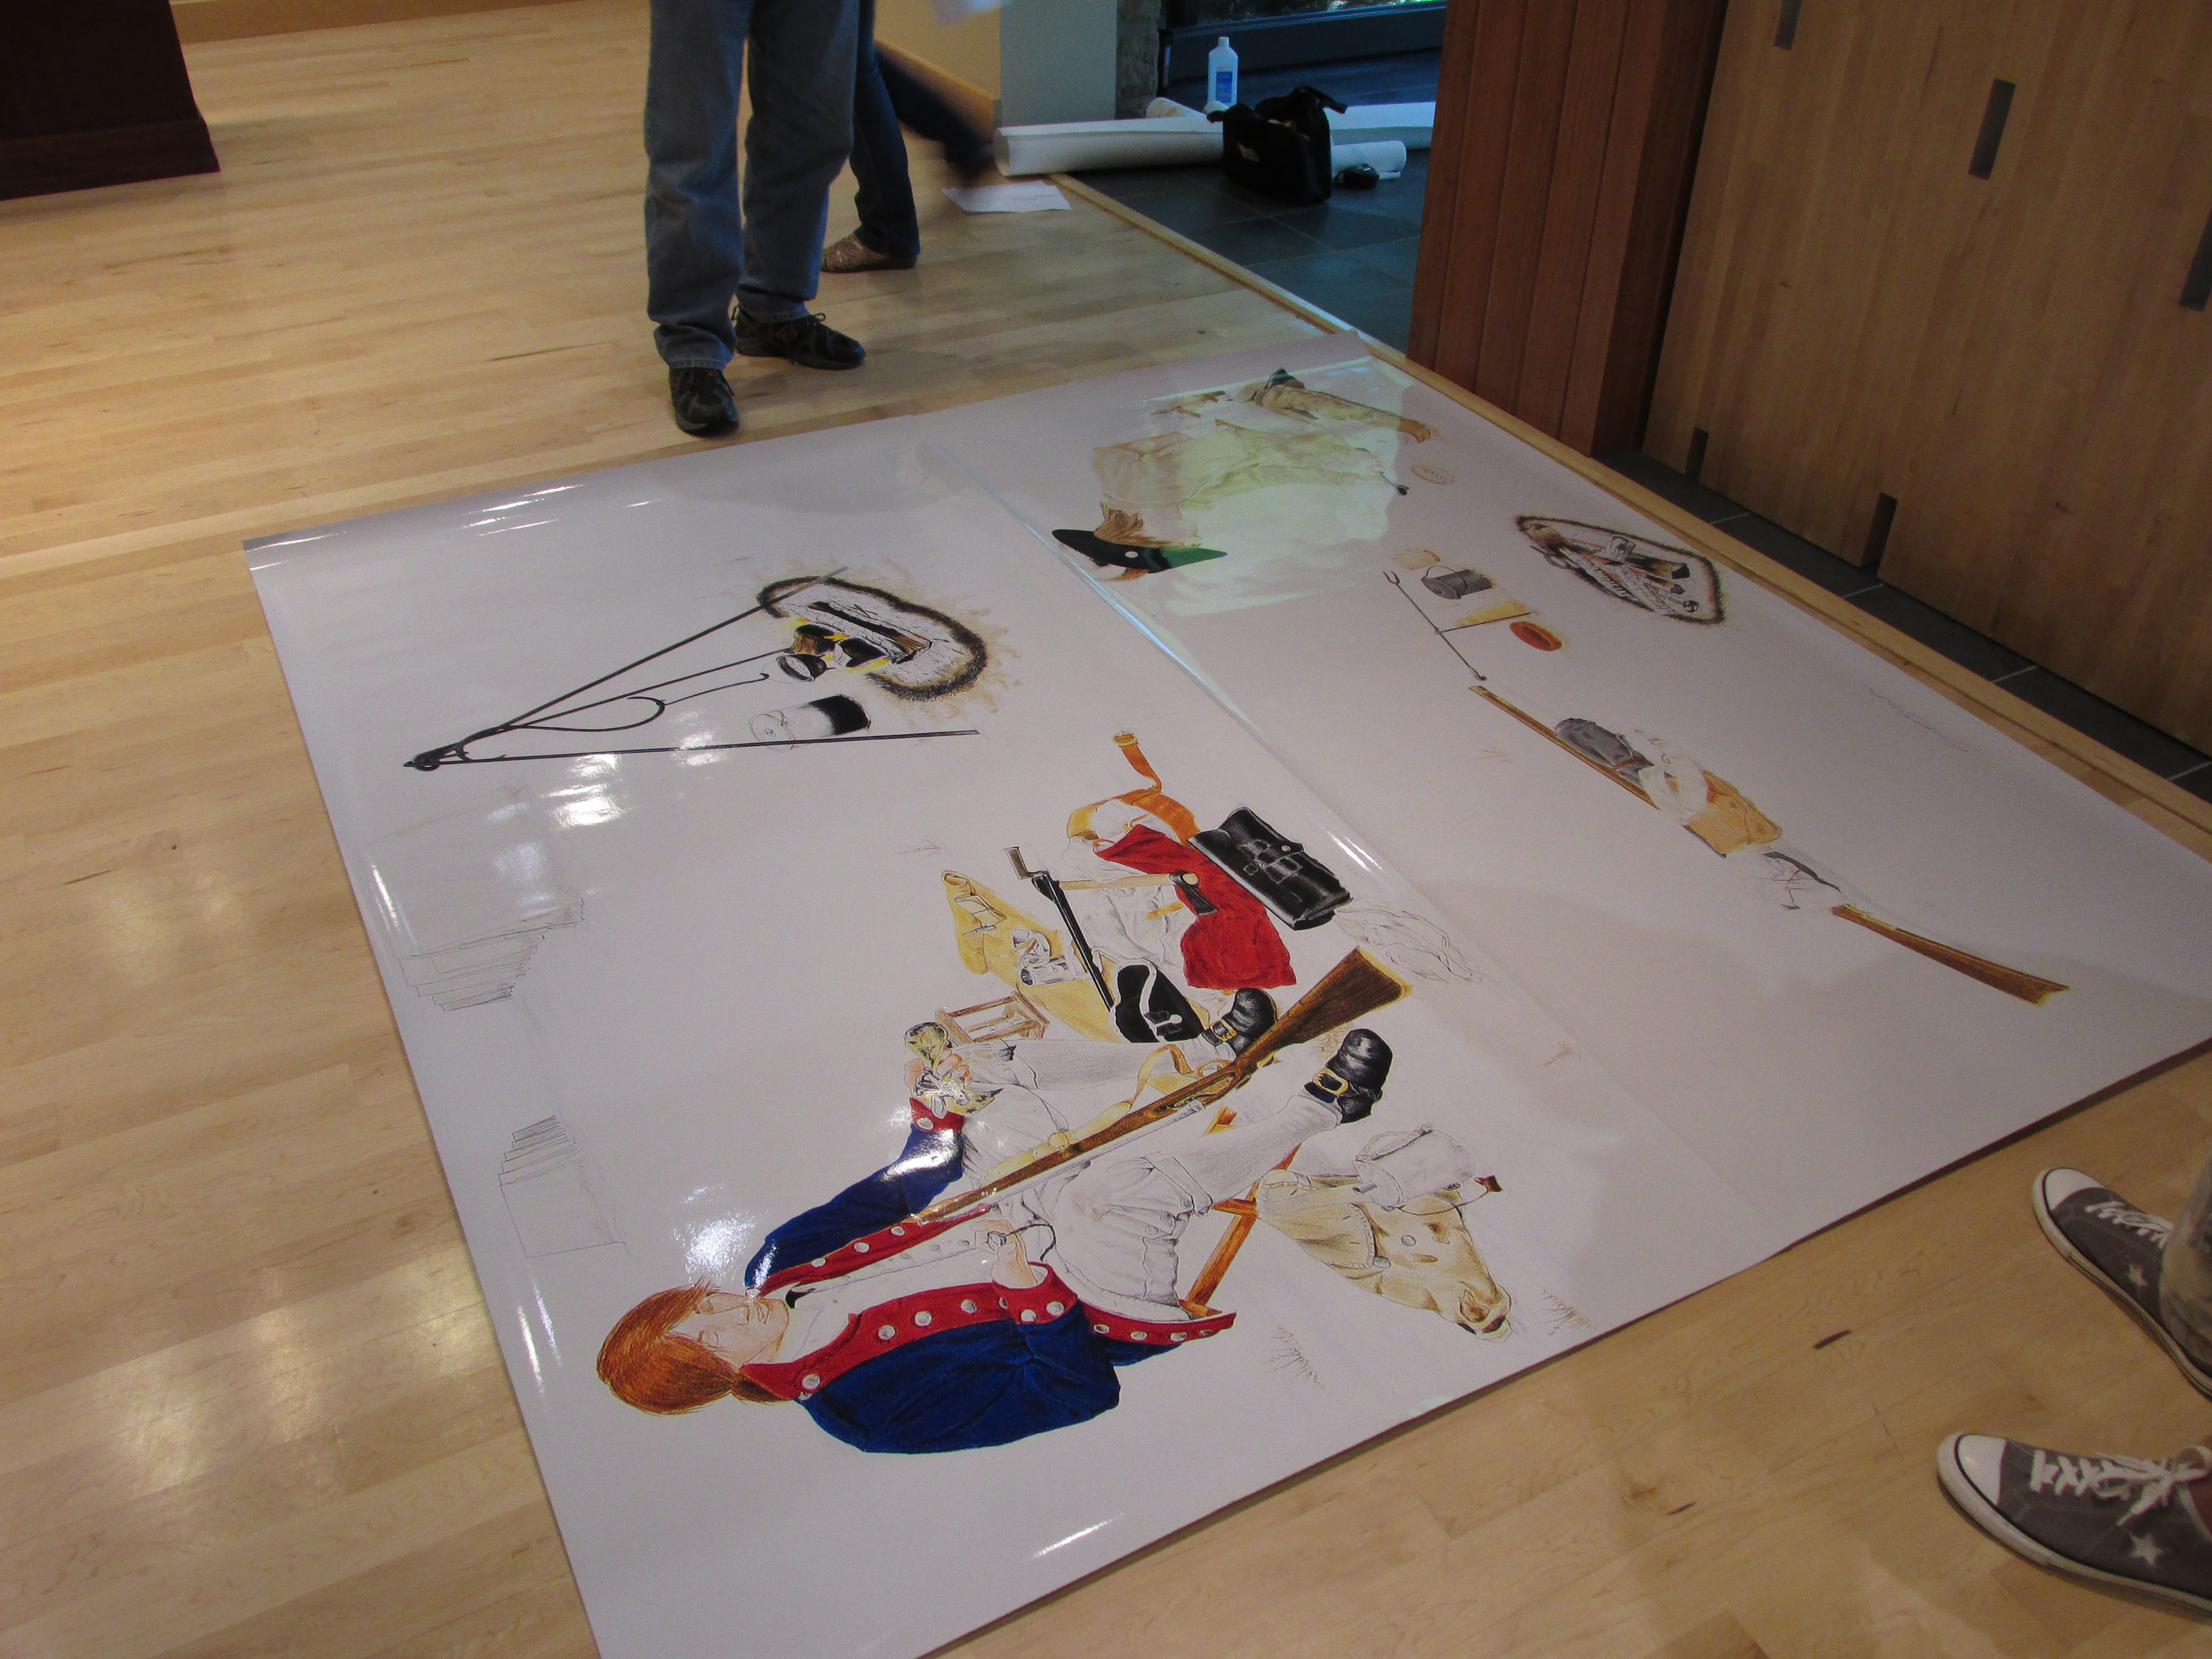
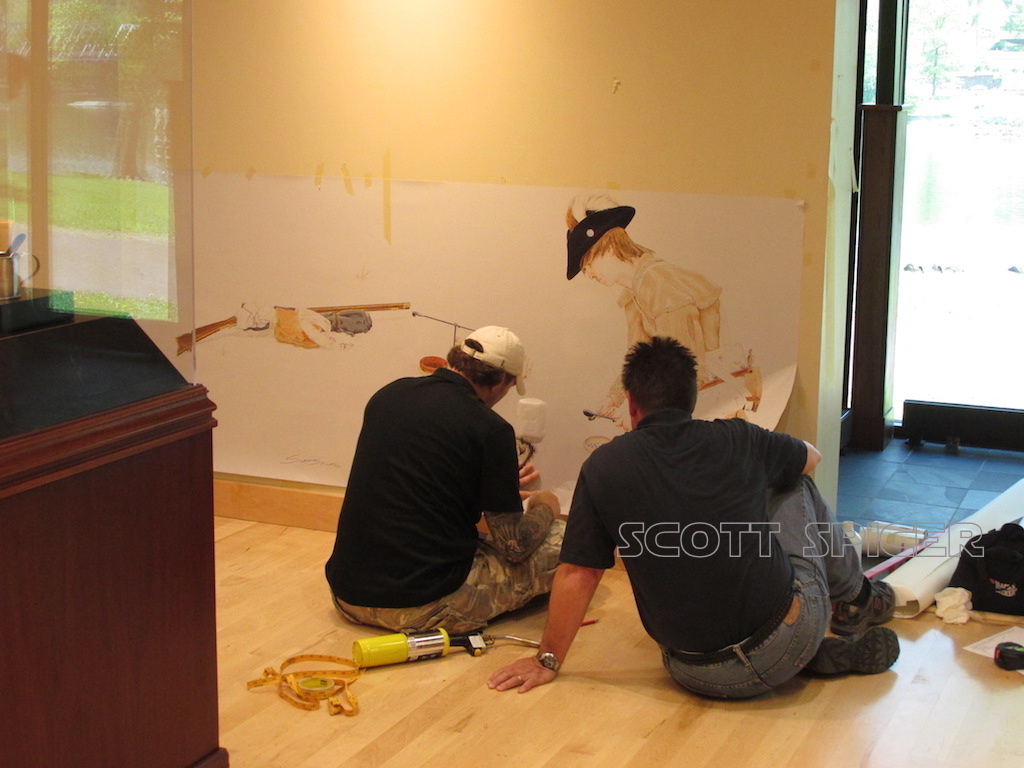
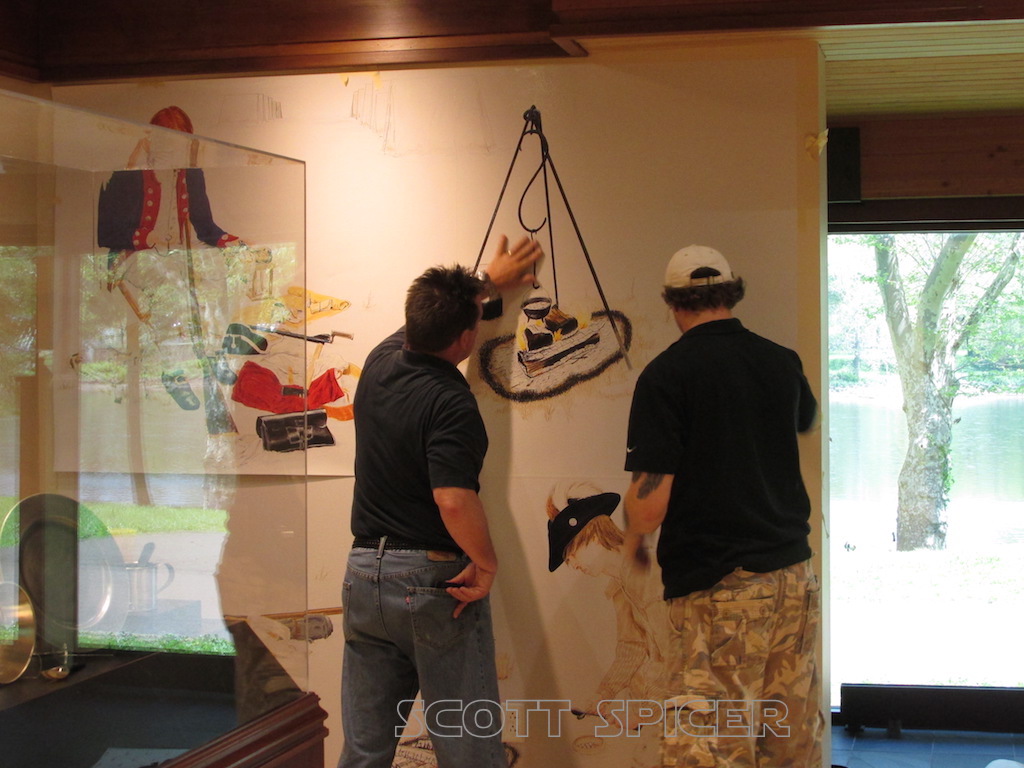
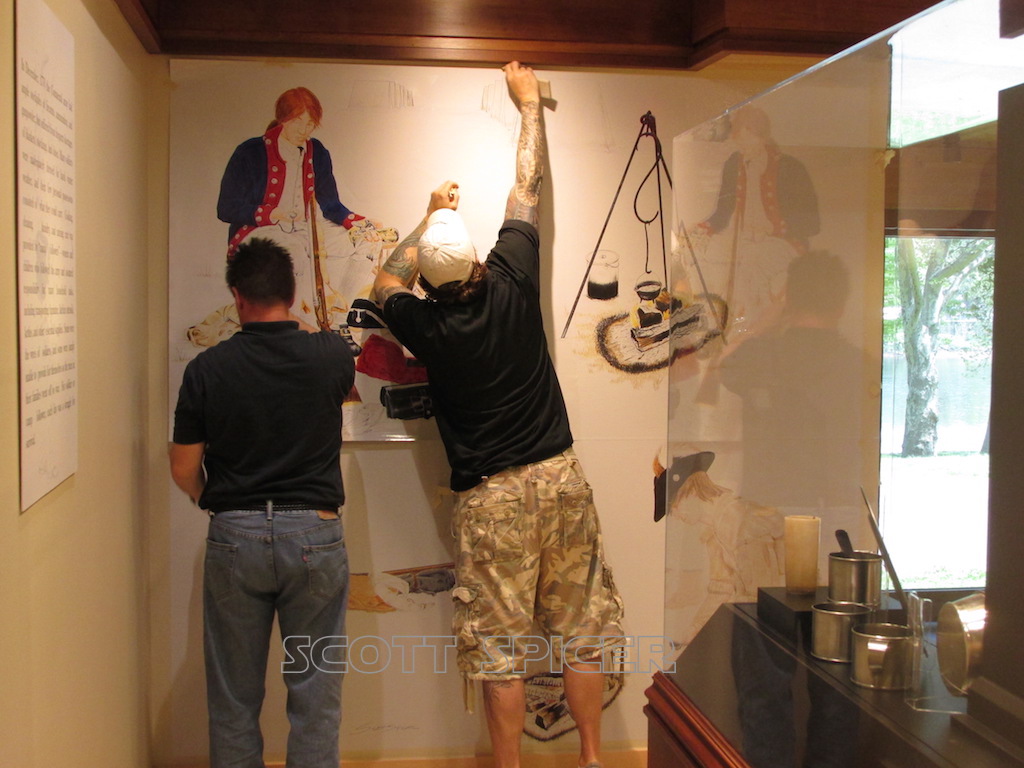
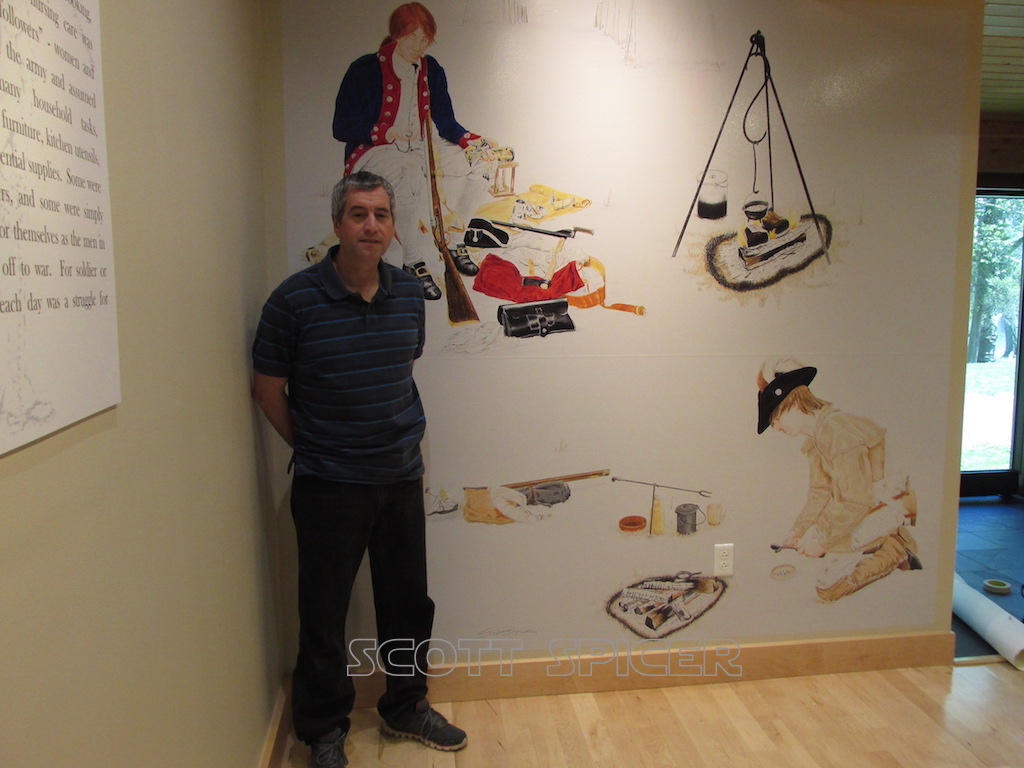
Installation
The enlargement of the original held the colors quite well, I was impressed. Of course there is a bit of ‘grainy-ness’ to the image, it was a 4X’s enlargement after all!
WCHP Illustration
WCHP Illustration
WCHP Illustration
WCHP Illustration
WCHP Illustration
WCHP Illustration
WCHP Illustration
WCHP Illustration
I took about an hour and a half to complete the installation.