SRS Prototyping T.O.S. Jeffries Shuttle Kit instructions
Before you begin;
– Check to make sure that there are no missing or broken parts.
-The model should be carefully cleaned with warm soapy water and a soft tooth brush.
– Part seams or mold lines should be sanded and filled as necessary.
-All parts should be test fitted before gluing.
– A Cyanoacrylate glue ( super glue) should be used in attaching parts.
– Remove primer and paint to expose raw plastic to allow proper adhesion of glued parts.
– Read through all the instructions before beginning assembly
Over all parts:
There should be 32 parts in total, as well as a decal sheet.
________________________________________________________________________
There are three ways to build your shuttle, with the interior, without it and in-flight mode. For in-flight mode, simply glue the rear landing strut up against the lower hull in the retracted position. The other two ways are self-explanatory. The main differences between to two will be to open the side clamshell doors to reveal the built in steps and weather or not to leave the front windows clear or painted gray, silver, black, whatever.
Clam shell doors closed and in the open positions;
The rear landing strut in flight mode position;
In order to attach the main ‘wings’ and rear strut for the landing position, you will need the two blank rectangular pieces to temporarily support the main hull at the right height from the ground to make the ‘wings’ level. Do not glue the support blocks in place. Coins have been used to weigh down the hull to keep it level while gluing the wings in place. The two support blocks can be used during the build to support the hull, but should not be part of the finished model.
Before you glue the rear strut in place, consider if you are building the interior. If you decide to build it, working on the interior may put extra weight and stress on the strut and cause it to break loose. In either case the rear strut placement is something that can be done as one of the last operations to complete the kit.
To glue the rear strut in place, turn over the hull, with the wings already glued in position, and fit the strut in it’s hole. It should be a tight enough fit to hold in place while it is upside down. Place a small amount of 5-minute epoxy on the strut where it meets the hull. Once turned over, position the footpad under the strut and push down on the strut to lock the pad in place, before the epoxy sets. Add super glue to the pad to secure it in place. Once the epoxy has cured, add super glue to strengthen the joint. (the photo shows a friction-fit holding the strut in place ) Take away the support blocks when the model is complete.
If you are not building the interior, you can attach the upper hull to the lower hull. There are three locator pins to align the hulls.
The clamshell doors can be placed in position and glued permanently. They are shown loosely in position.
Assembling the interior is very straightforward and well marked. Start with checking for air bubbles in this area; remove them so the rear bulkhead will fit. (Note there are two small pads to push the back of the bulkhead part up against)
The bulkhead in place, note the positions of the raised panels;
When the bulkhead is in its proper location, there will be a small gap between the part and the lower hull wall it rests against, and two small arrows on the back of the bulkhead that point upwards.
Lightly tack the bulkhead in place and check the fit by placing the upper hull onto the lower hull. There should be no difficulty with the parts fitting. Keeping the upper hull un-painted may help with building the interior. That seem between the upper & lower hulls could be used as a color break if the two parts are different colors.
Check the fit of the front control console in the same manner as the rear bulkhead.
To locate the chairs, there are small holes that the chairs should be placed directly over. It does not matter which way the chairs are turned, as long as they are directly over the small locator holes.
Before the chairs can be painted or placed in position, there is a thin wall that needs to be removed underneath the seat. The image shows one of these walls removed.
One chair has an imperfection in part of the support. It is not necessary to repair it, just place it against the portside wall towards the back so it will not show when displayed.
The image below shows the placement of the flawed seat on the port side. It also shows the lower door open in the down position to reveal the steps.
Engine and pylon placement is also straightforward. The pylons should angle away from the hull when on the proper side of the shuttle.
Before placing the engines on the pylons, place the inter-coolers in their positions. Use the small scribe line provided on the engines. Place the front of the intercooler on the perpendicular line and center it on the longitudinal line. Glue both parts in place. (there are two intercoolers per engine) They should be at a 45˚ angle to the center line of the engine.
To position the engine on the pylons, use the small ribs on the underside of the engine that form a frame around the top of the pylon. Before gluing the engines in place, be sure to check that the intercoolers are at a 45˚ angle ( 90˚to each other ) and level with the ground.
The rear engine part can be placed now, also check for proper position and level with the ground before gluing it. The bussard collectors are cast in clear for any of those with the intestinal fortitude to light this baby! There is also a small light top center of the hull above the windows, which could also be lighted.
Paint & Color Scheme;
-The upper hull can be painted Lt. Gull Gray.
-The bottom hull can be painted in a standard primer gray such as Kylon or Dupli-color. ( Since this is a non-cannon design, you can paint the warp nacelles either color. )
The chairs are gloss black with the lower adjuster knobs being silver.
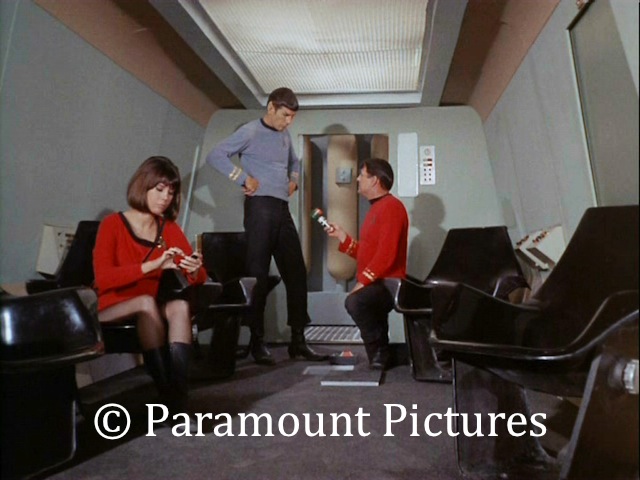
Here is an image of the set interior to use a guide;
Decal placement;
Some of the markings go in certain positions, but others can be placed where you desire. It is the ‘Empire’ globe & sword emblem that can be placed at your discretion.
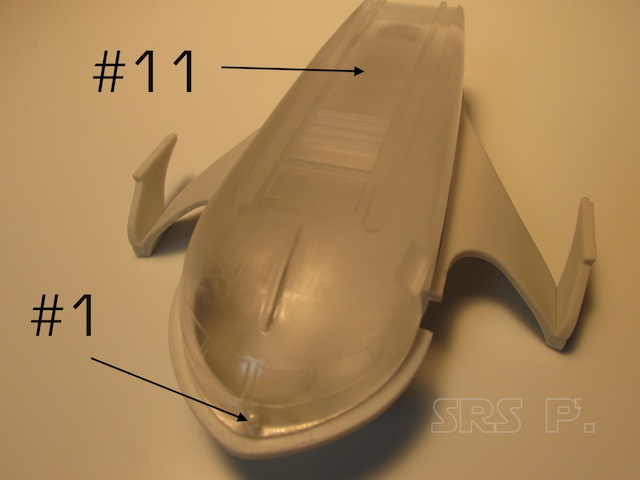
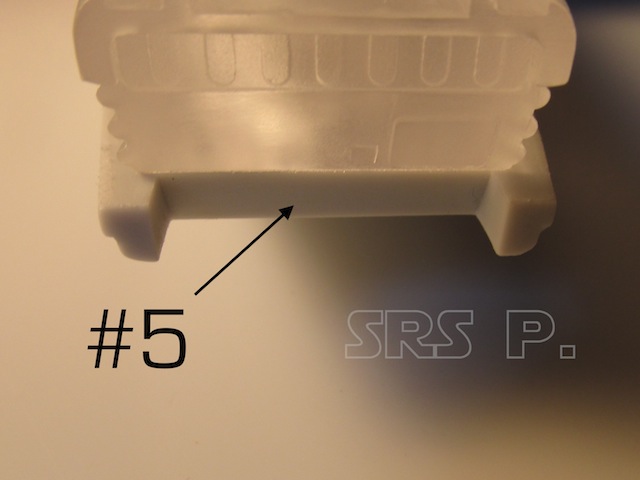
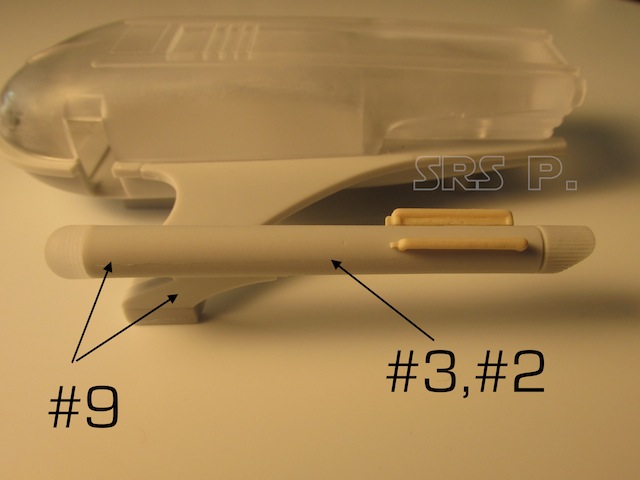
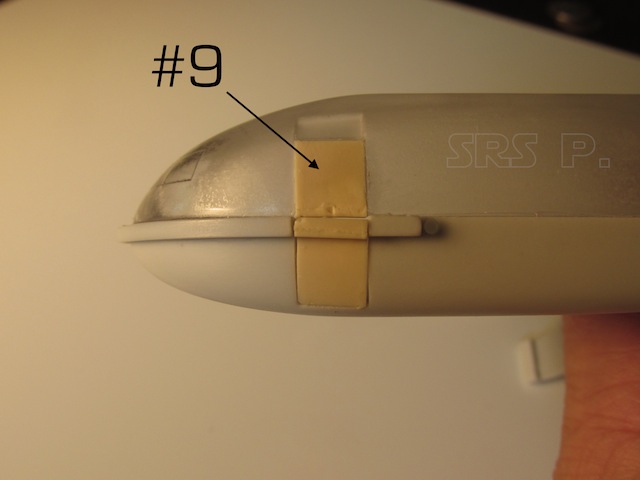
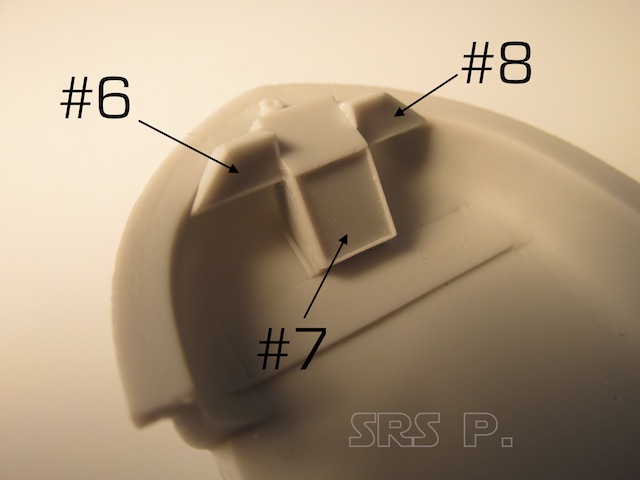
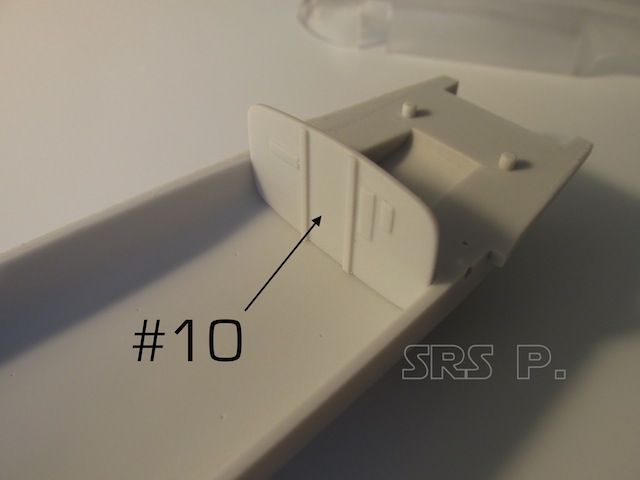
Decal #3 goes on the port engine, #2 on the starboard. You can place #9 in front of the stripe on each engine or on the vertical pylon or one on the upper door, with the other being on the opposite side of the hull as the door. #10 can go on the interior bulkhead door. These are just suggestions.


