
What follows is a brief tutorial on how I painted the this model kit. It was a quick job, done in a couple of days while working on other projects. There could have been a lot more attention to more layers of weathering, but this was needed for Wonder Fest in a hurry. I used images of the filming model as a guide, so here goes………
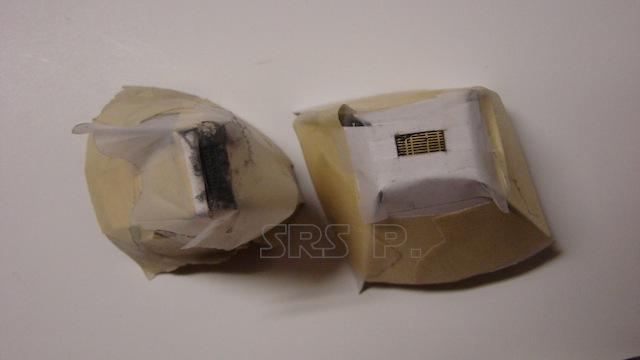
This kit, which is still available for order on the store page, comes as shown below, minus the hole cut for the drop in part.
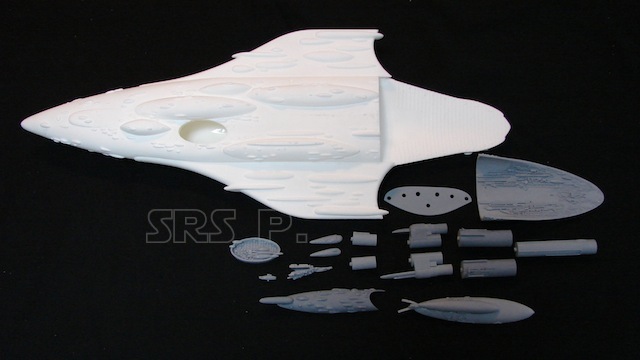
Model kit parts
Note the oval scribed line in the casting for a cutting guide.
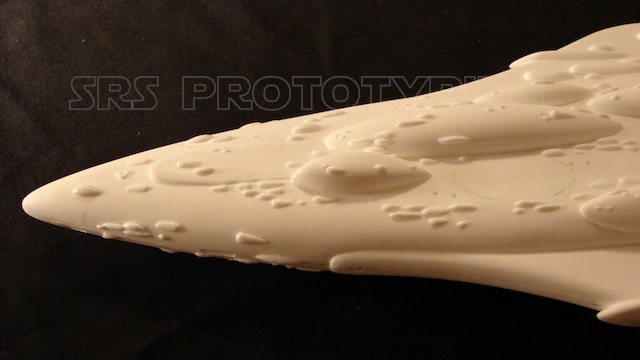
Raw model kit
Once the casting was cleaned of any molding lines it was primed with flat white. This will serve as the base layer to other colors, patterns and weathering to be added. Using a pencil and a straight edge, I drew in all of the panel lines I needed.
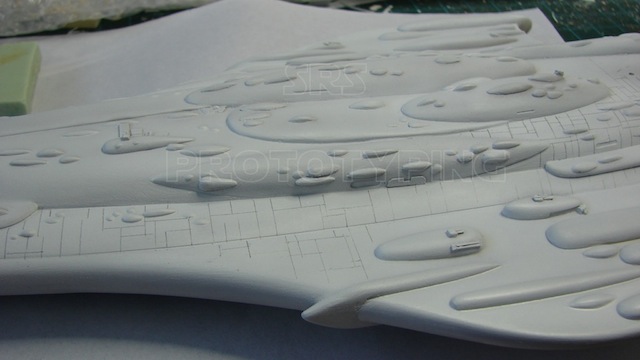
pencil panel lines

pencil panel lines
Once done with the lines, I started masking off for the orange color that was most prevalent on the hull in larger areas. This bright color will be covered slightly as more layers of color and weathering are applied. I used scotch tape because it was clear, which made it easy to line up on the many pencil lines and shapes. It will stick well without being pressed down onto the model surface. I also used card stock to help block out large ares of the model from over spray.

Masking for airbrushing
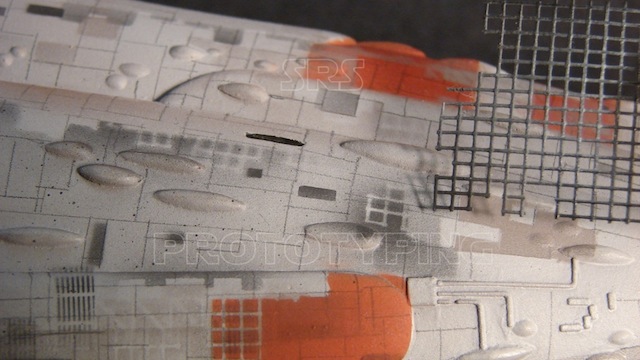
You can see the panel patterns and additional colors building up on the hull in the image below.

Masking for airbrushing
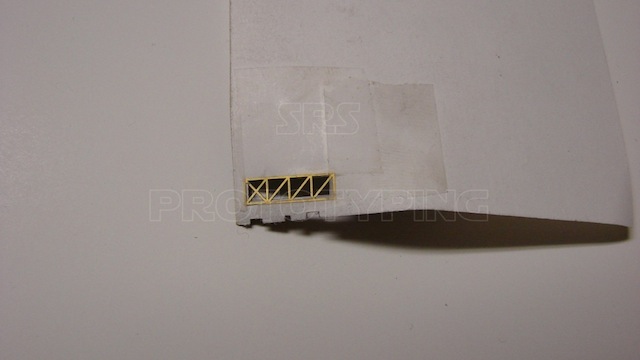
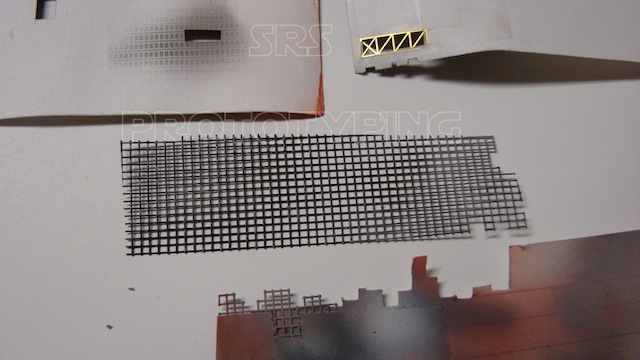
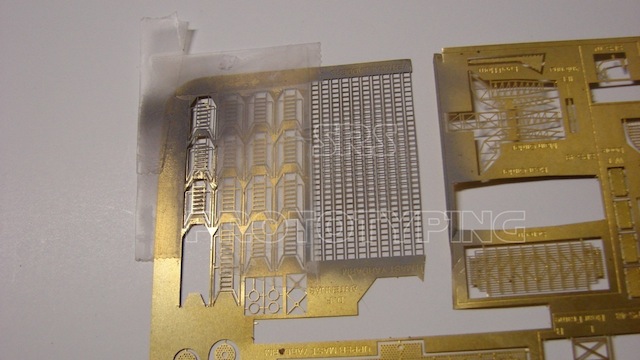
To get all of the various patterns and shapes, I created what I needed using card stock, brass photo etch trees and window screening.
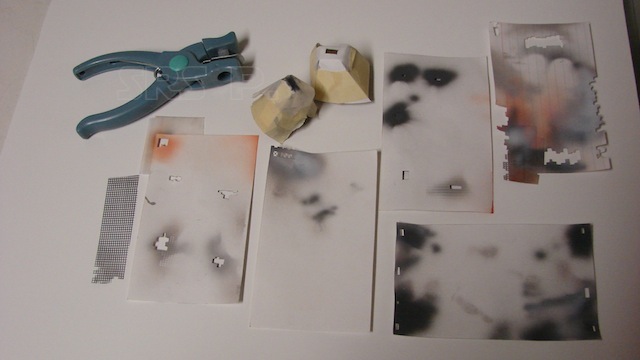
Masking tools
Masking tools
Masking tools
Masking tools
Masking tools
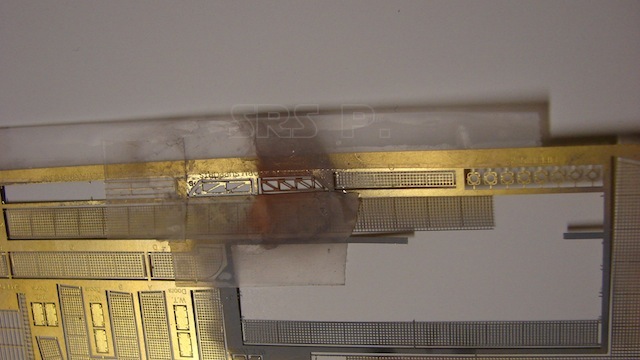
In some cases as shown, I cut holes in the card stock and then placed photo etch or screen on top to create small areas of pattern. Here is how the different masks added to the hull detailing.
Masking tools
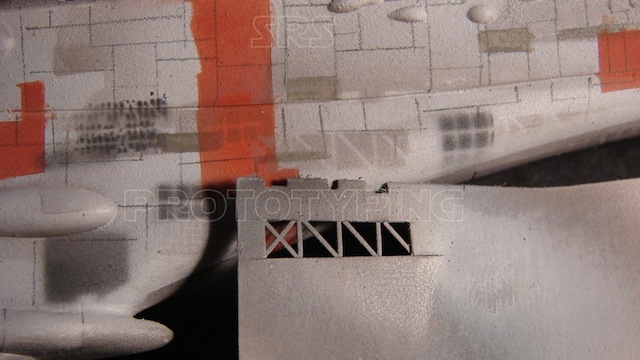
Masking tools
Masking tools
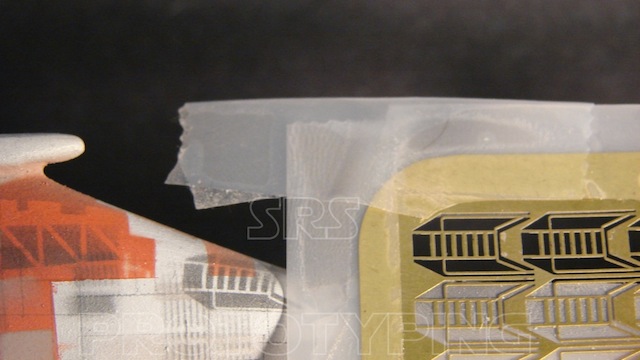
I created a couple of fine detailed masks with little card stock cones. The cones were created to be able to align the details around surface details and panel lines. Here is how they looked and how the worked.
Masking tools
Masking tools
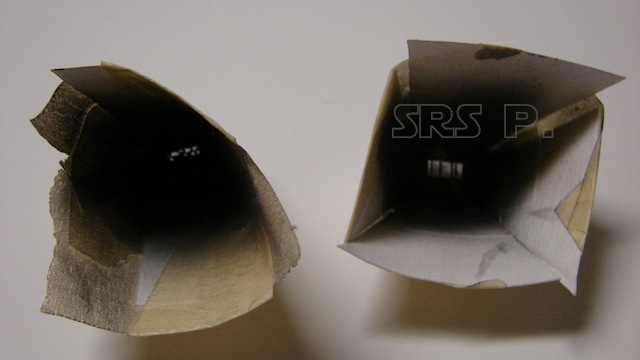
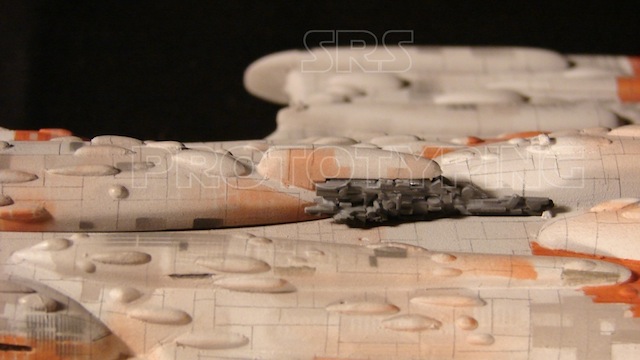
The finer dark details at the bottom of the photo show how these small cones worked.

Fine sprayed details
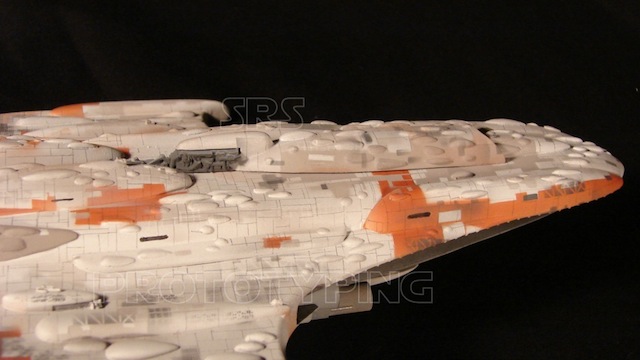
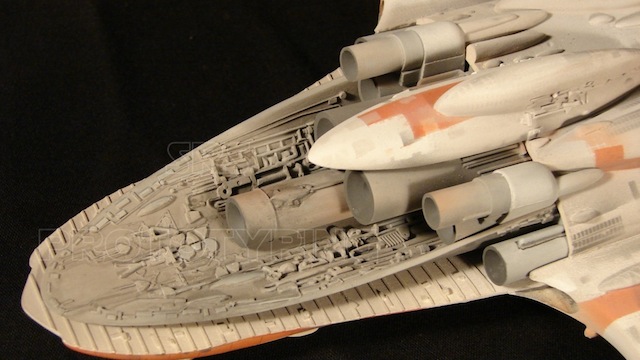
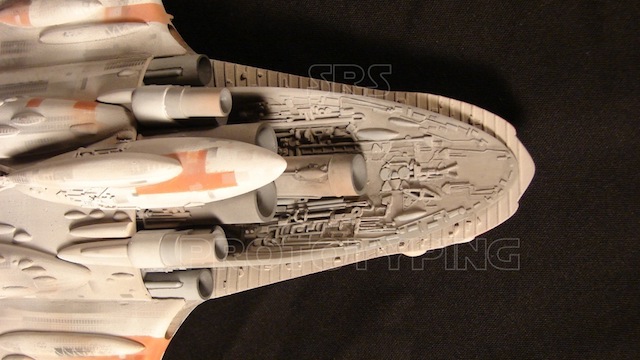
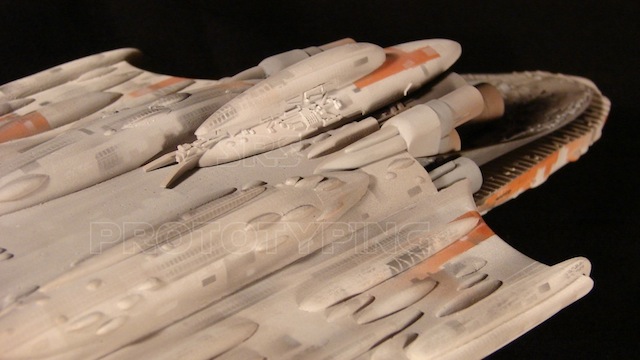
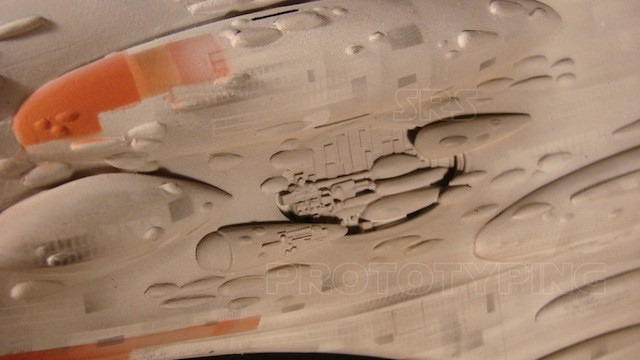
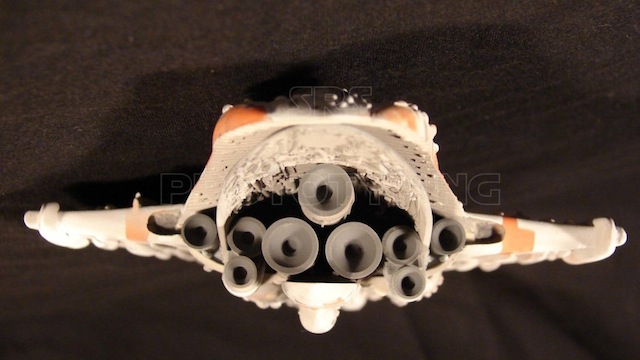
As on the filming model, the entire hull was detailed in this manner, there are no markings or numbers on the ship anywhere. Images of the complete build up……..
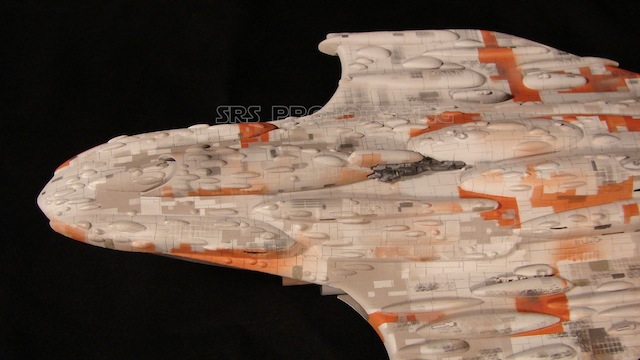
Completed Liberty Cruiser
Completed Liberty Cruiser
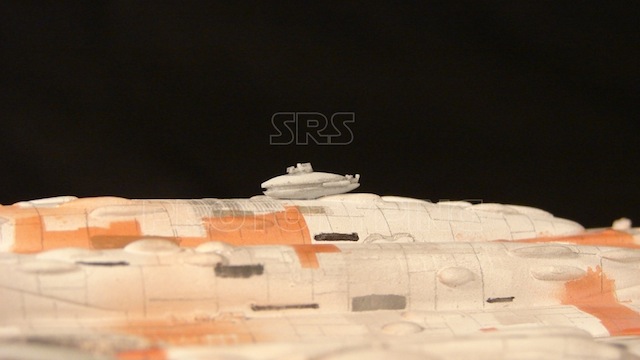
Completed Liberty Cruiser
Completed Liberty Cruiser
Completed Liberty Cruiser
Completed Liberty Cruiser
Completed Liberty Cruiser
Completed Liberty Cruiser
Completed Liberty Cruiser

Completed Liberty Cruiser