
The Xindi fighter was originally designed by John Eaves for Start Trek, ‘Enterprise’. These are the finished color renders of the ship;

insectizoid

insectizoid

insectizoid
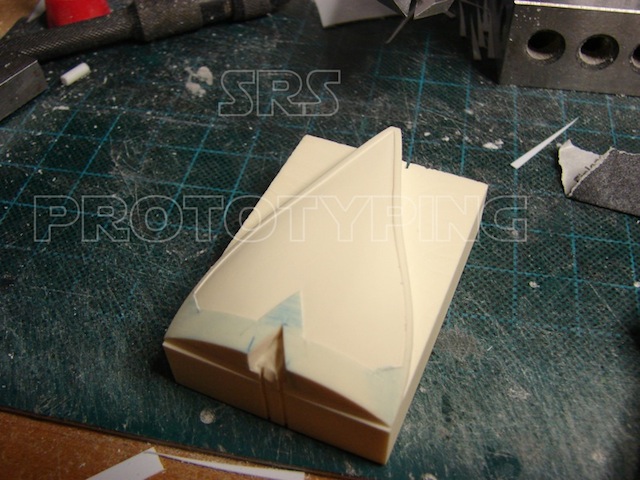
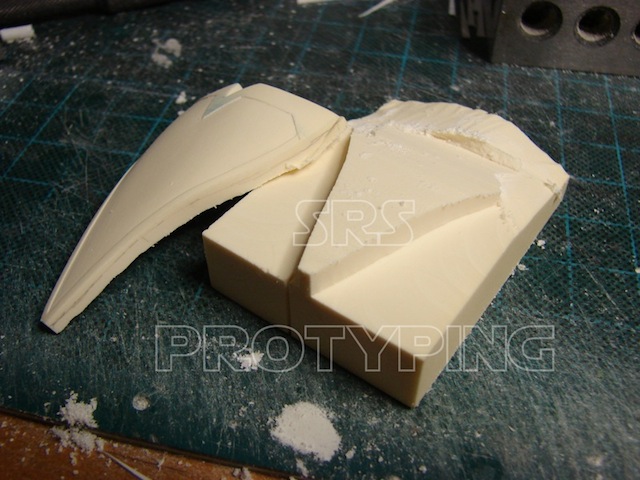
The pattern, created for ‘The Delta Quadrant’, was the most intricate and challenging designs I have been asked to bring to life in recent years. Not only that, it was quite large as well. The main hull sections were about eight inches in length, and so were the three large claw-type wings. Being able to use John’s illustrations to create drawings from was a huge help. It is not often I have such great reference to work from. With all of my larger patterns, I start from solid blocks that can be mounted to work blocks for accuracy.

First hull section

Both hull sections under way

The ‘claw’ taking form
Establishing the basic shape.
The first challenge was to get the large claw fitted in three positions on the two hulls. The bottom location was easy enough, it was located on the center line. The two remaining positions were at 45˚ angle on the upper hull, as well as tilted back at an angle. Using my 3 axis vise, I was able to mill the flats for the claw to rest on. The image below shows the flats milled in place and a styrene patch in place to make up what was not part of the hull. Two quarter inch hole have been drilled to locate the claw in position.

Claw location

Claw location

Claw location

Claw location

Claw location

Claw location

Claw location

Claw location
The claw itself was also very complicated to model. Along with compound curves, there were ribs, surface plating and scribe lines to replicate.

Claw pattern

Claw pattern
You can see the intricate details on the claw. The small ‘tear drop’ shapes were stamped in place using a die that I shaped out of brass rod. The claws are shown in place on the finished master.

Claw pattern

Claw pattern
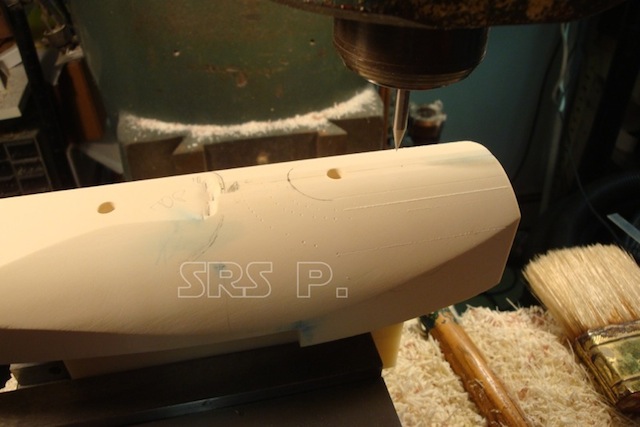
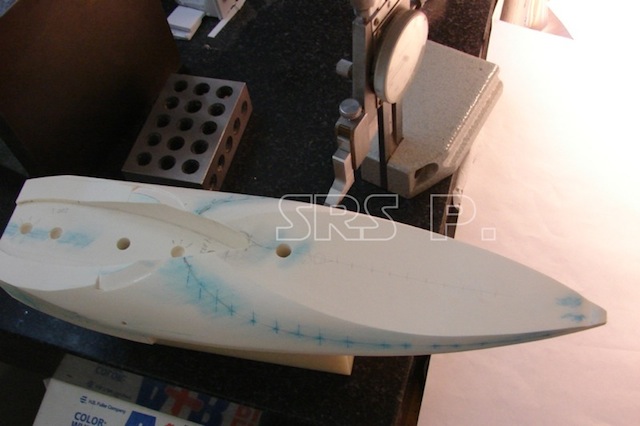
The hulls had a very interesting pattern on them that had to be carved into the surface by hand. The detailing resembled the segments of an insect’s body. Both the top and bottom of each hull had similar patterns. The pattern was laid out using a height gauge to ensure symmetry left to right. A pair of ‘eyes’ served as front windows.

hull segments

hull segments

hull segments

hull segments

hull segments

hull segments

hull segments

hull segments

hull segments

hull segments
Another complicated part was what I called the engine nozzle that was located on the stern of the ship. It resembled a flower with a spike in the center. This part had to matched to the two hulls and then shaped. The spike was a separate part as well.

engine nozzle

engine nozzle

engine nozzle
This next part was was a ‘leaf’ shaped and functioned as some kind of adjustable engine vein. The top surface was carved from a solid block and then separated to finish the bottom side.
The completed pattern………….

Completed pattern

Completed pattern

Completed pattern

Completed pattern

Completed pattern

Completed pattern

Completed pattern
And with the help of a little photo-editing…..

Completed pattern