
Finally getting to build a Super Star Destroyer! This will be a 24″ long, lighted display model. The model will be accompanied by five Star Destroyers in scale. The display stand for the model will be something different from the usual-” up the middle of the model with a stick” display stand. ( If I can make what I have in mind work )
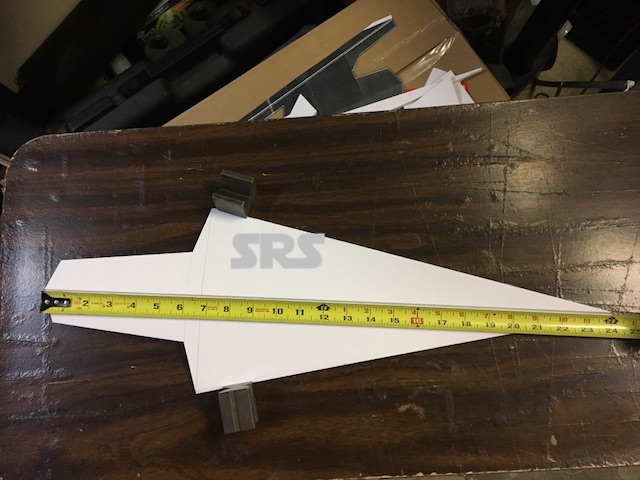
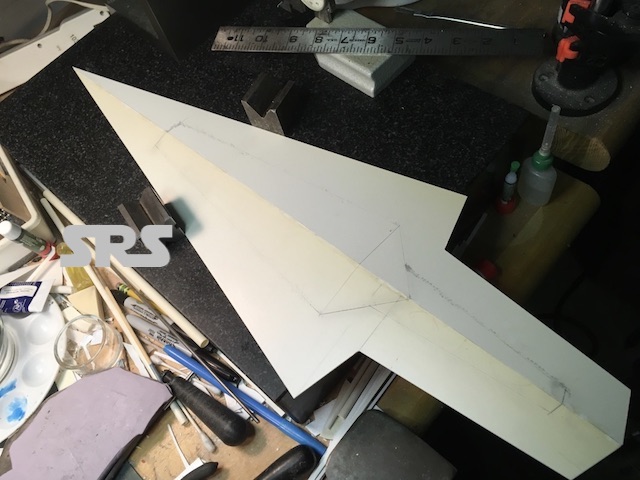
On a model this size, I start with a foam core board mock-up as a volume study model. The Star Destroyer models are shown in one of the images.
SSDVengeance
SSDVengeance
SSDVengeance
SSDVengeance
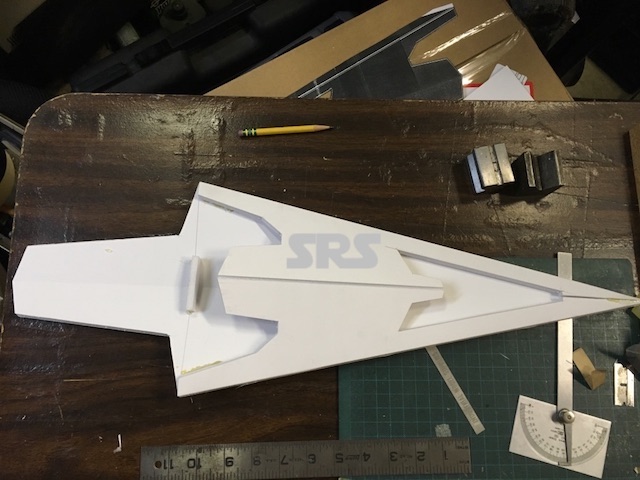
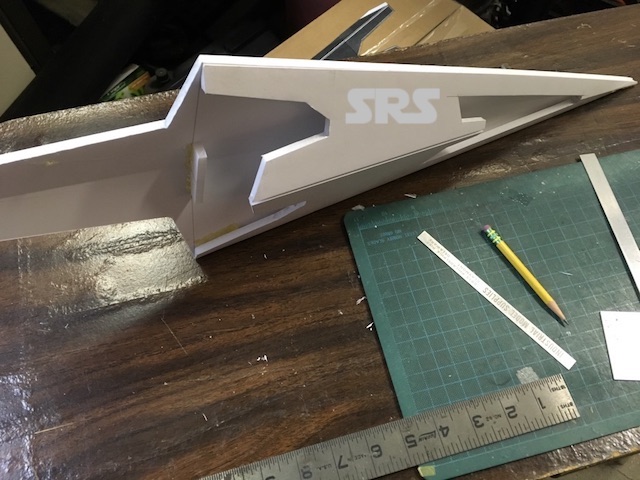
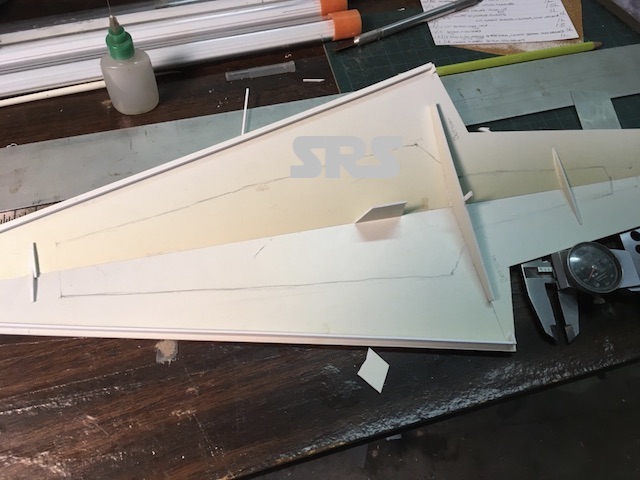
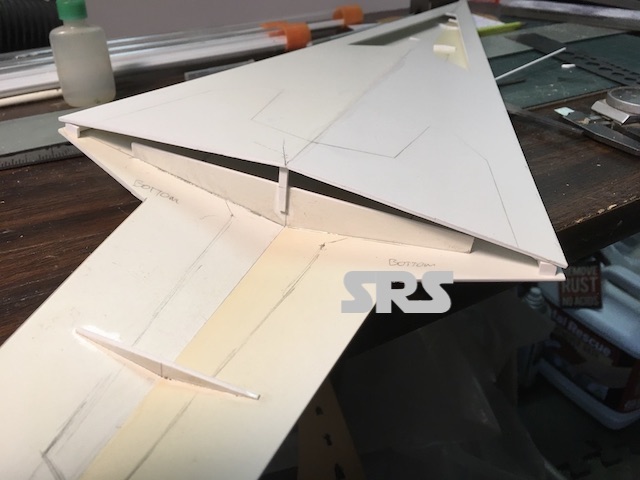
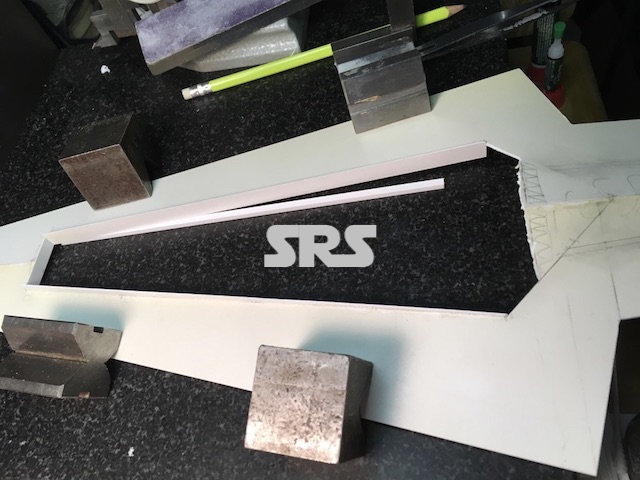
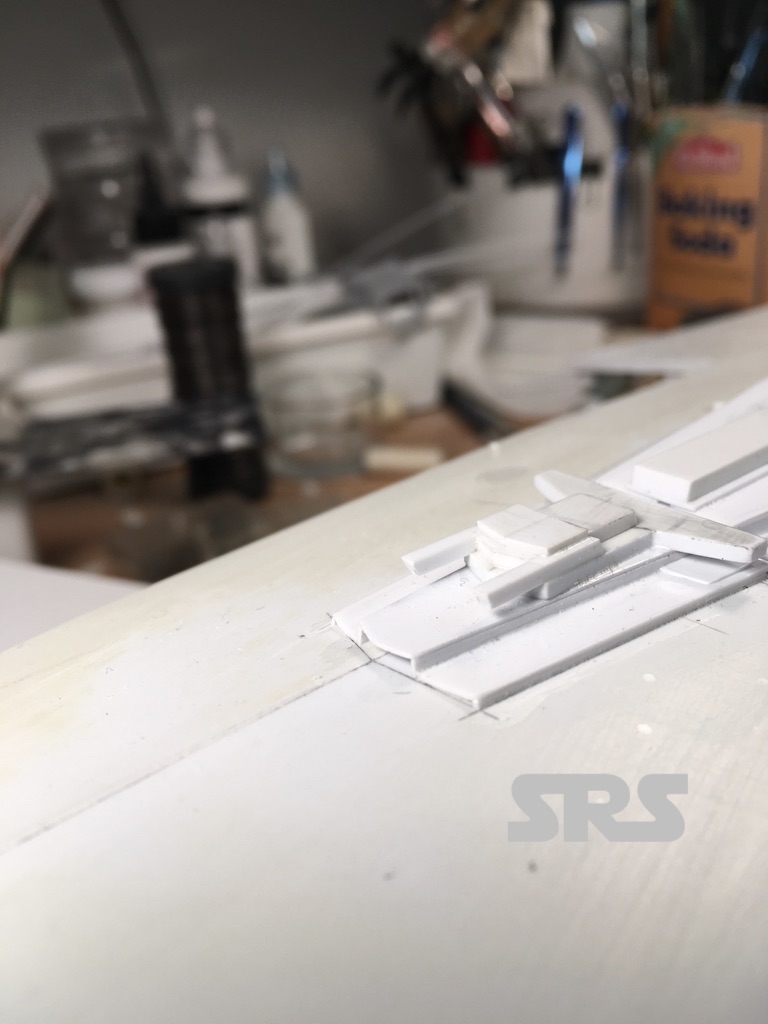
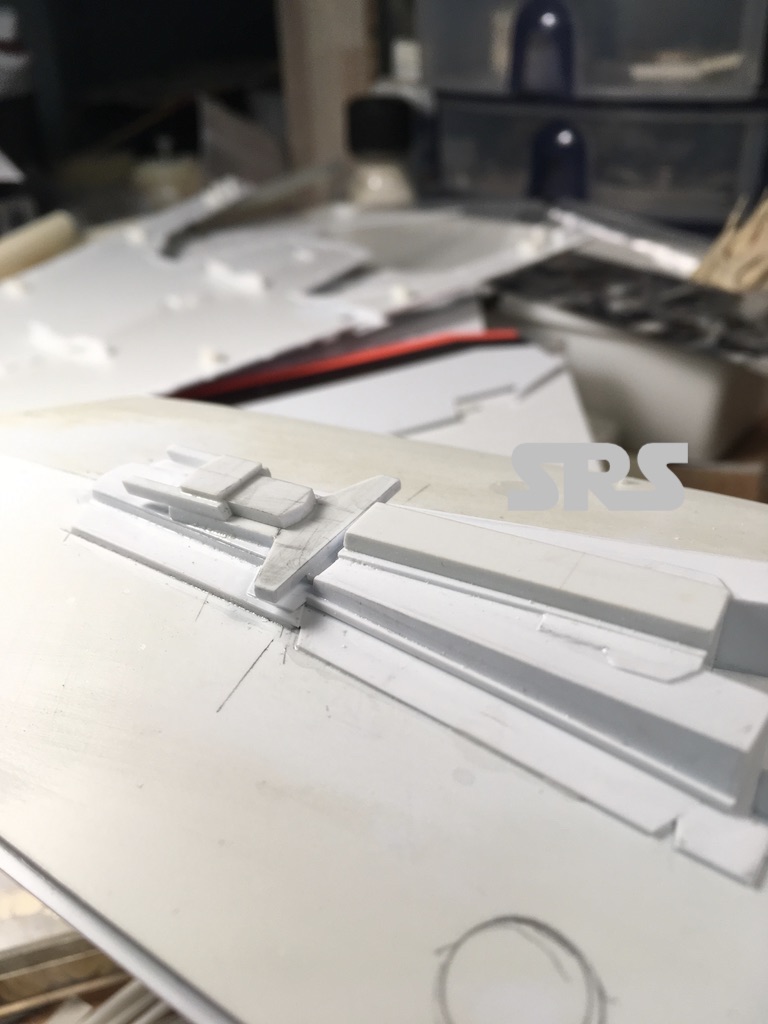
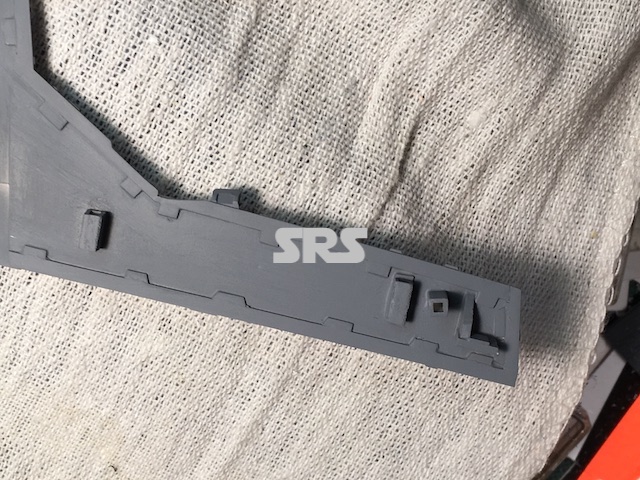
Time to start cutting plastic!
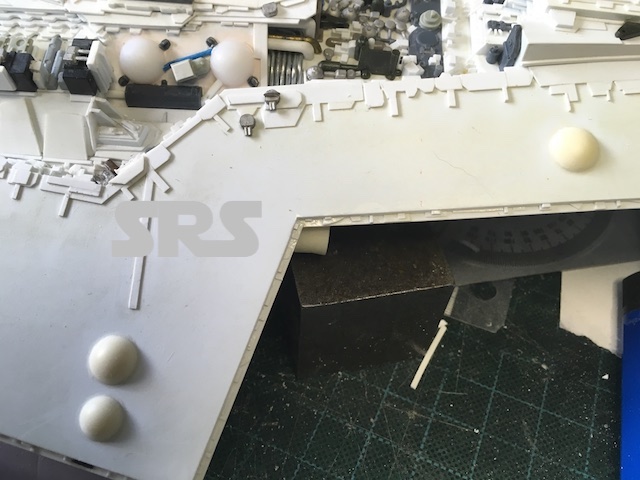
The upper & lower hull halves have been assembled as separate parts. They will be kept as separate parts to allow the lighting components to be placed and serviced.
SSDVengeance
SSDVengeance
SSDVengeance
SSDVengeance
SSDVengeance
SSDVengeance
SSDVengeance
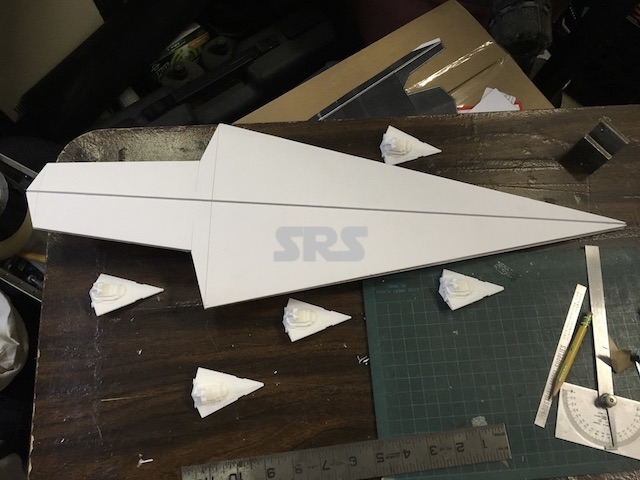
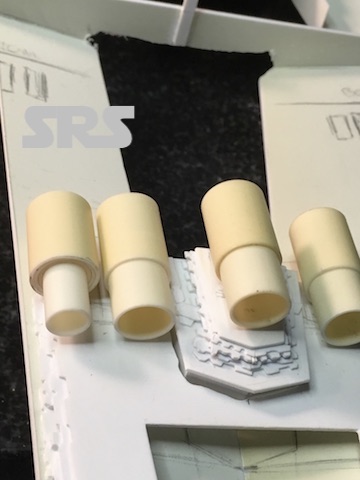
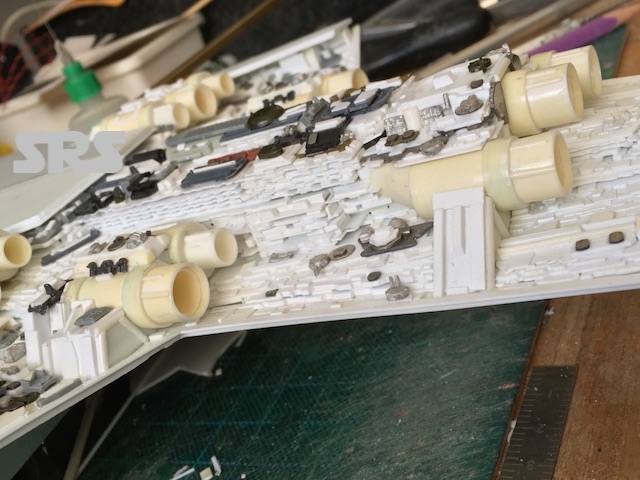
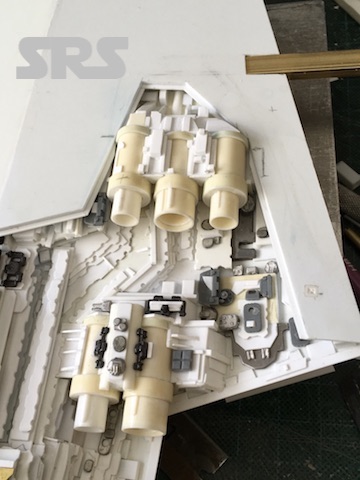
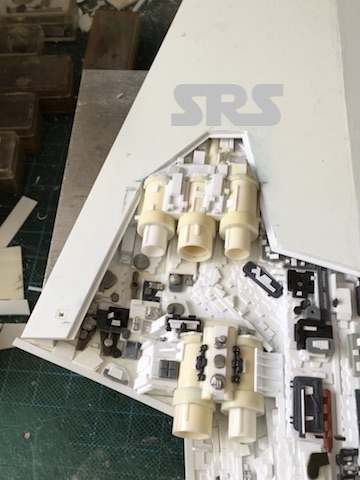
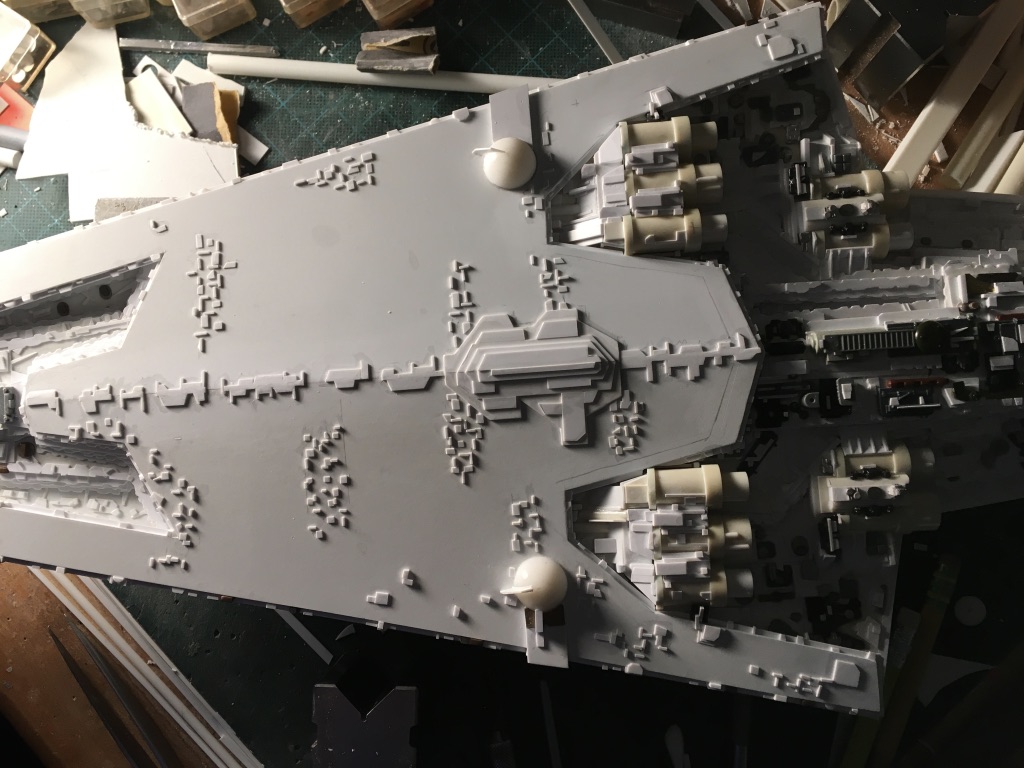
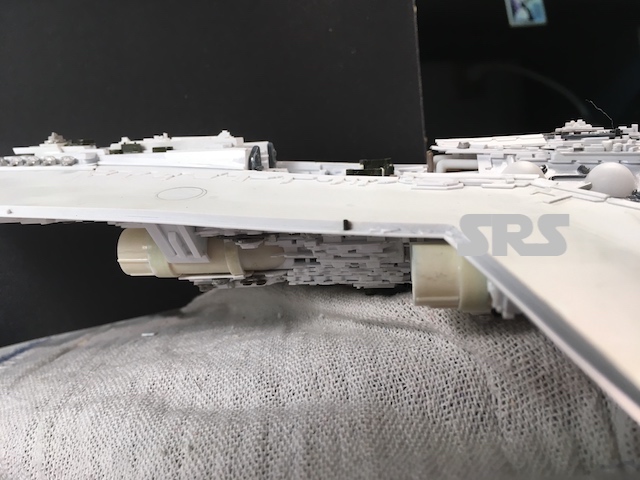
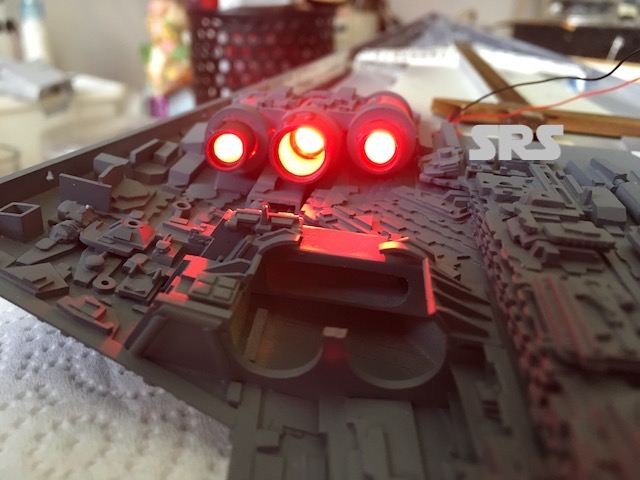
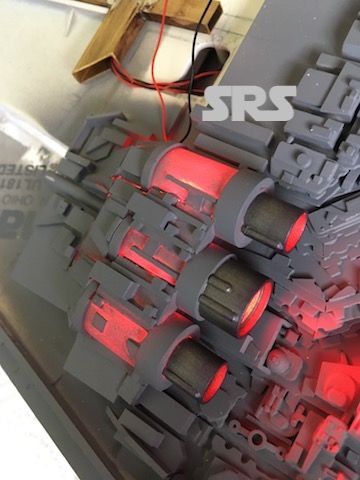
Establishing the engine sizes. There are two different sizes, 13 engines in total!
SSDVengeance
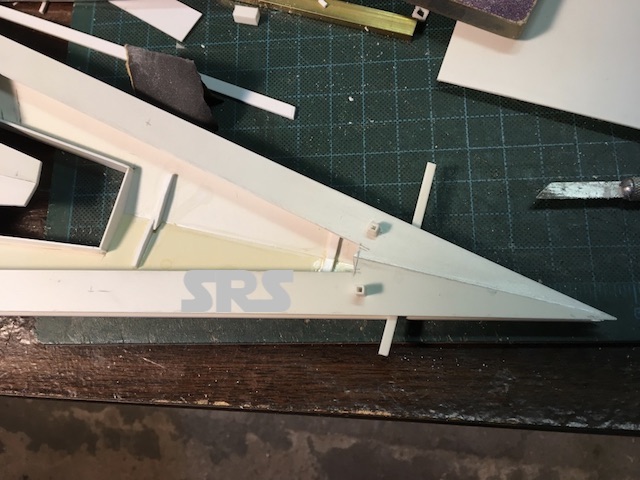
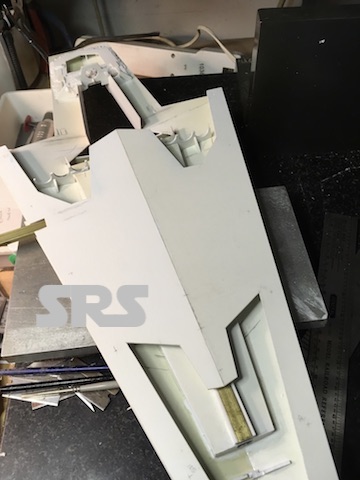
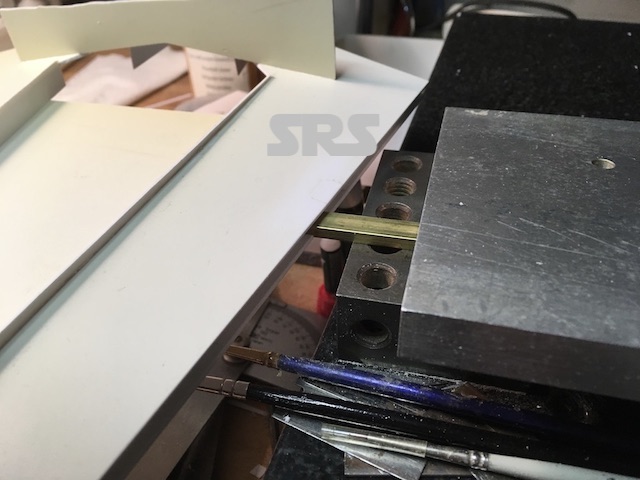
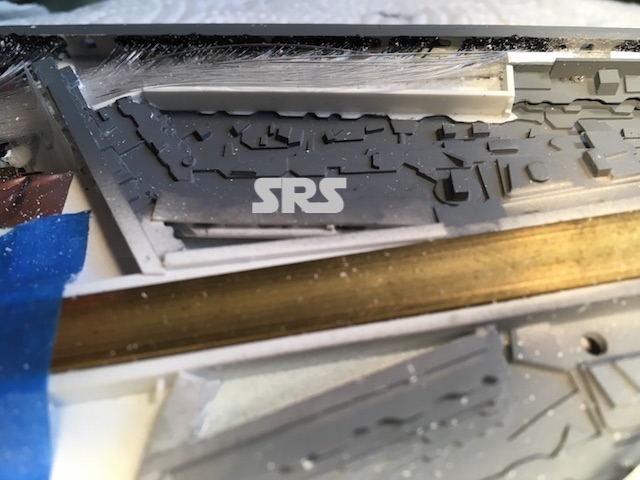
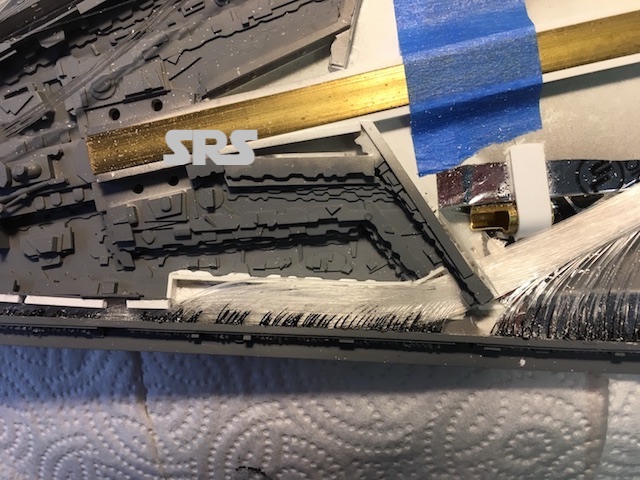
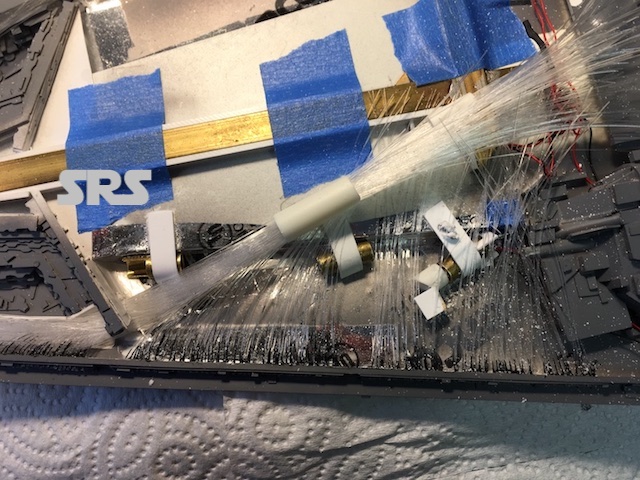
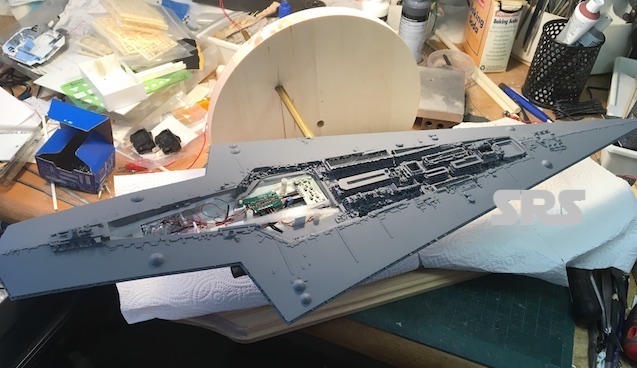
The most important part of this build is the display stand. As stated above, don’t like the model-on-a-stick display, so I am going to create a mount that goes through the side of the model. I am using rectangular brass tubing and tubing with-in tubing, so I have good strength and room for wires.
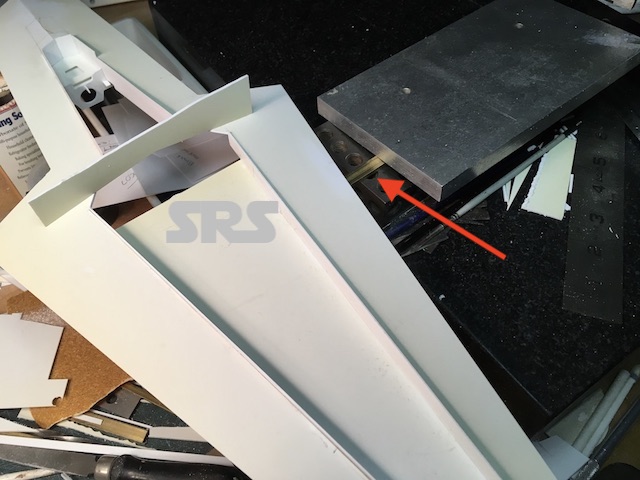
It took about ten minutes to solder together the brass parts. Shown is the underside of the upper hull with the support in place.

SSDVengeance
SSDVengeance
SSDVengeance
SSDVengeance
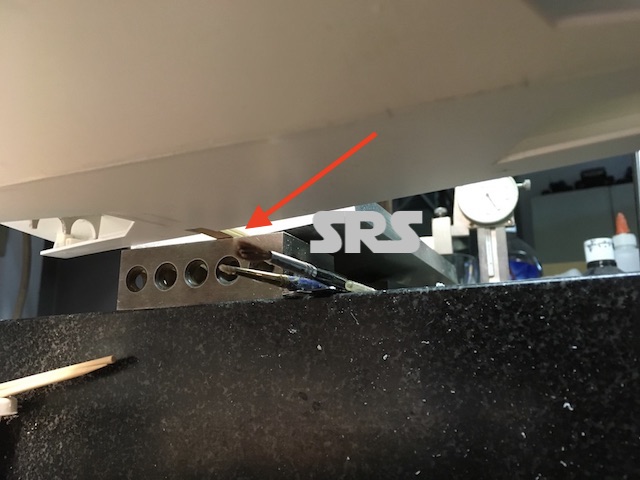
View from below…
SSDVengeance
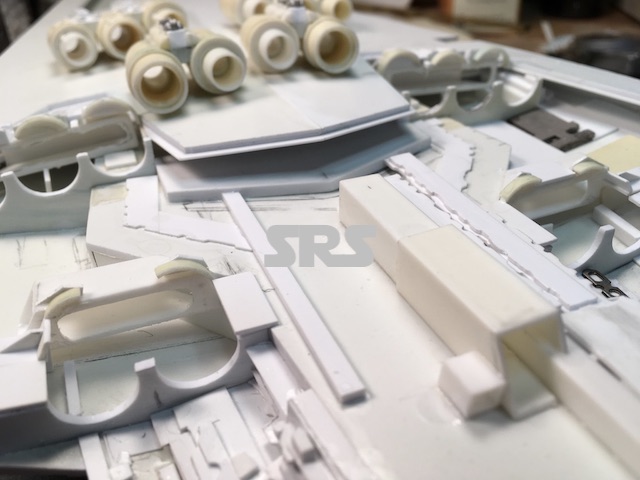
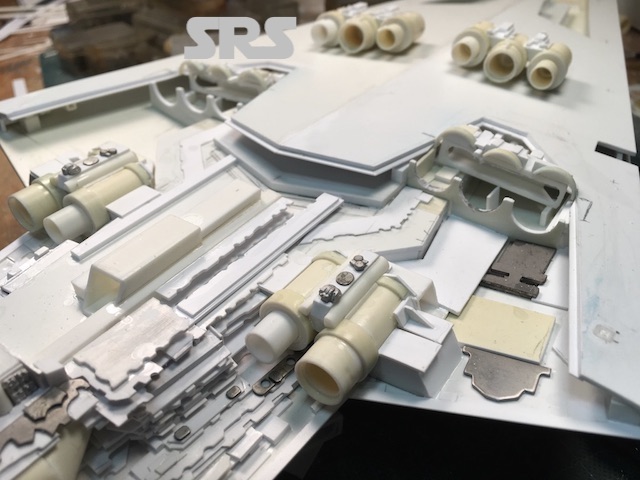
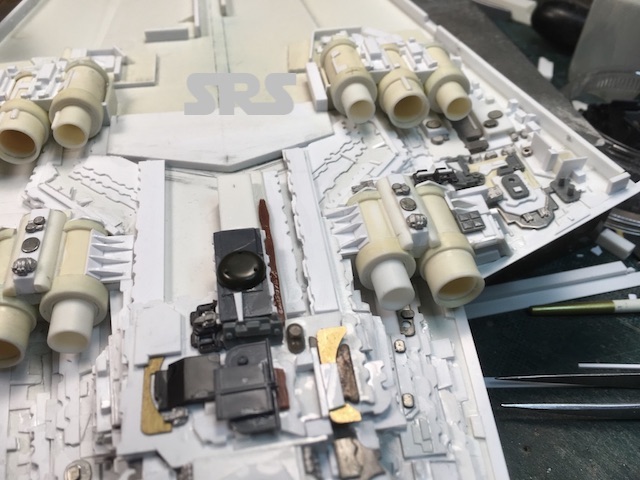
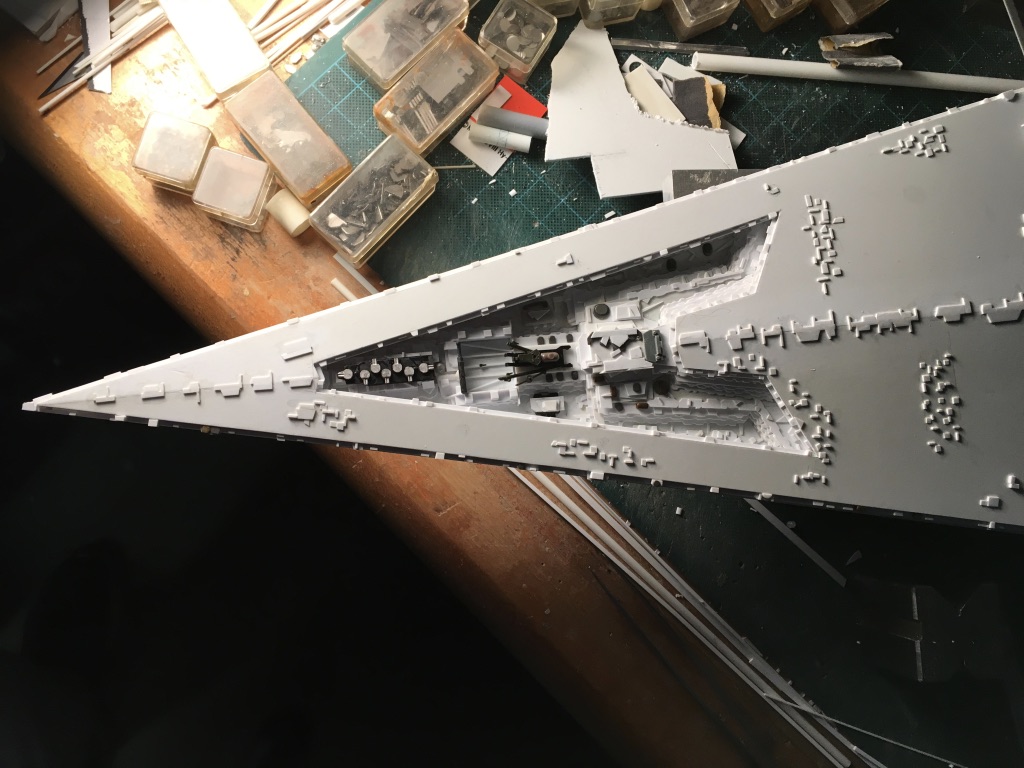
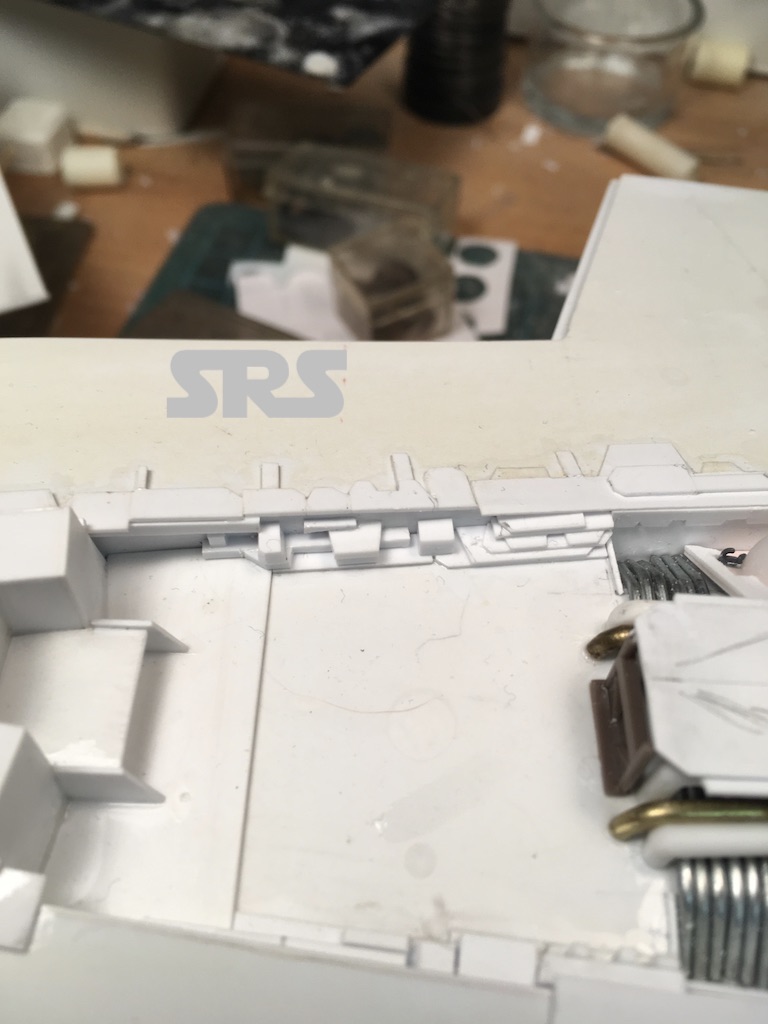
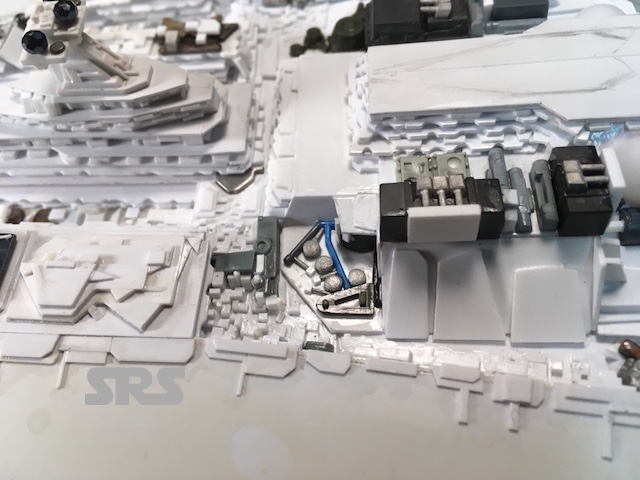
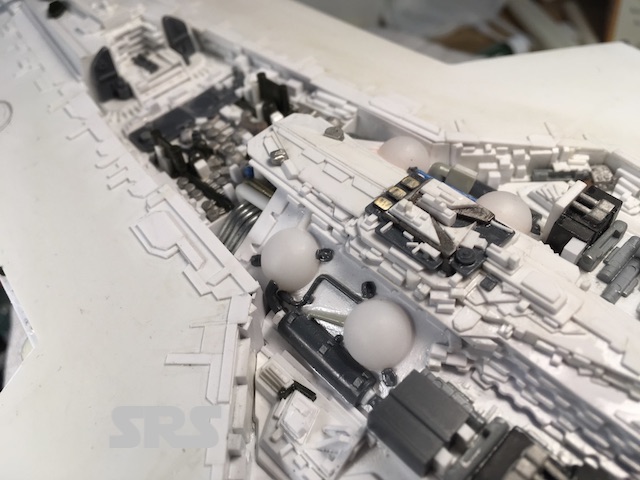
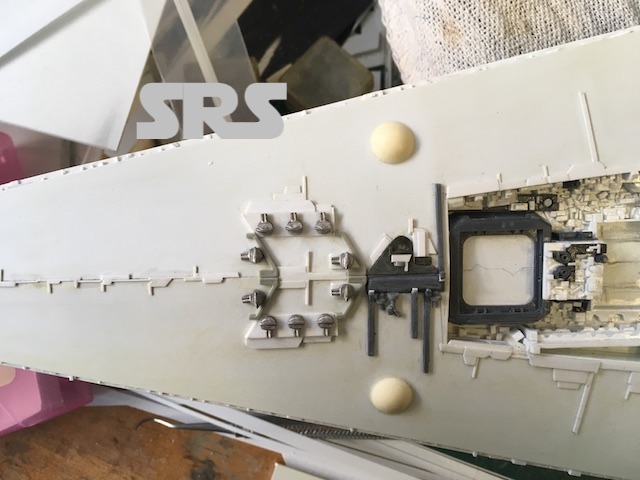
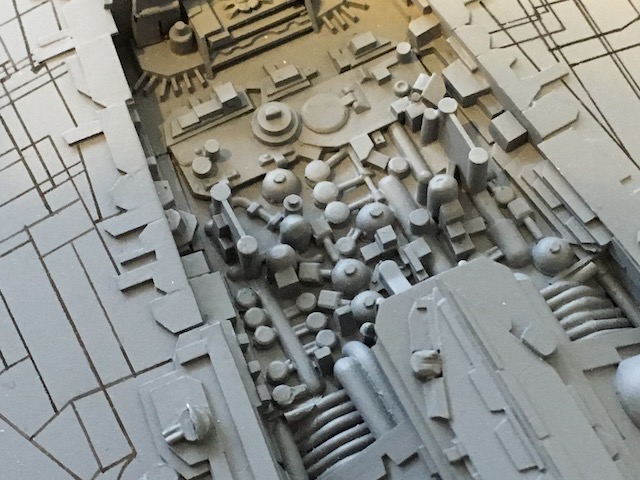
Before all of the detailing can be finalized, all of the engines are positioned and made to be removable until they have their LED’s in place and then final assembled.
SSDVengeance
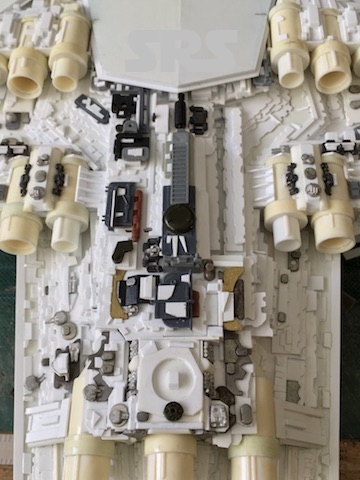
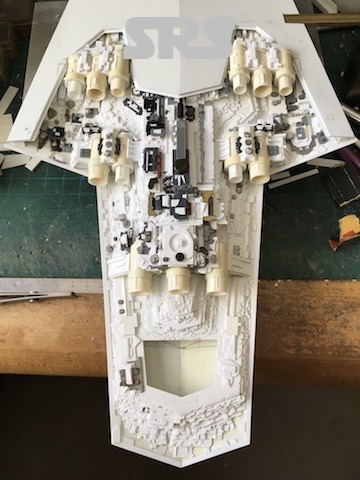
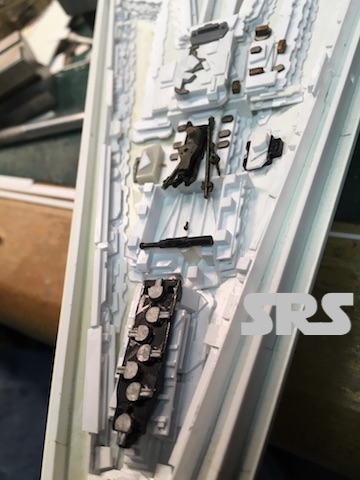
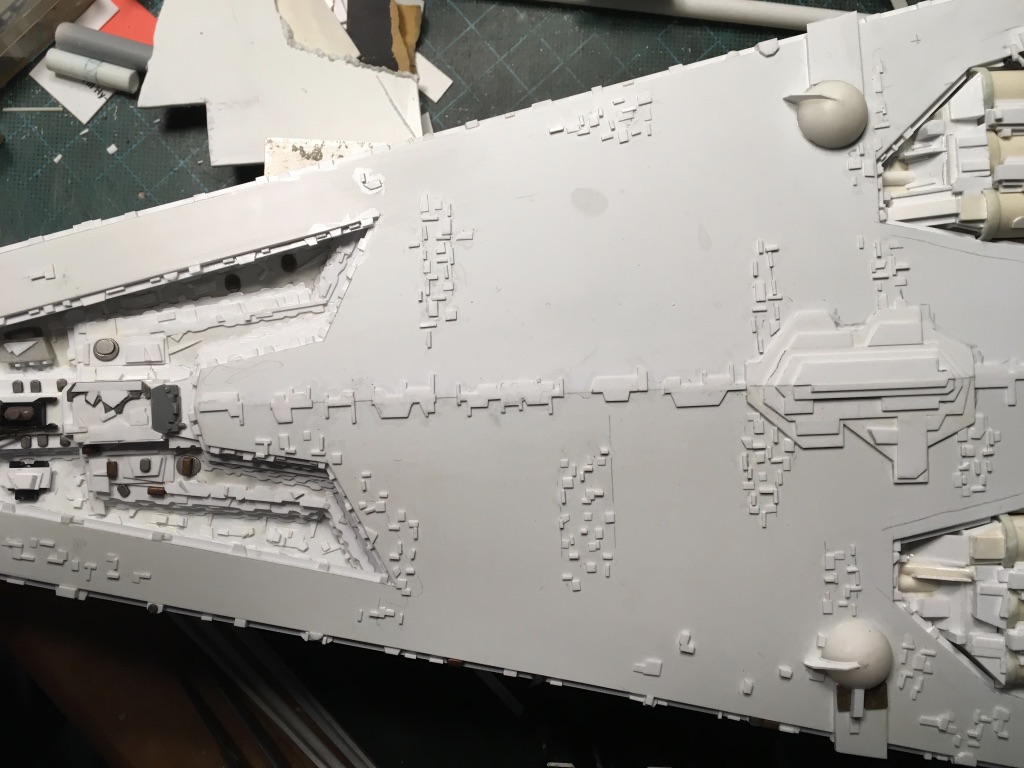
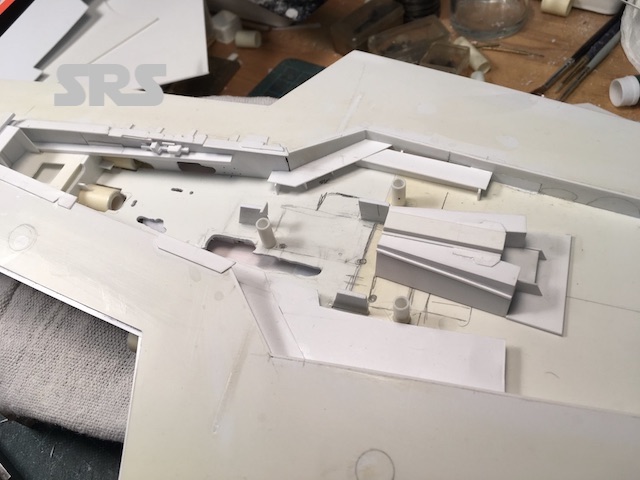
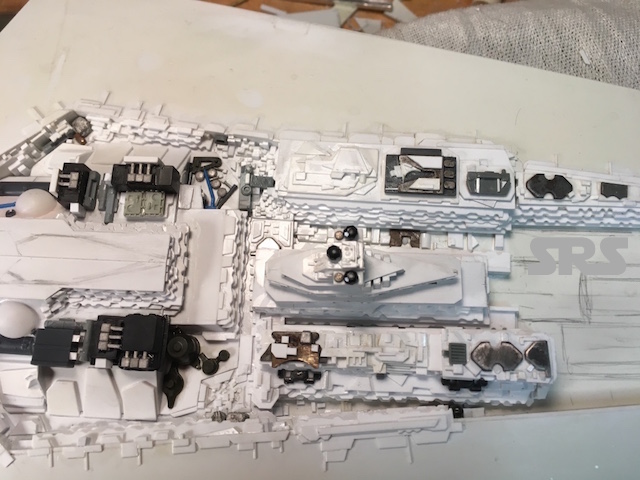
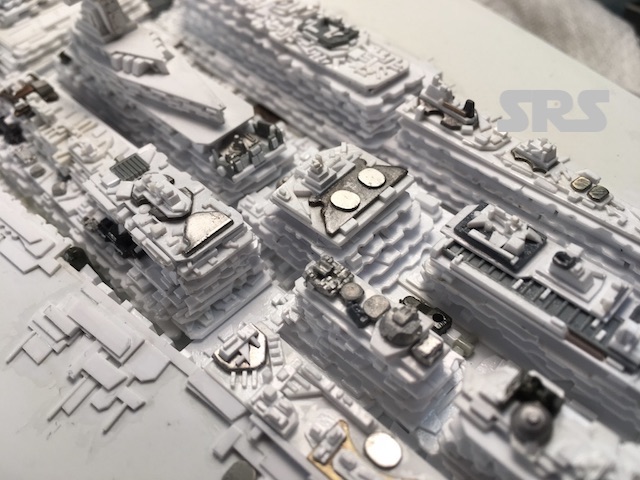
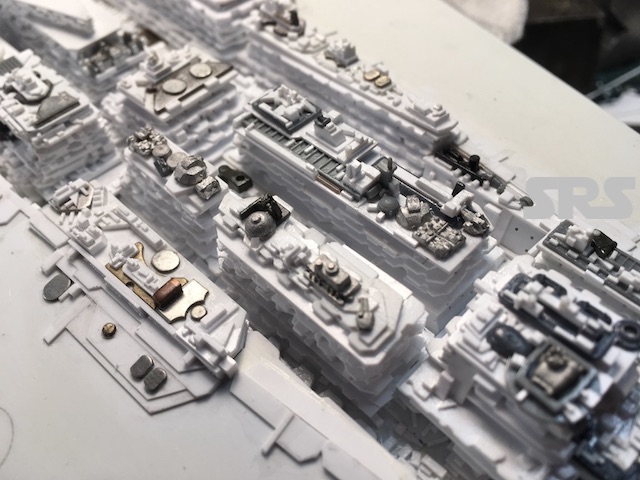
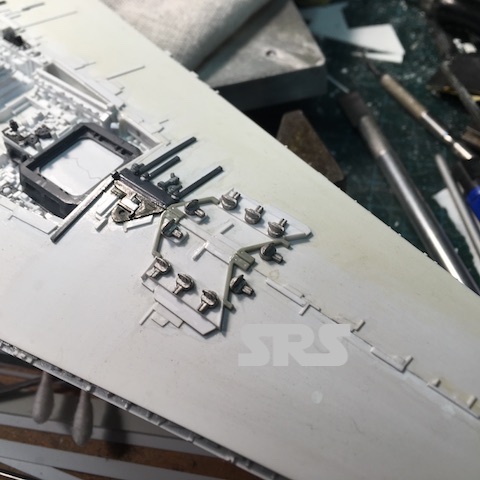
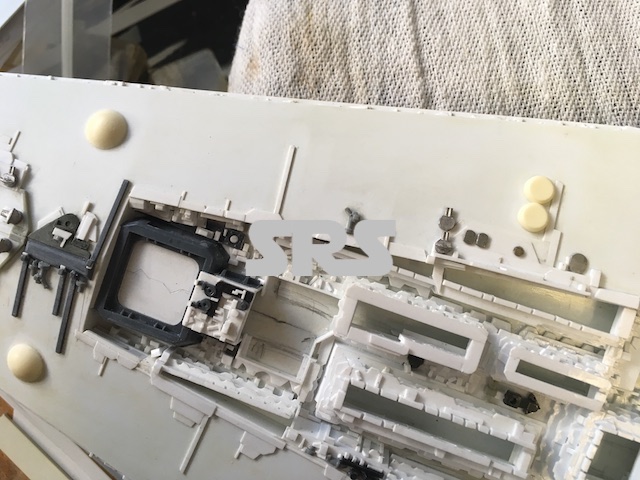
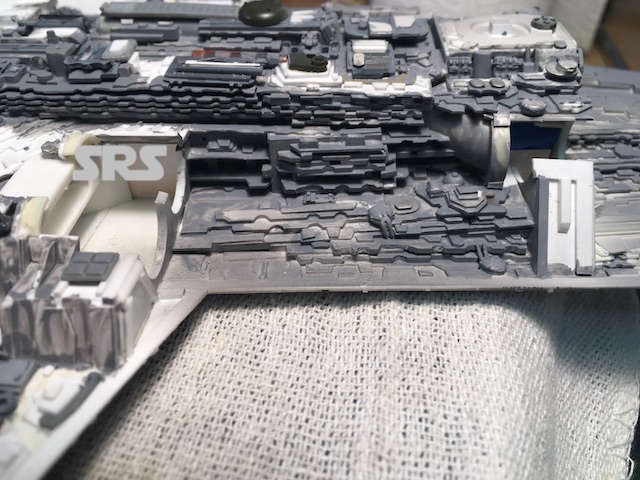
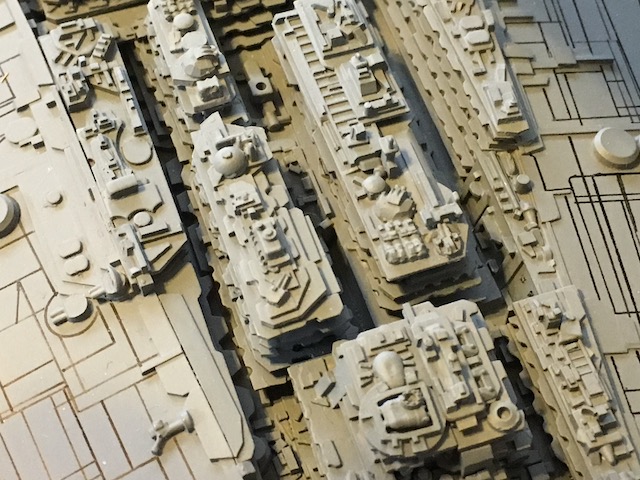
Lots of detailing to do!
SSDVengeance
SSDVengeance
SSDVengeance
SSDVengeance
SSDVengeance
SSDVengeance
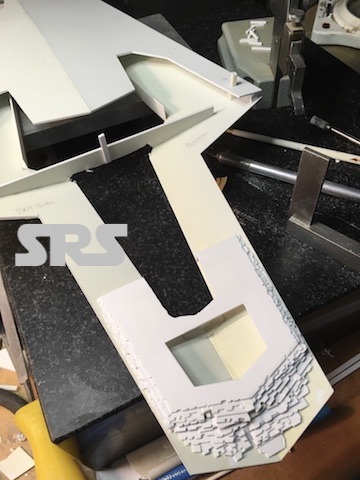
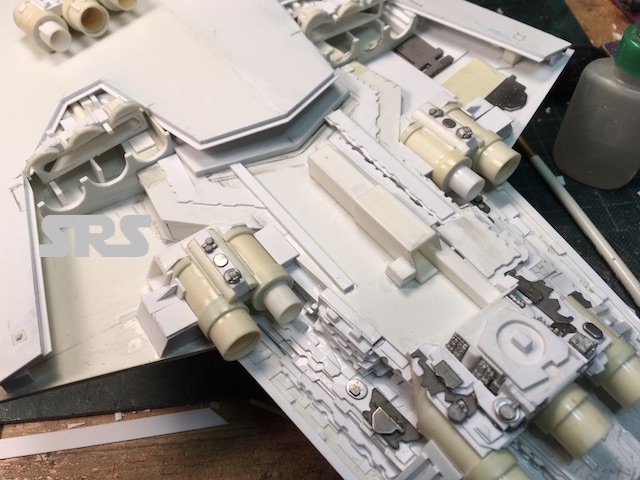
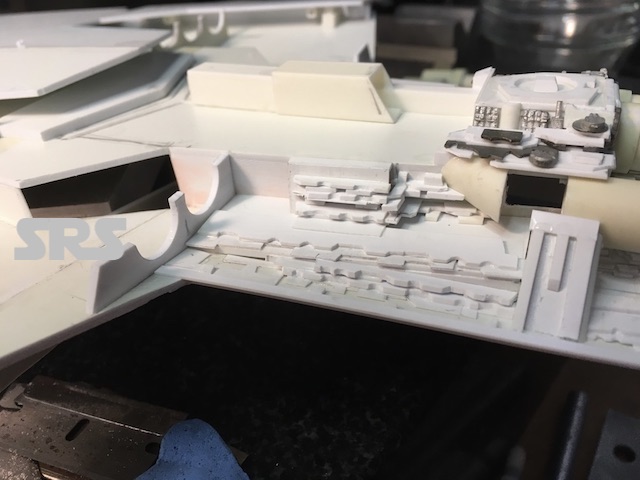
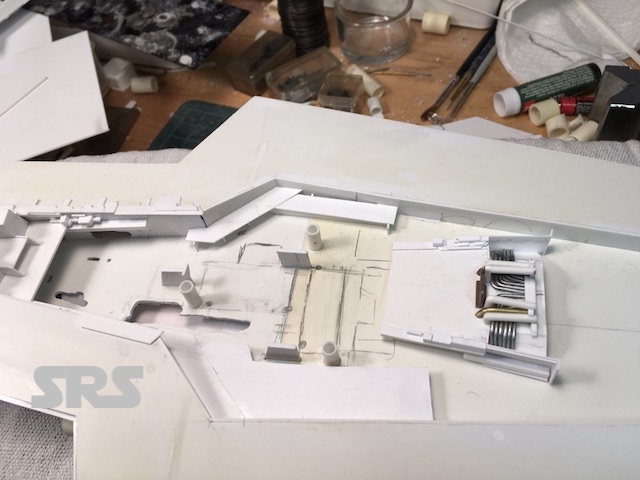
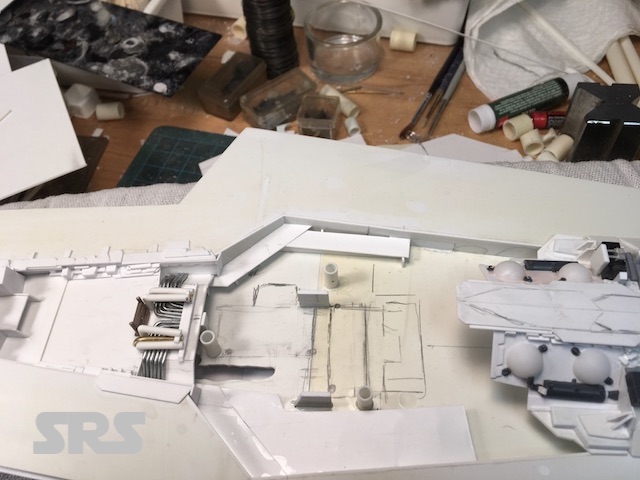
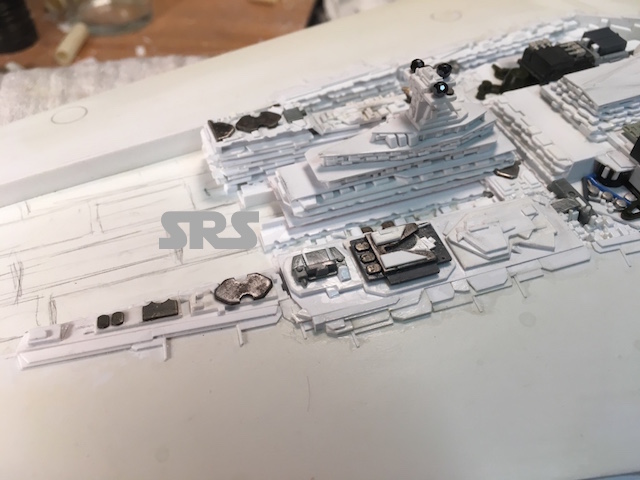
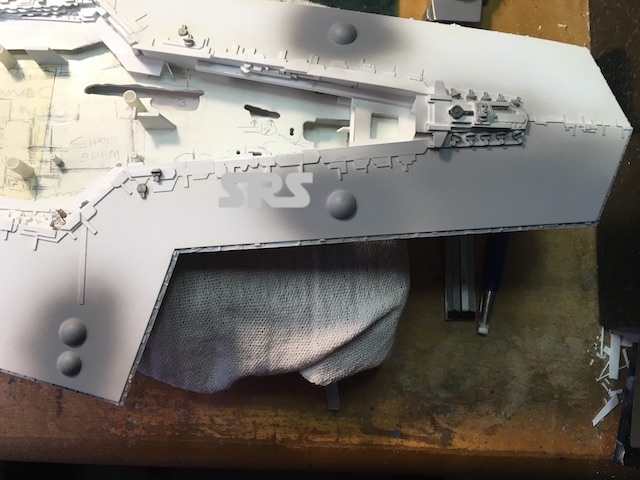
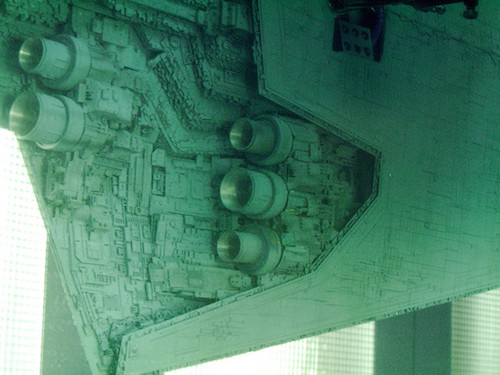
The engine area is just about completed;
SSDVengeance
SSDVengeance
The Vengeance is the first SSD constructed after the loss of the Executor. Improvements were added to the ‘V’ such as additional gun emplacements and an expansive hangar bay.
SSDVengeance
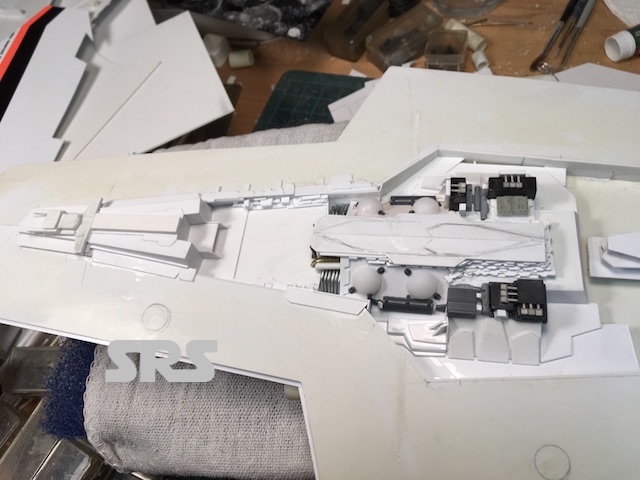
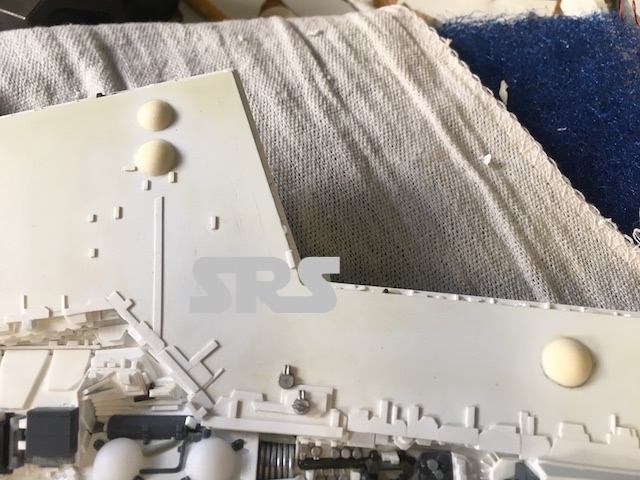
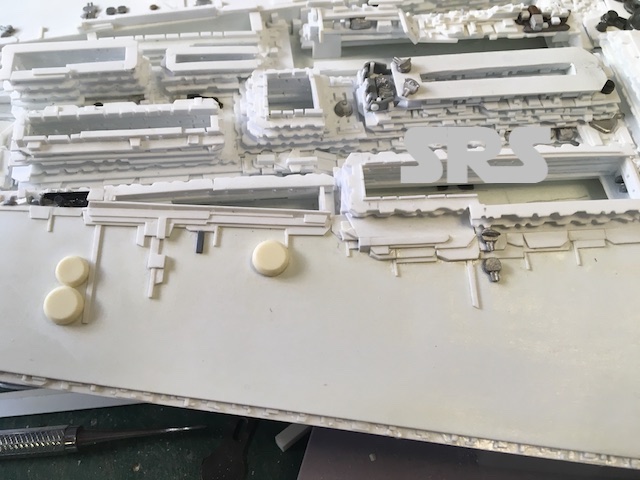
Bottom plate detailing is complete.
SSDVengeance
SSDVengeance
SSDVengeance
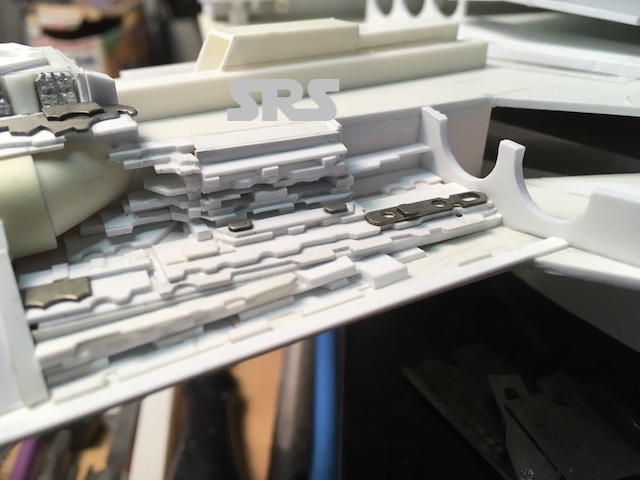
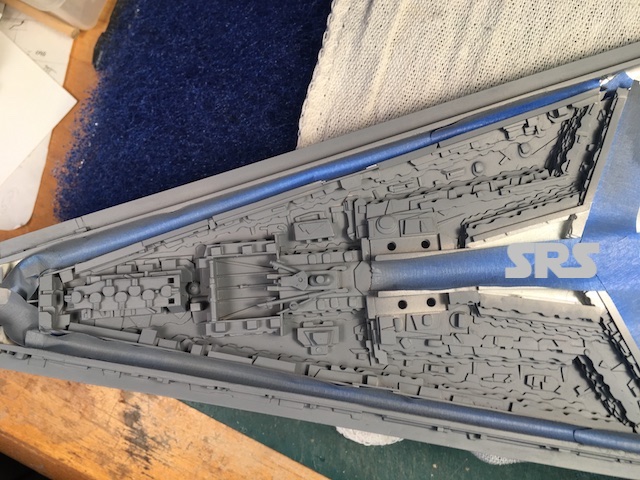
On to the dorsal side.
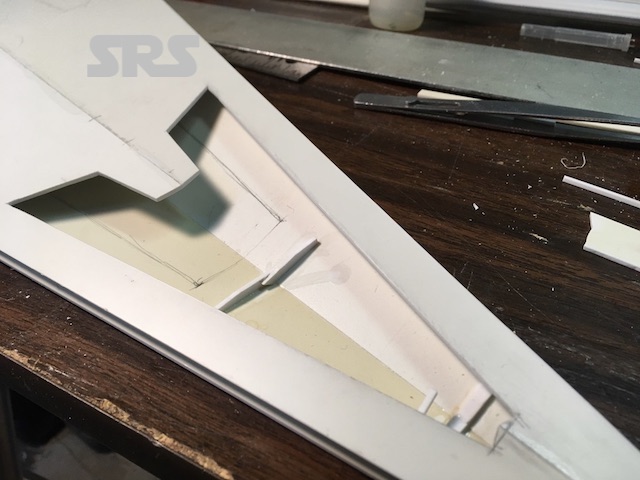
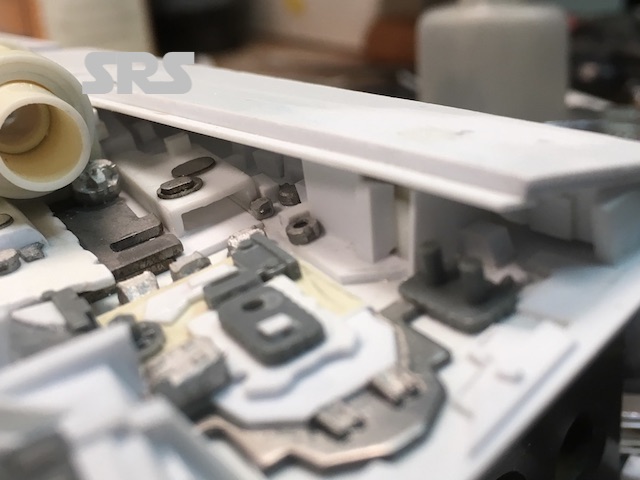
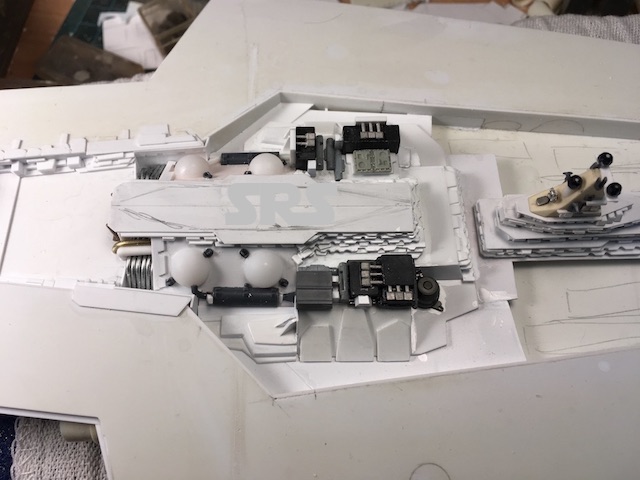
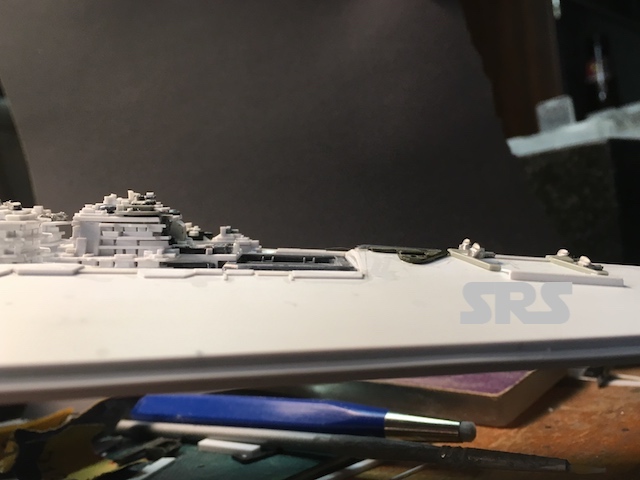
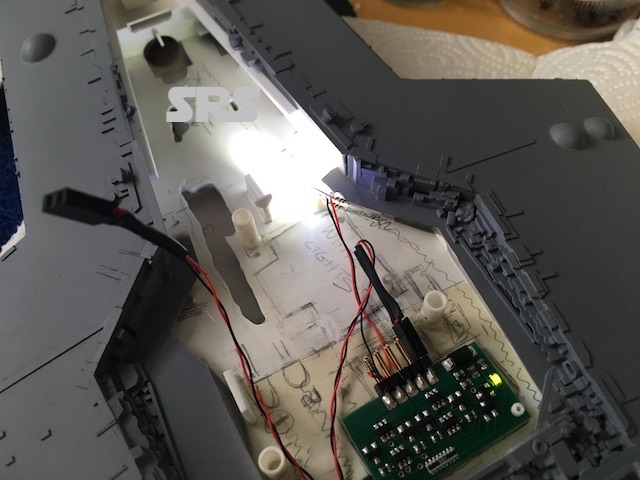
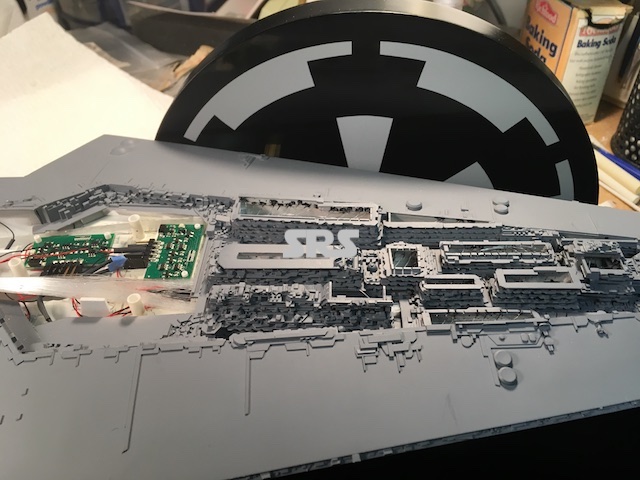
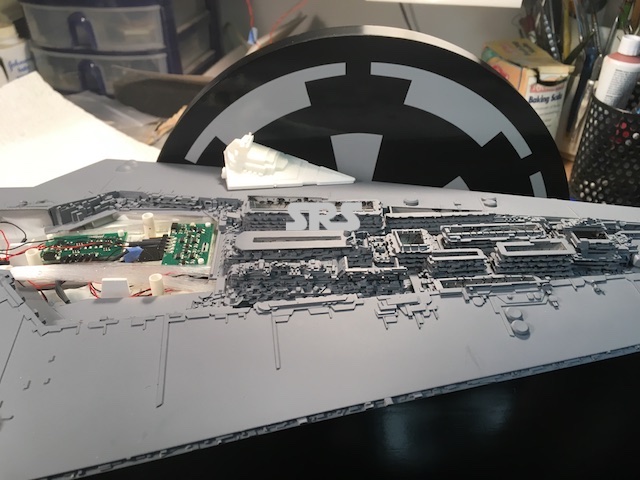
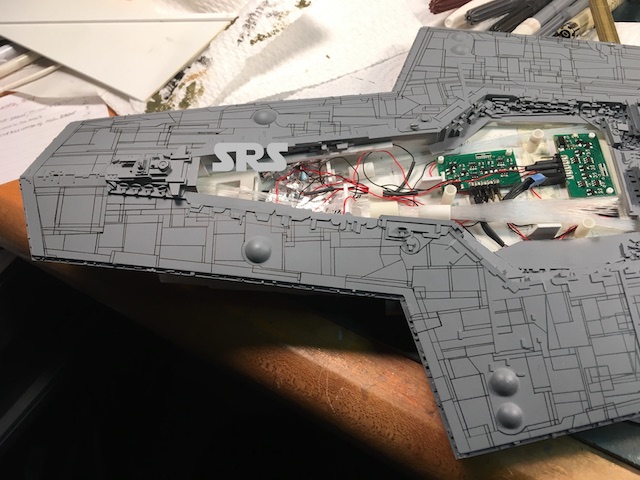
I opened some interior areas to allow for interior lighting and the location for the circuit boards One board for the engines, one for the city lights. Now I have to create removable sections so I can install and test everything. There are three in total. Once the lighting is in place and working, I can secure the sections permanently.
SSDVengeance
SSDVengeance
SSDVengeance
SSDVengeance
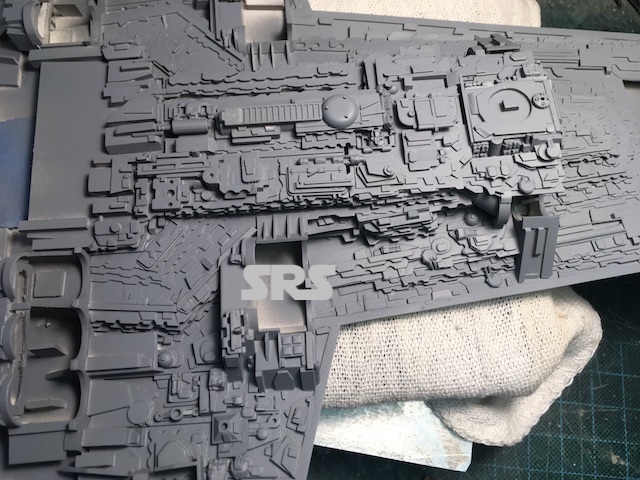
Lots of detailing will help hide the break between the different sections.
SSDVengeance
SSDVengeance
SSDVengeance
SSDVengeance
SSDVengeance
SSDVengeance
SSDVengeance
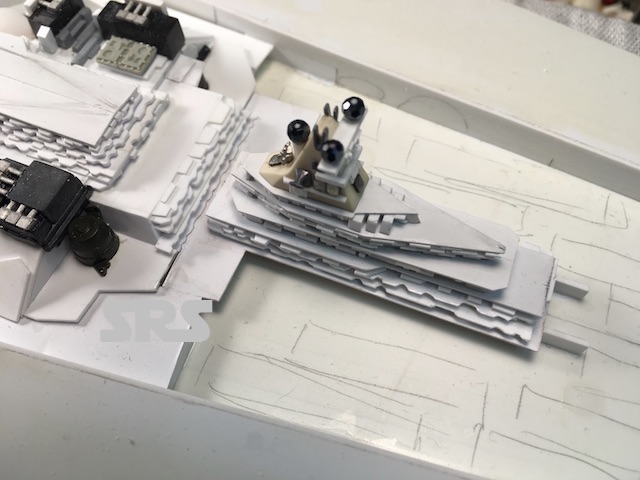
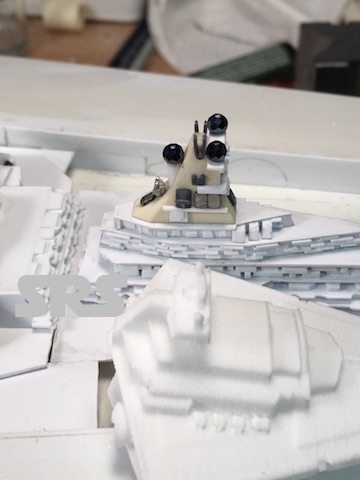
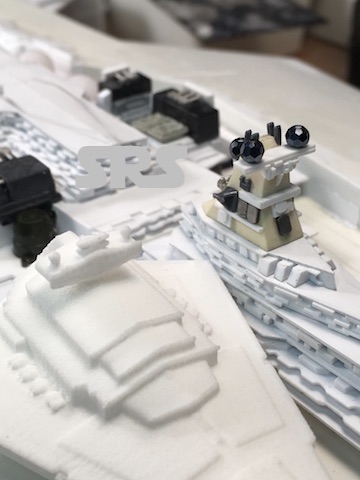
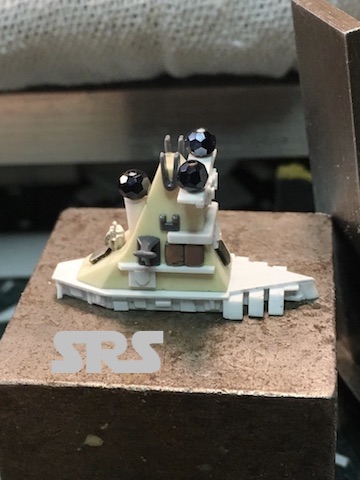
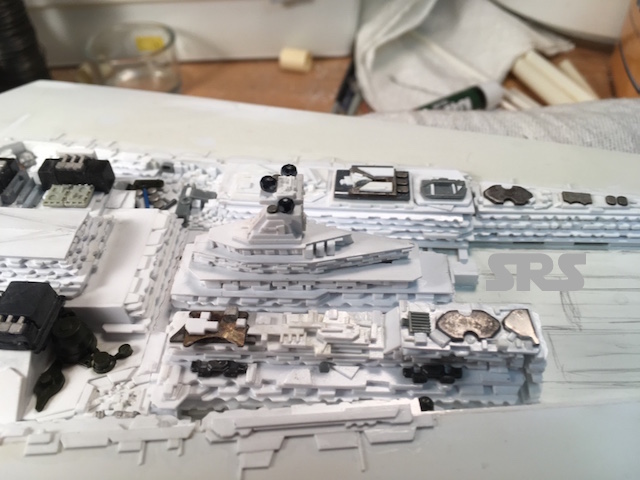
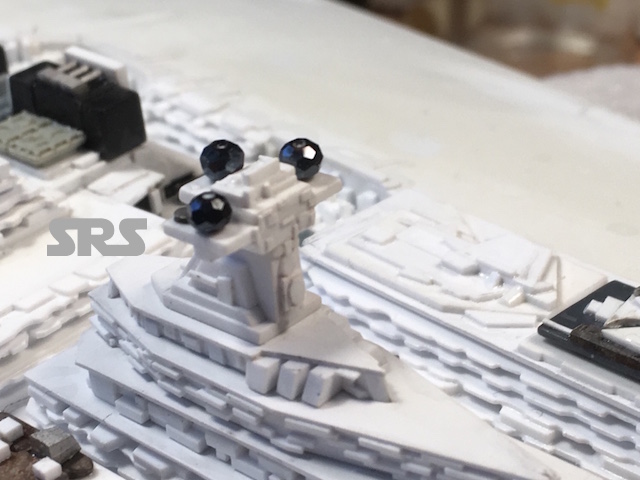
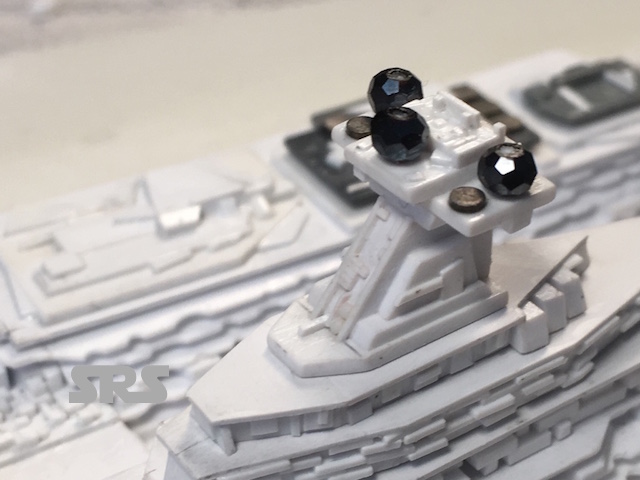
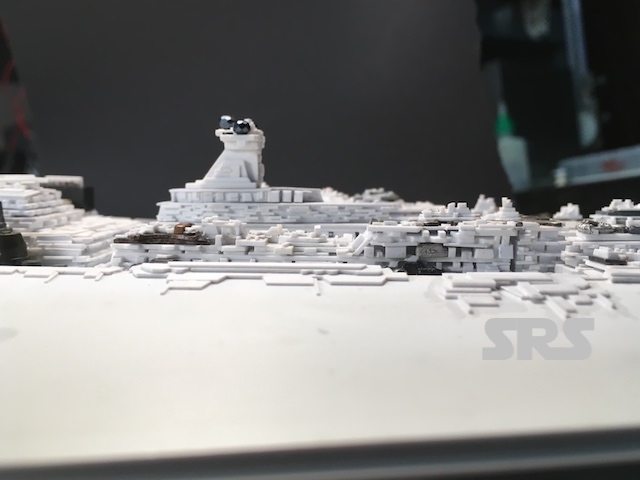
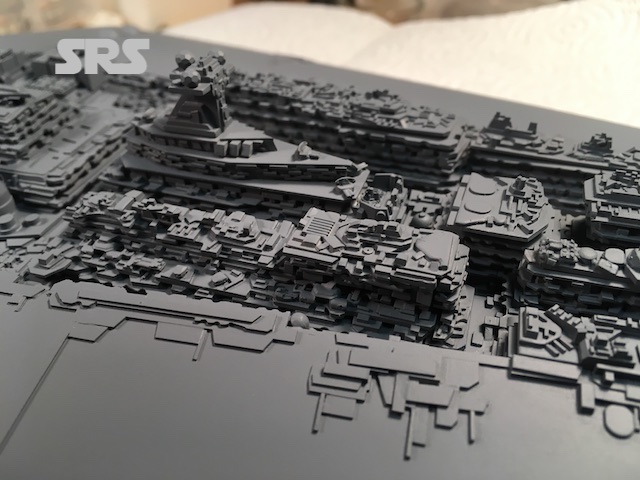
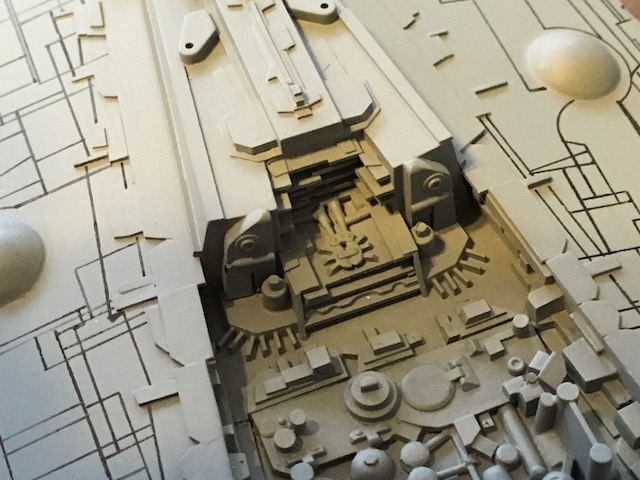
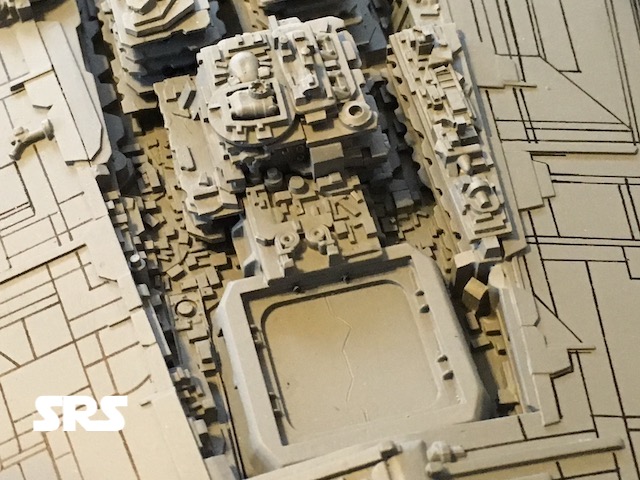
I was asked to make the main bridge larger than standard SD bridge. Everything on the Vengeance is bigger & better!
SSDVengeance
SSDVengeance
SSDVengeance
More detailing and NEW bridge;
SSDVengeance
SSDVengeance
SSDVengeance
SSDVengeance
SSDVengeance
SSDVengeance
SSDVengeance
New bridge design, note the much larger shield generators:
SSDVengeance
SSDVengeance
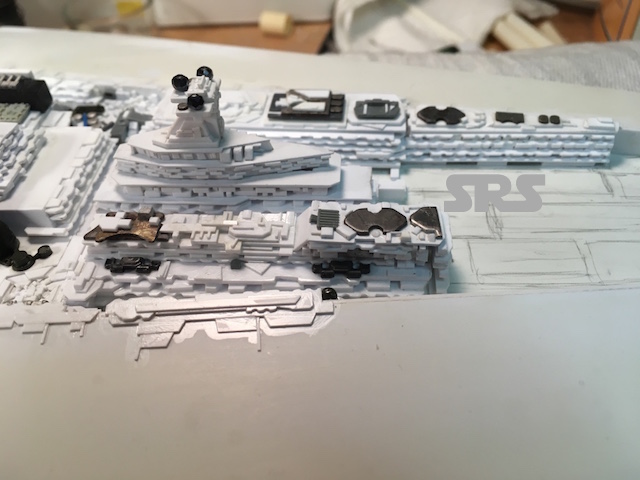
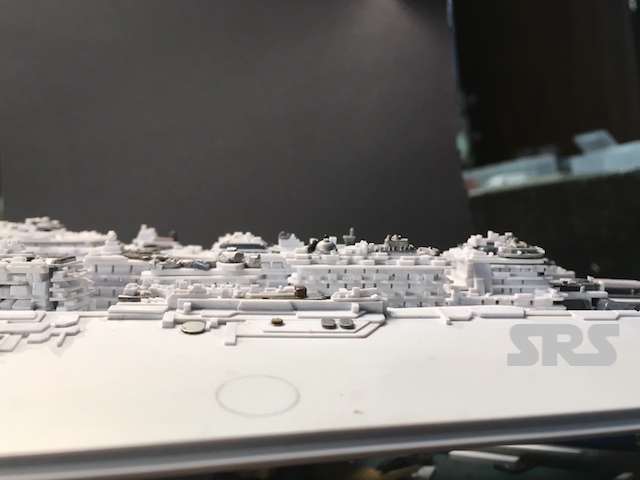
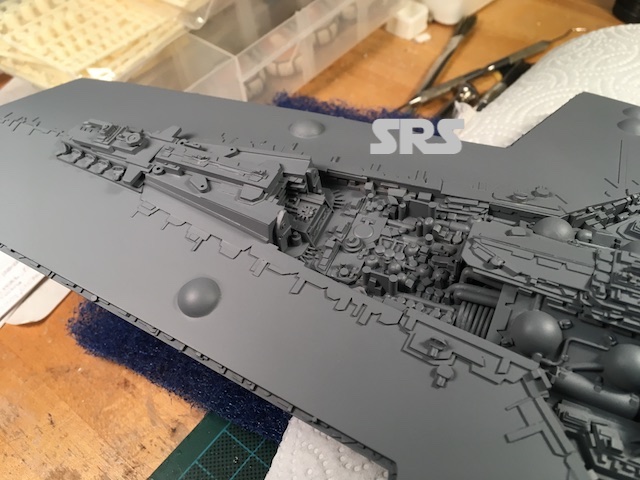
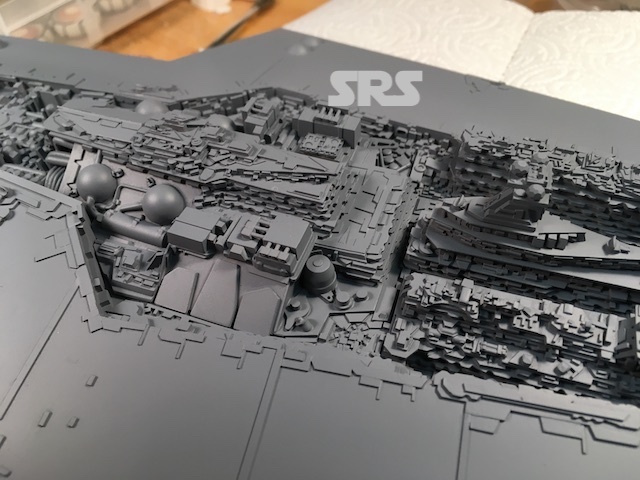
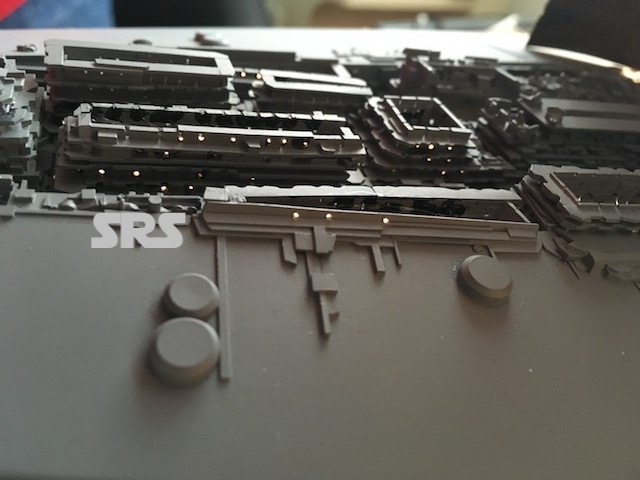
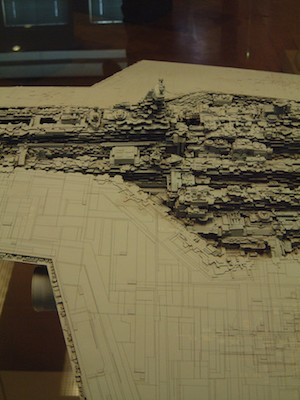
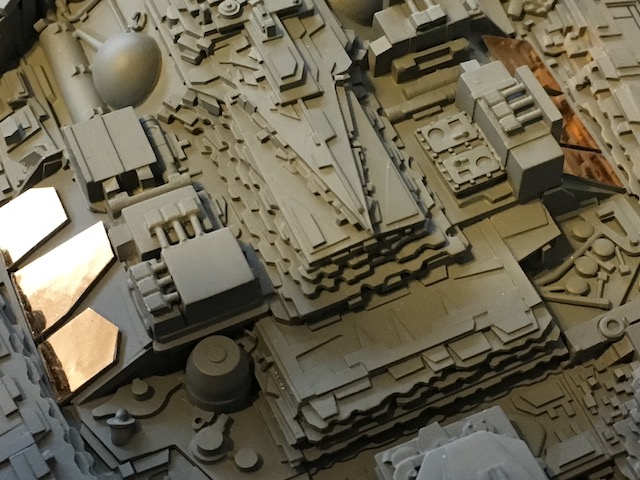
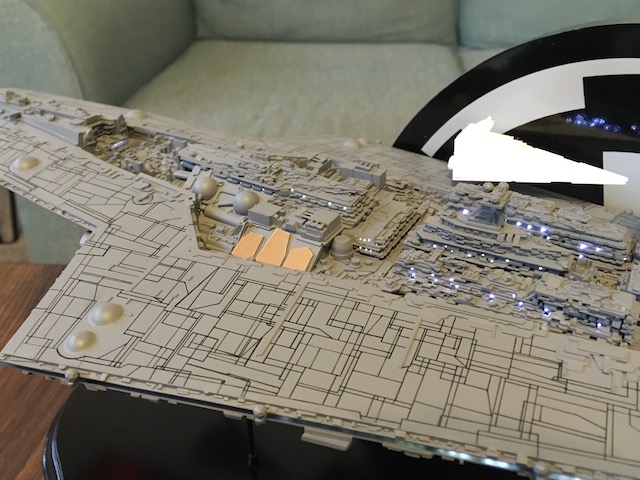
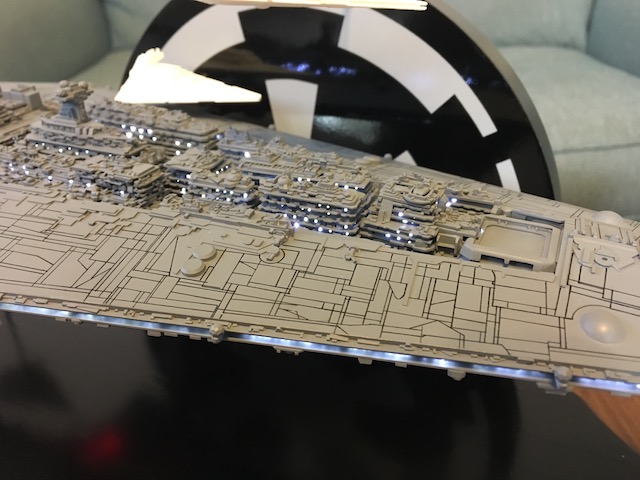
Detailing is complete on the cities. Working my way around the upper hull now with more details and tons of guns!
SSDVengeance
SSDVengeance

SSDVengeance
SSDVengeance
SSDVengeance
SSDVengeance

SSDVengeance
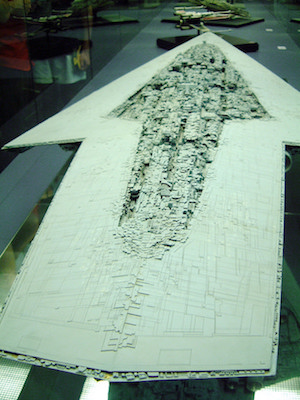
Going for that ‘jagged city-scape’ look of the filming model;
SSDVengeance
SSDVengeance
SSDVengeance
SSDVengeance
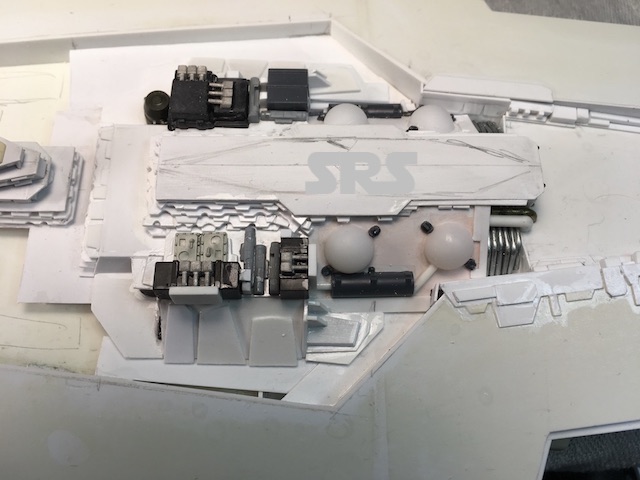
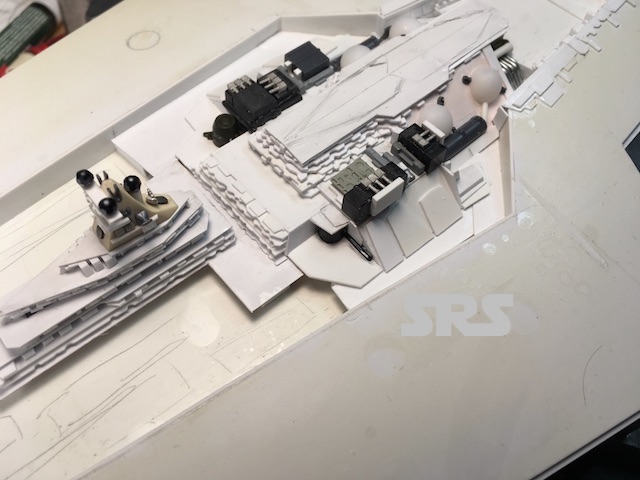
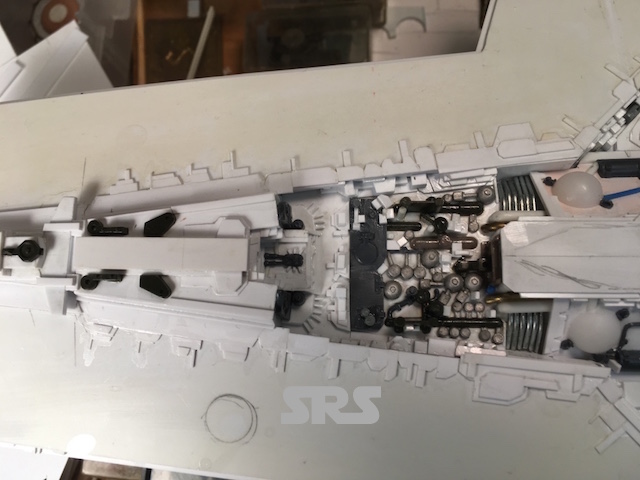
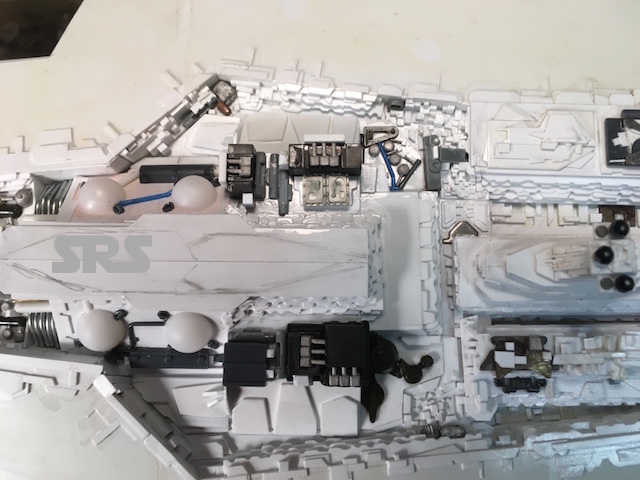
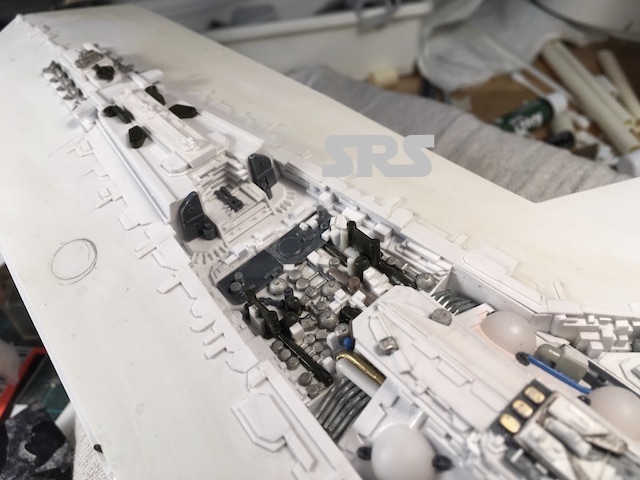
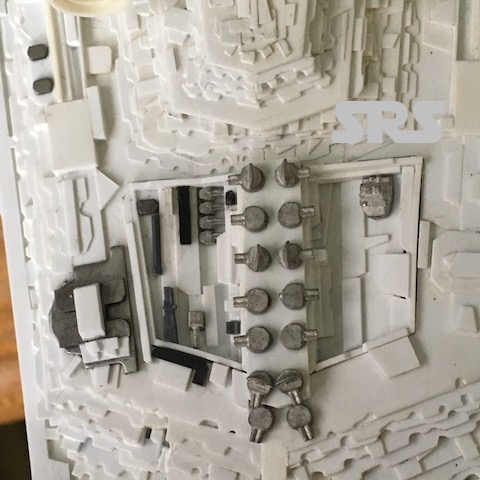
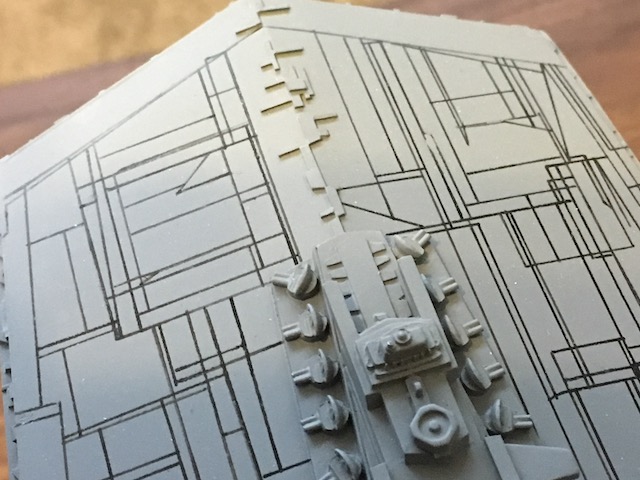
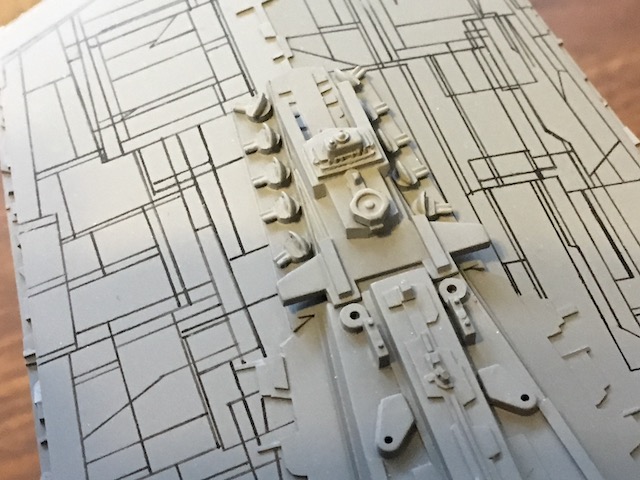
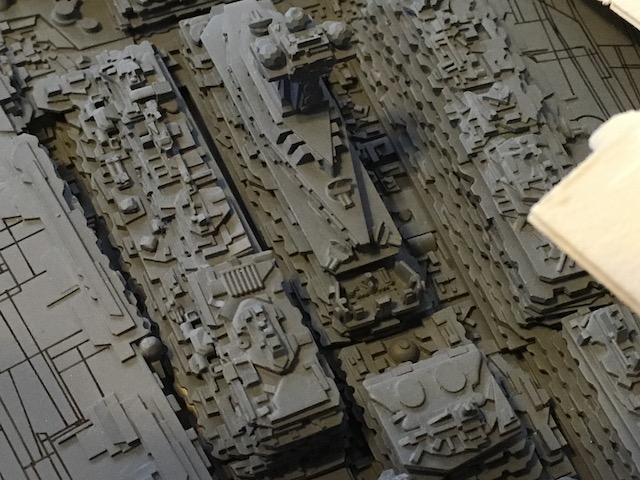
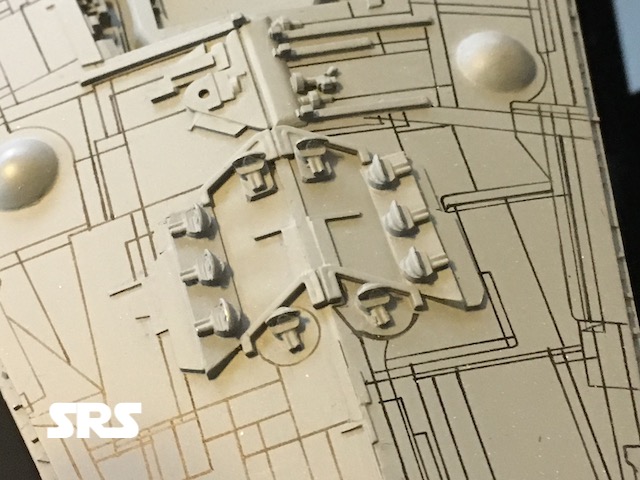
Guns & more guns………..
SSDVengeance
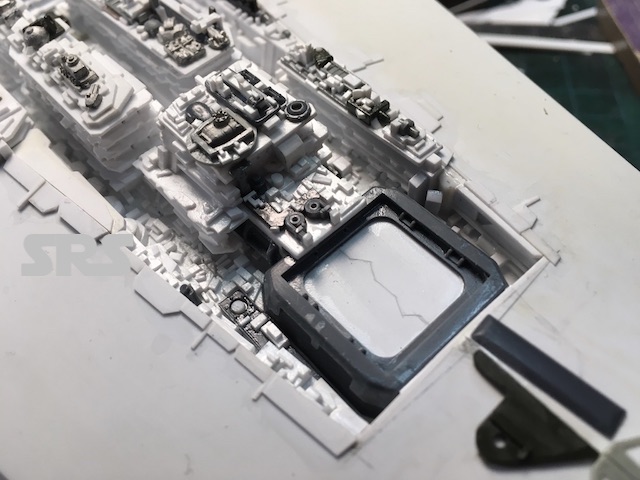
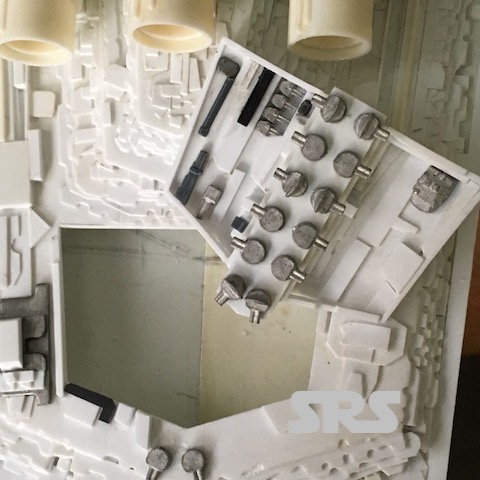
A huge gun battery on the ventral area, just behind the main engines.
SSDVengeance
This area is removable to help with the placement of fiber optics.
SSDVengeance
SSDVengeance
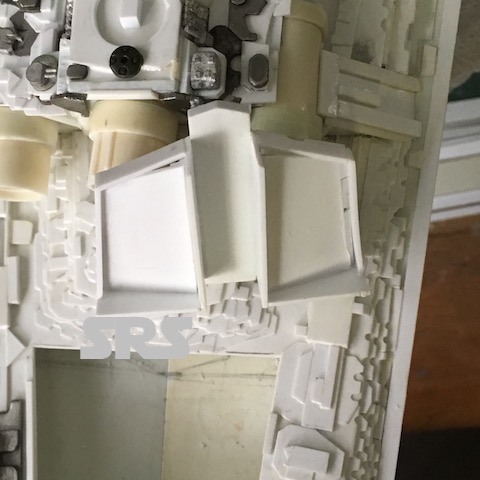
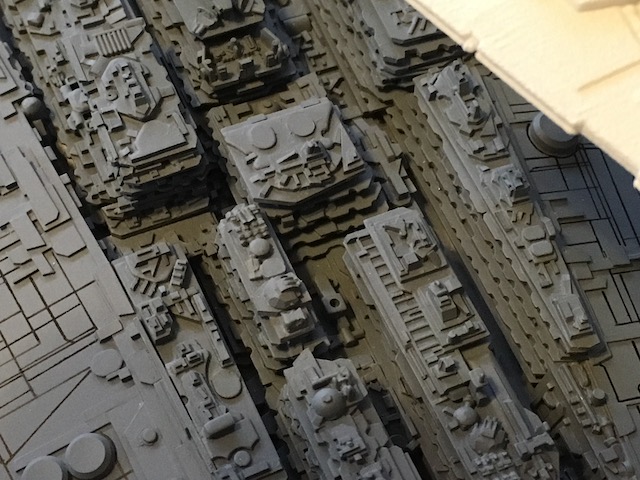
More guns and domes……
SSDVengeance
SSDVengeance
SSDVengeance
SSDVengeance
SSDVengeance
With this model, the primer will be the finish/base color as well.
First, I need to add light-blocking material before I prime so that material can stick to the raw plastic. LEDs will be located in this area on the upper hull.

SSDVengeance
SSDVengeance
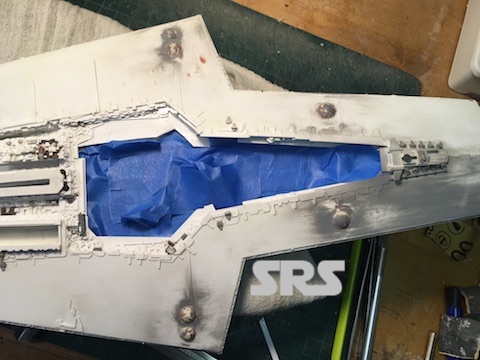
A little clean up and masking….
SSDVengeance
SSDVengeance
Due to the enormous amount of undercuts and tiny spaces in the detailing, I brushed on primer to work it into areas that the airbrush just won’t reach.
SSD98
Using my old Paasche, double action airbrush, I applied Stynylrez primer. It goes on nice right from the bottle, with a little flow agent mixed in. Cannot tell where I brushed on the primer.
SSDVengeance
SSDVengeance
All sections are primed and test-assembled. It turned out better than I had envisioned!!
SSDVengeance
SSDVengeance
SSDVengeance

SSDVengeance
Started some detail painting….
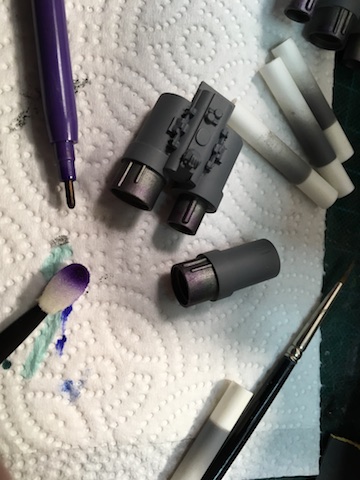
SSDVengeance
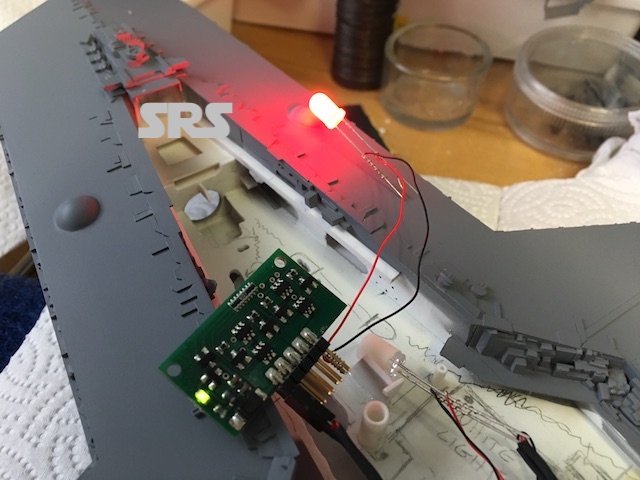
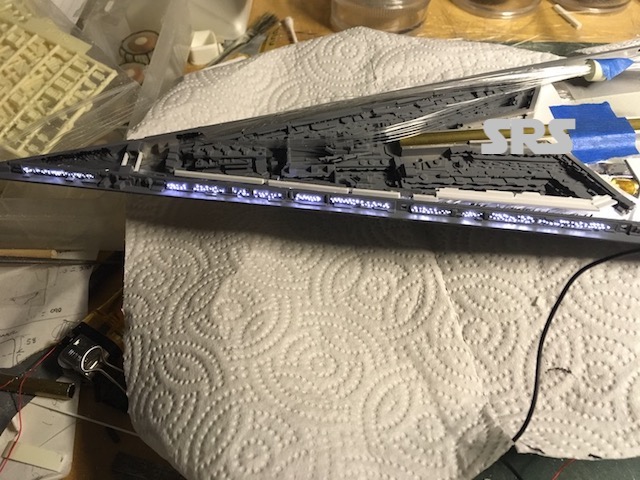
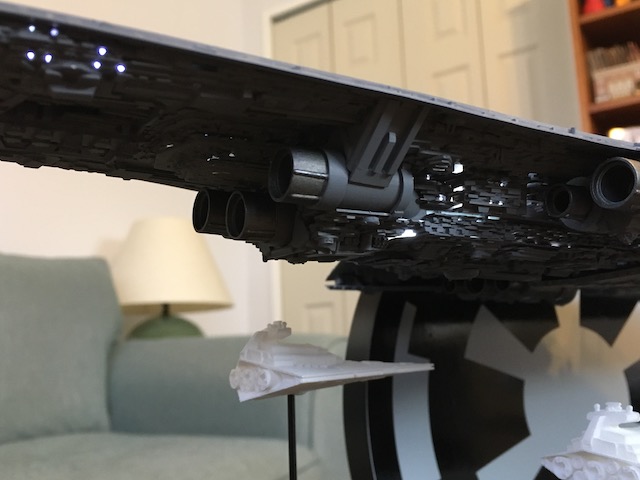
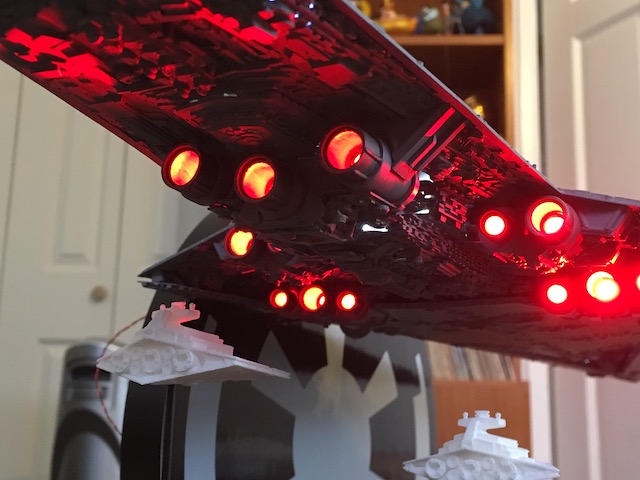
Adding the lighting is what brings any model to life. I started with the engines, so that most of those wires will be out of the way of the rest of the wiring and fiber optics that need to run throughout the rest of the model. Space is extremely tight inside the model.
I am using Madman Lighting’s “Big Ass Engine Effects FX” and a 24 white LED pack, along with their wall power supply kit. Tenacontrols has now purchased MML product line.
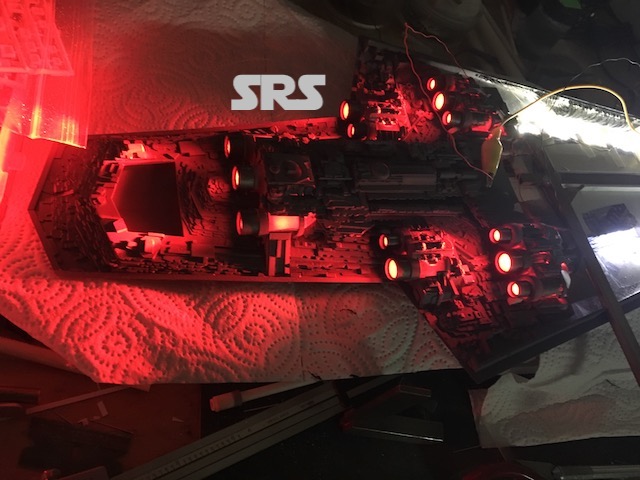
The engine lighting kit has a nice subtle pulsing effect.
The effects board test;
SSDVengeance
Wire wrapping & routing…

SSDVengeance

SSDVengeance
SSDVengeance
SSDVengeance
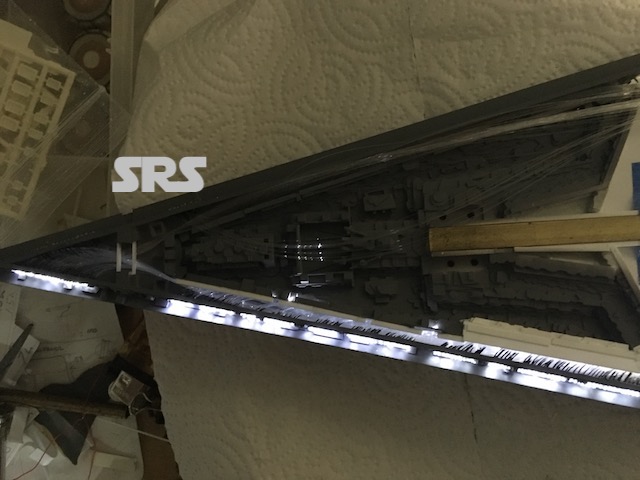
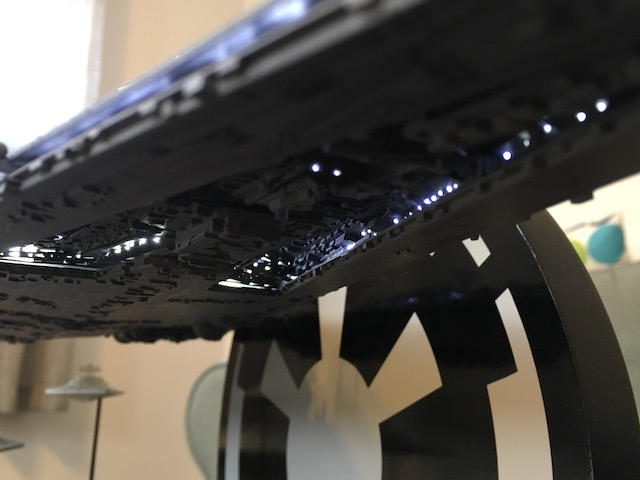
Even more tedious are the many ‘city’ lights. A quick test of the white LED board;
SSDVengeance
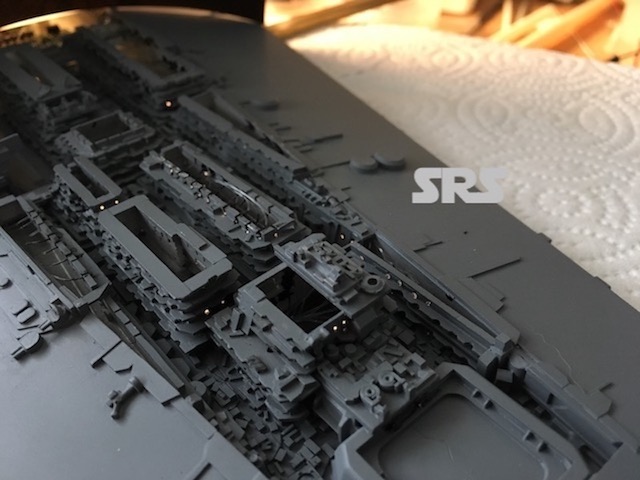
Dozens of fibers to run and LED’s to place….
SSDVengeance
SSDVengeance
SSDVengeance
SSDVengeance
SSDVengeance
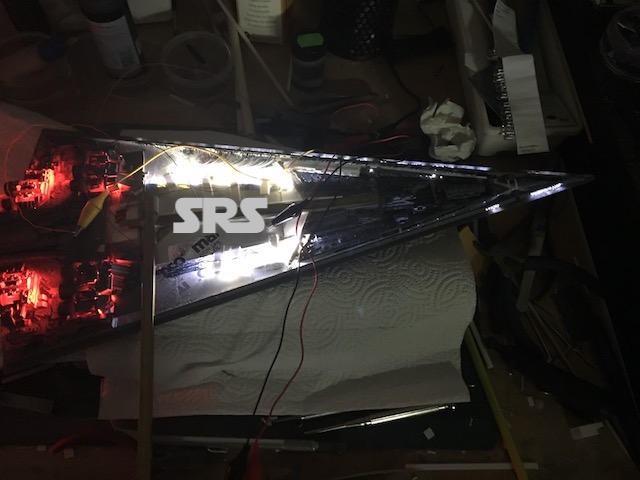
More testing..
SSDVengeance
SSDVengeance
SSDVengeance
SSDVengeance
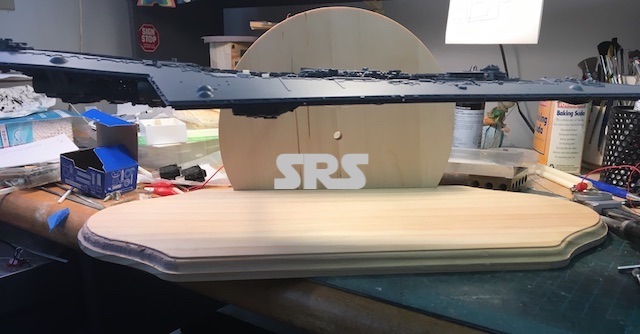
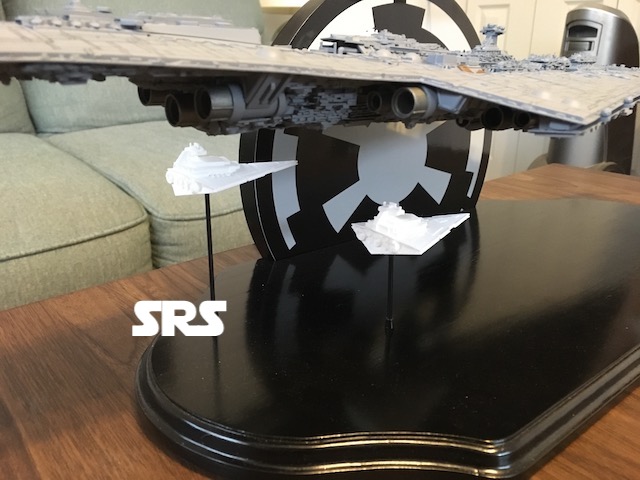
Time to mount this properly. I used store-bought wood bases to build the display stand. Test fitting the support rod went as planned and it is quite sturdy.
SSDVengeance
SSDVengeance
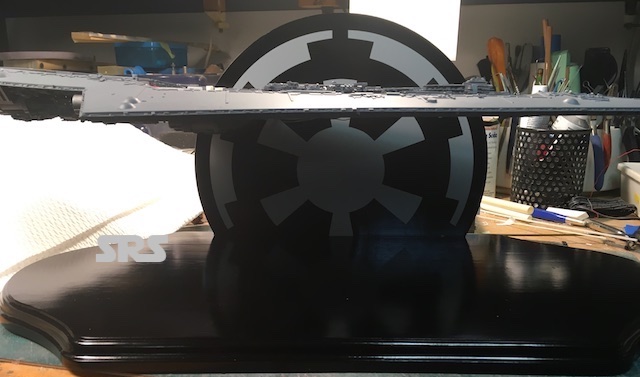
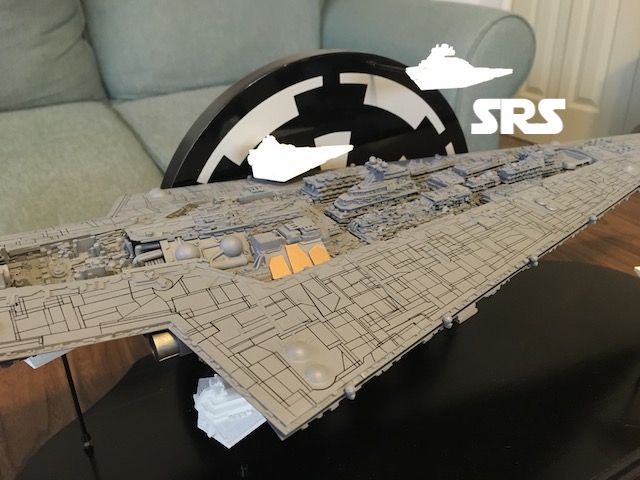
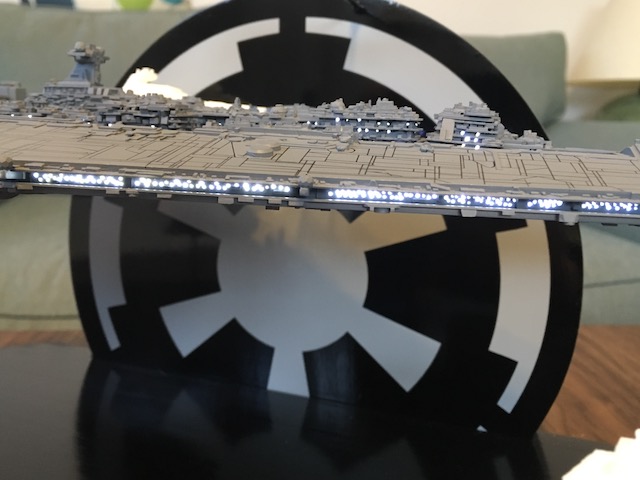
I found an etsy store that made the imperial insignia in vinyl in the size I needed. I painted the base in a semi-gloss black that matched the vinyl. The fit & match was perfect.
SSDVengeance
With a well-placed SD and a little paint, you will be hard-pressed to see the support.
SSDVengeance
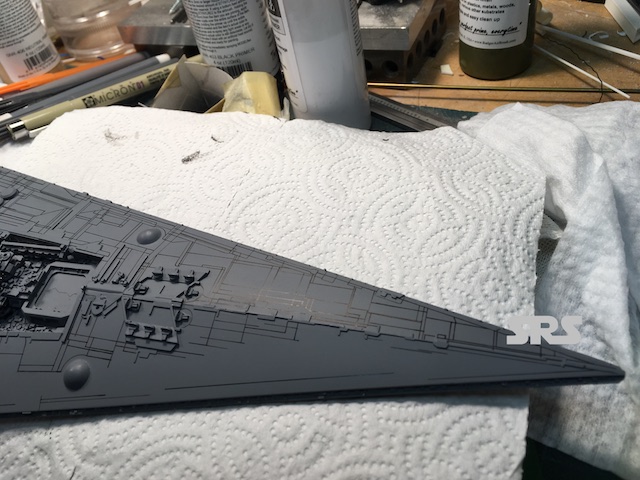
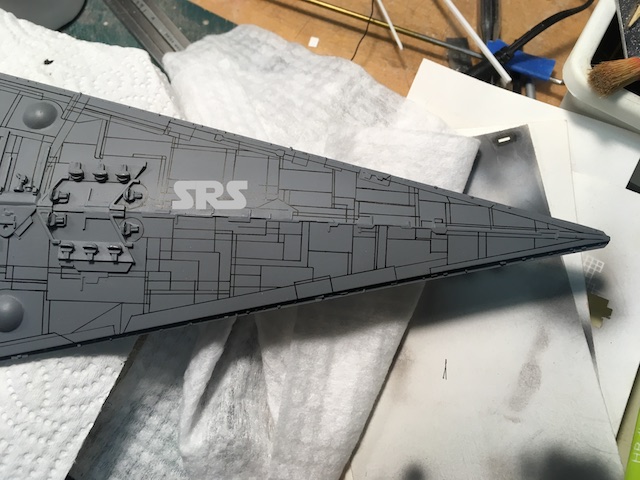
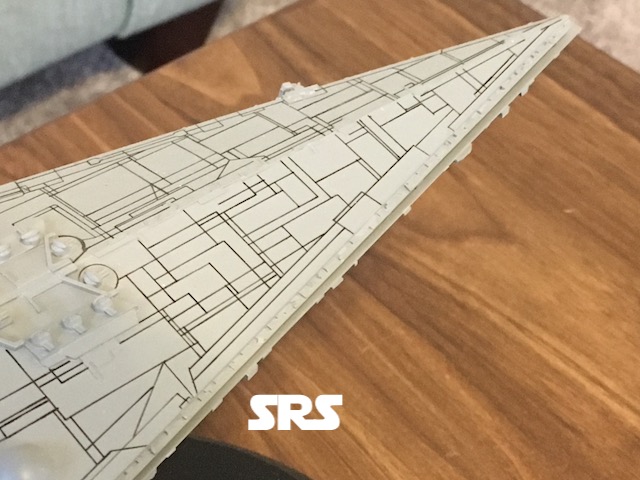
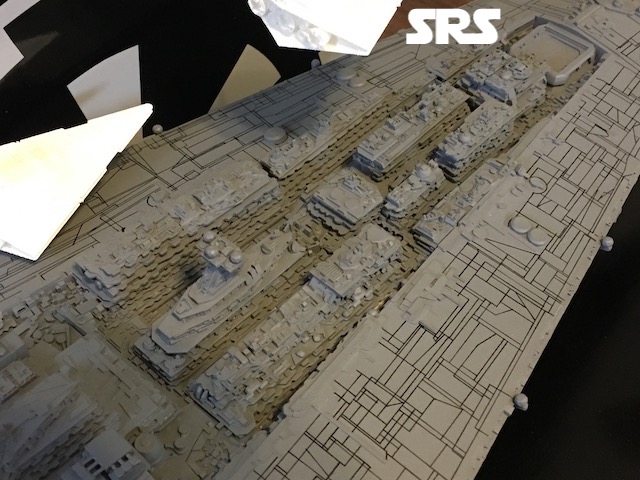
Time for surface deco. The filming model has a ton of finely drawn panel lines covering the upper & lower hulls.
reference3
reference2
reference1
Since the filming model was approx. 9 feet long, that model shop could use fine pencils or mechanical pens to draw all of those lines. This model being only 2 feet long, using a pencil is not practical. To keep a thin & consistent line, I would have to sharpen it after every line drawn! I settled on a .005 mechanical pen for a nice dark and consistent line, the thinnest I could find.
SSDVengeance
SSDVengeance
SSDVengeance
The client requested separate switches for the engines and city lights.
I used some wiring connectors from a toy for a quick-connect set up and standard rocker switches. This has to be assembled by the client, so it has to be ready to go, nothing overly-complicated. I built a box out of styrene and a vertical tube that hide the wires from the model. A cover plate screws on to the box for a nice clean, protected look.

SSDVengeance

SSDVengeance
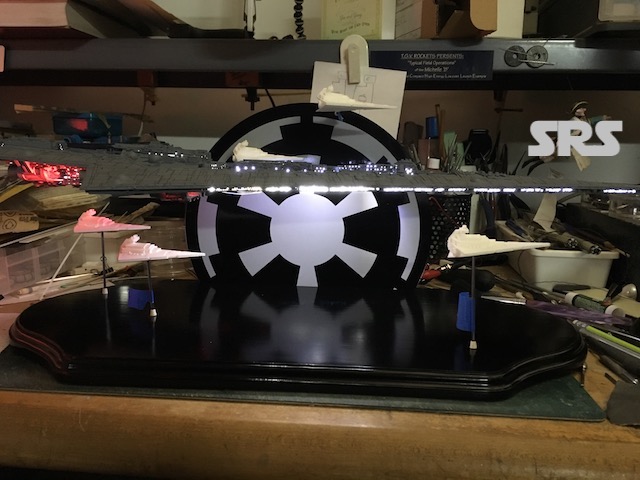
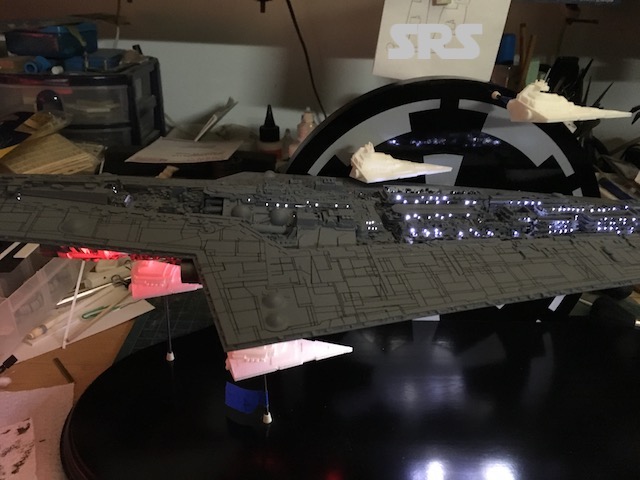
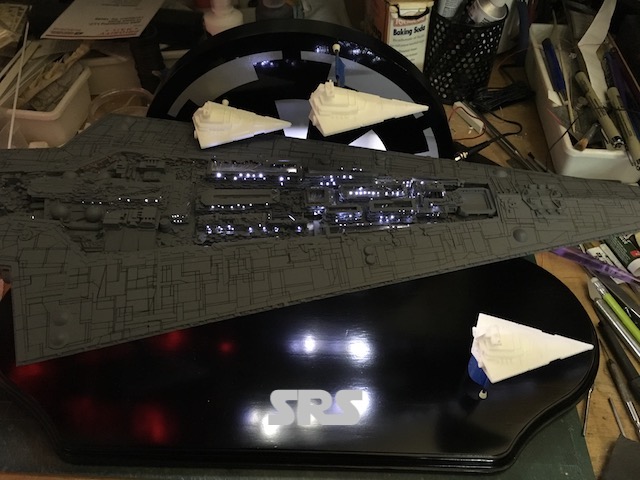
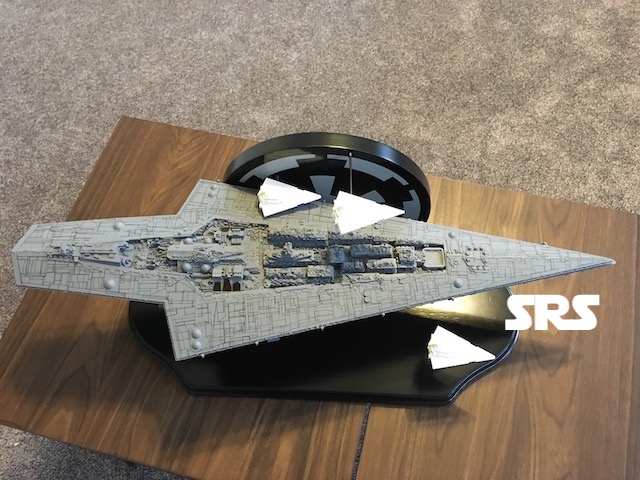
Time to assemble the fleet! ( a Start Destroyer escort )
SSDVengeance
SSDVengeance
SSDVengeance
Model is completed and shipped to its final destination, the customer.
ISSDVengeance

ISSDVengeance
ISSDVengeance
ISSDVengeance
ISSDVengeance
ISSDVengeance
ISSDVengeance
ISSDVengeance
ISSDVengeance
ISSDVengeance
ISSDVengeance
ISSDVengeance
ISSDVengeance
ISSDVengeance
ISSDVengeance
ISSDVengeance
ISSDVengeance
ISSDVengeance
ISSDVengeance
ISSDVengeance
ISSDVengeance
ISSDVengeance